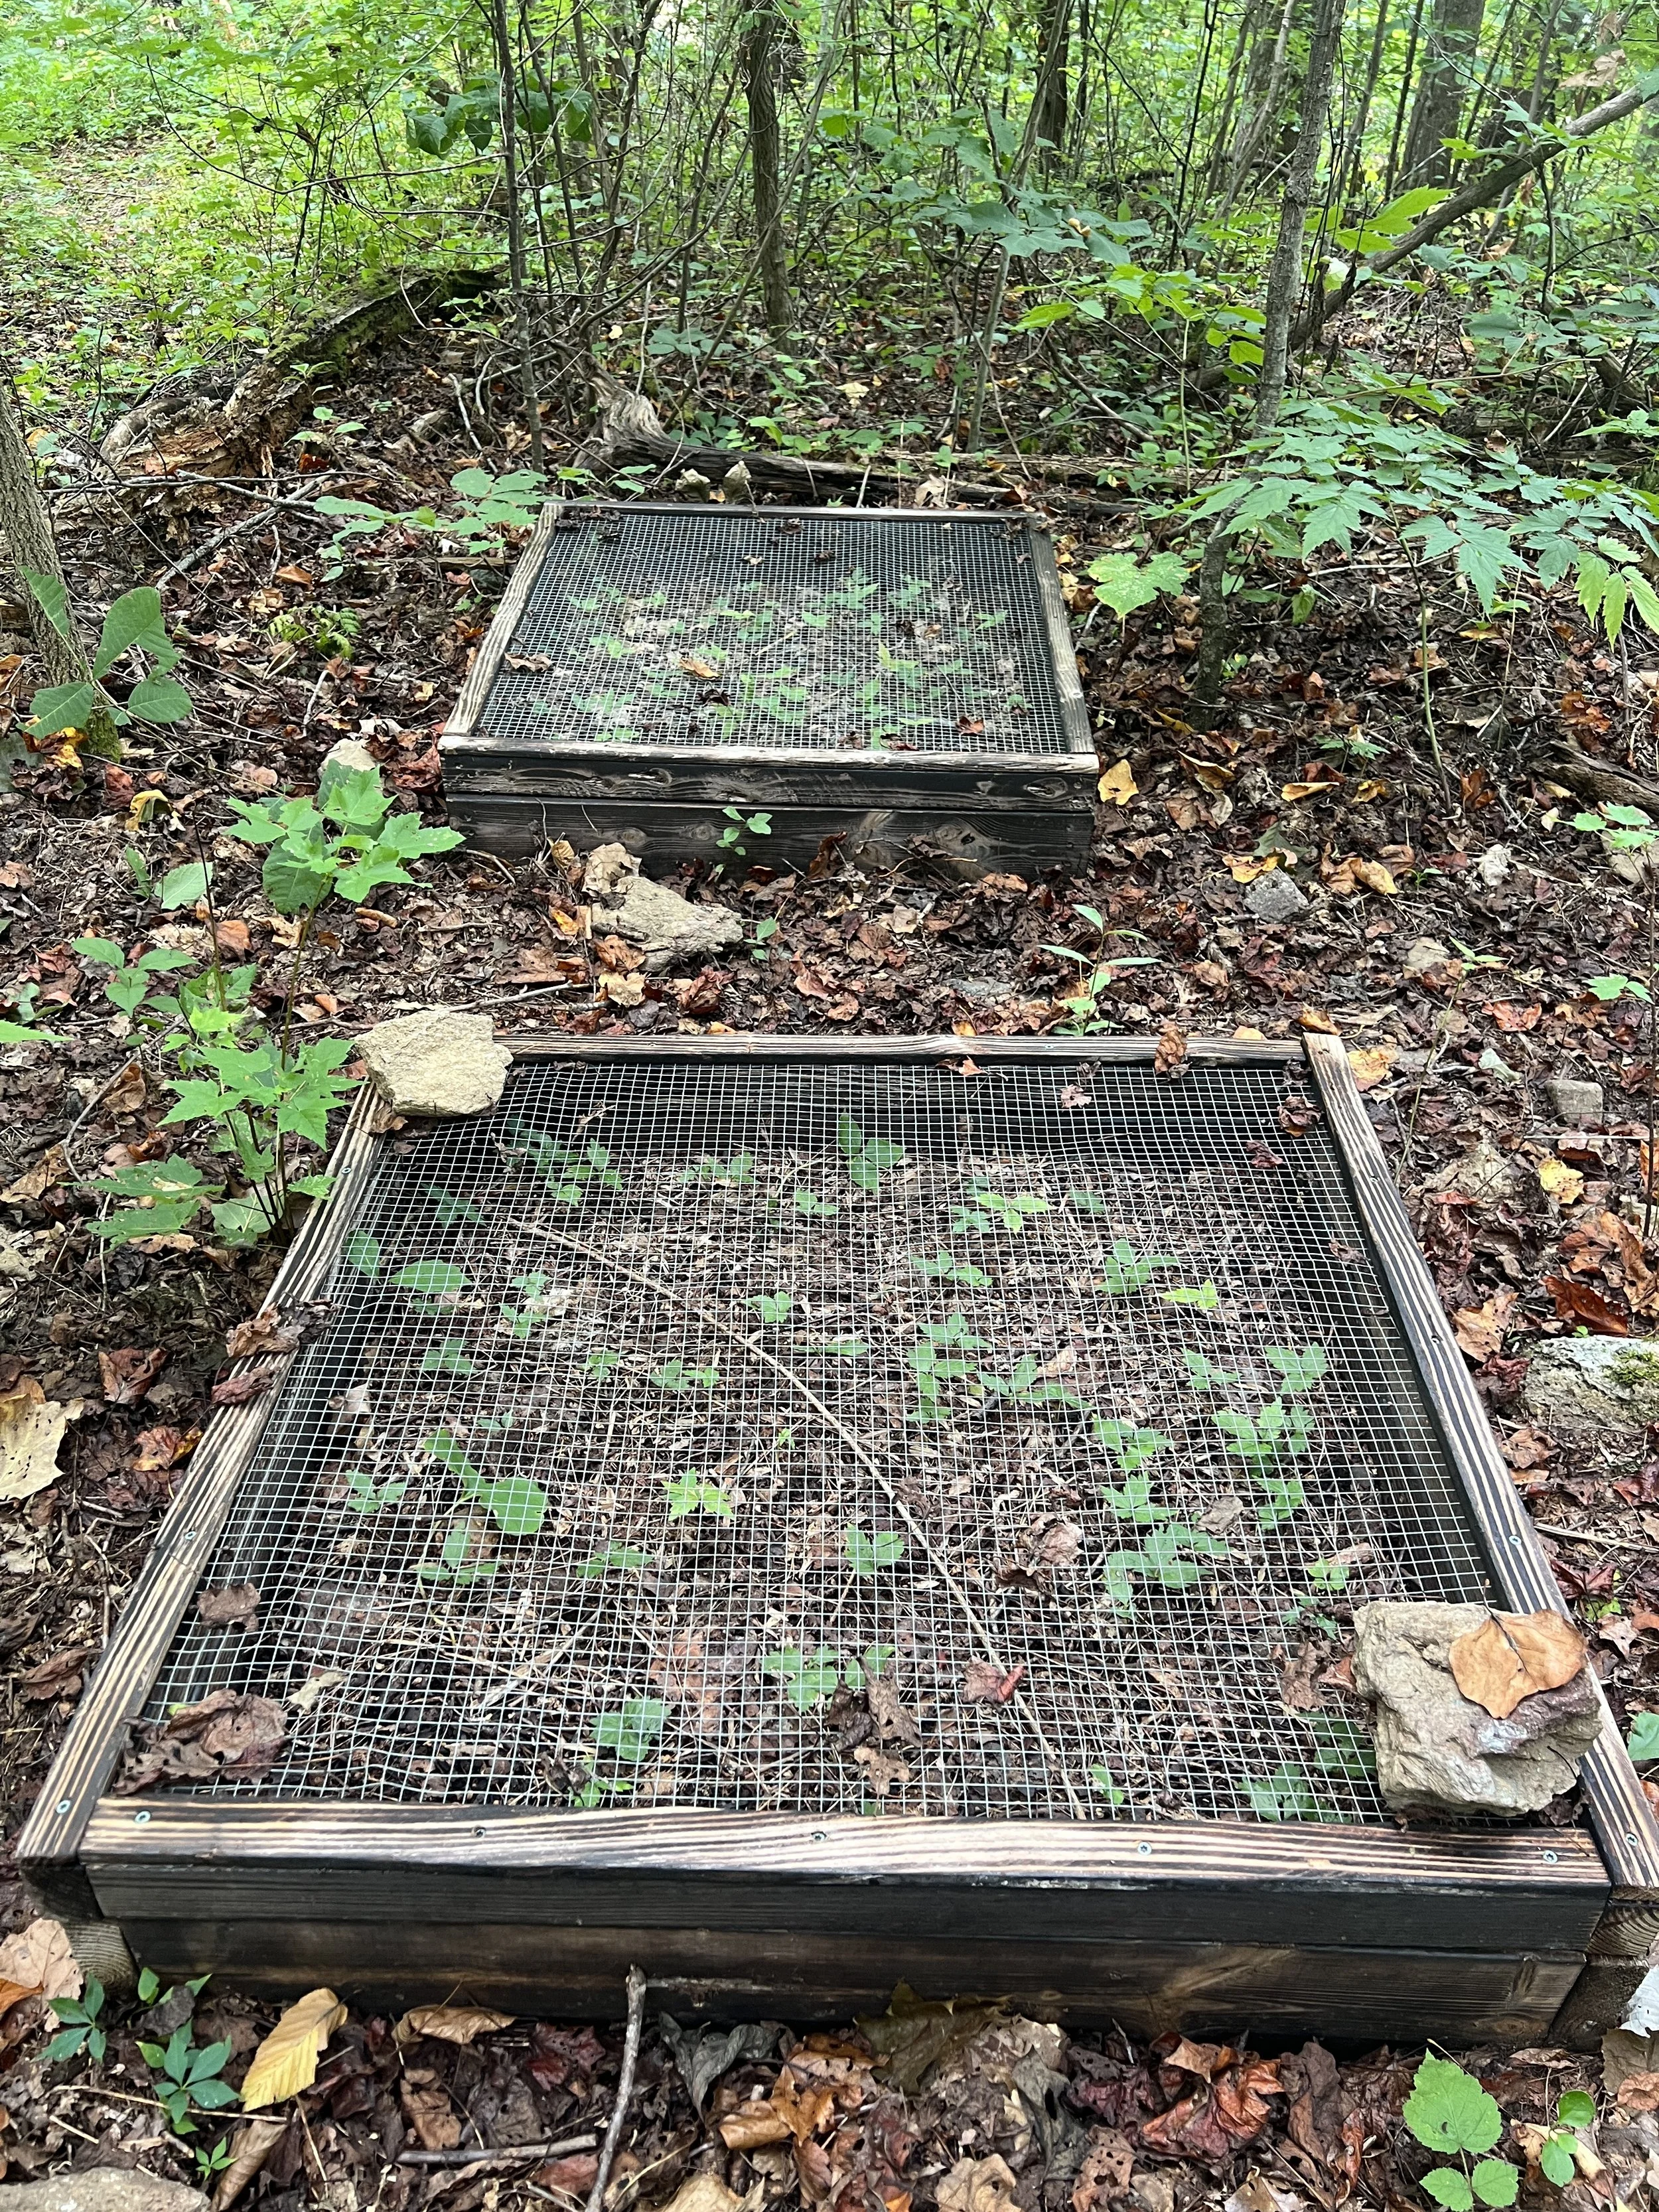
I learned about these seed starting ‘nursery boxes’ some years back and have posted about them in an earlier blog post (‘Planting the seeds’ from May of 2023). These boxes are amazing for planting seeds that require stratification, which includes so many of our native perennial seeds here in our region and beyond (we’re in western NC, zone 7).
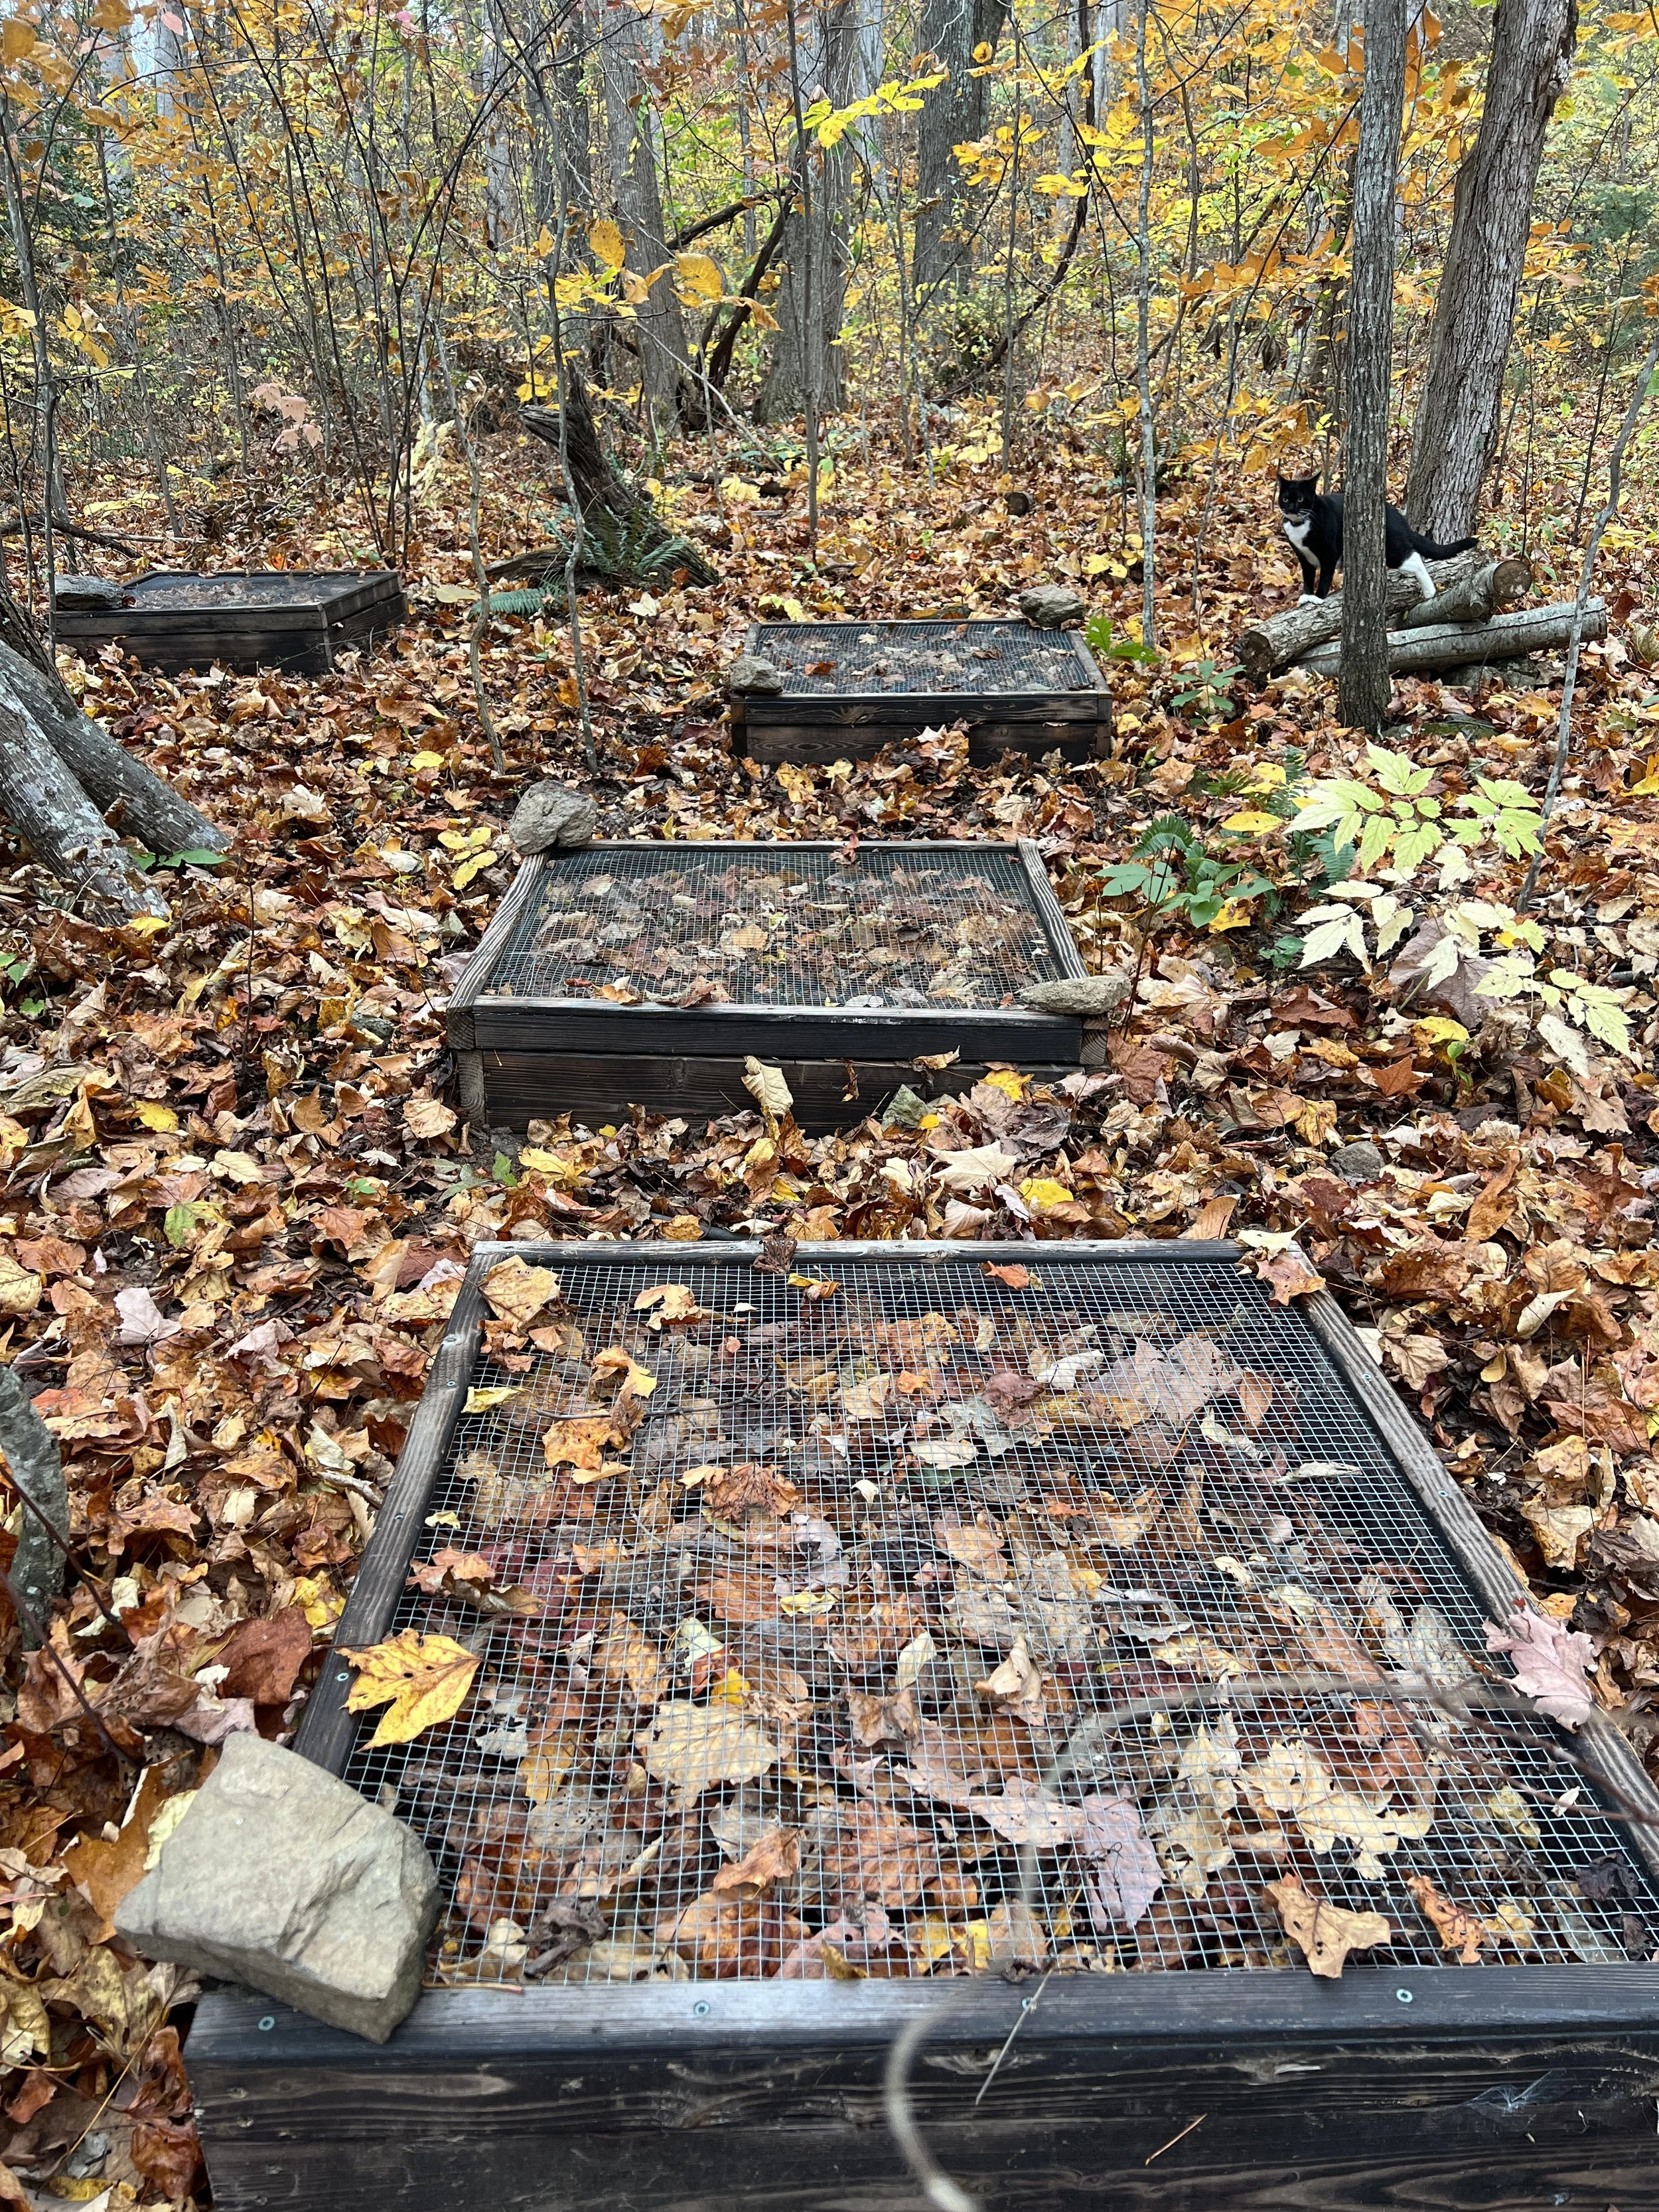
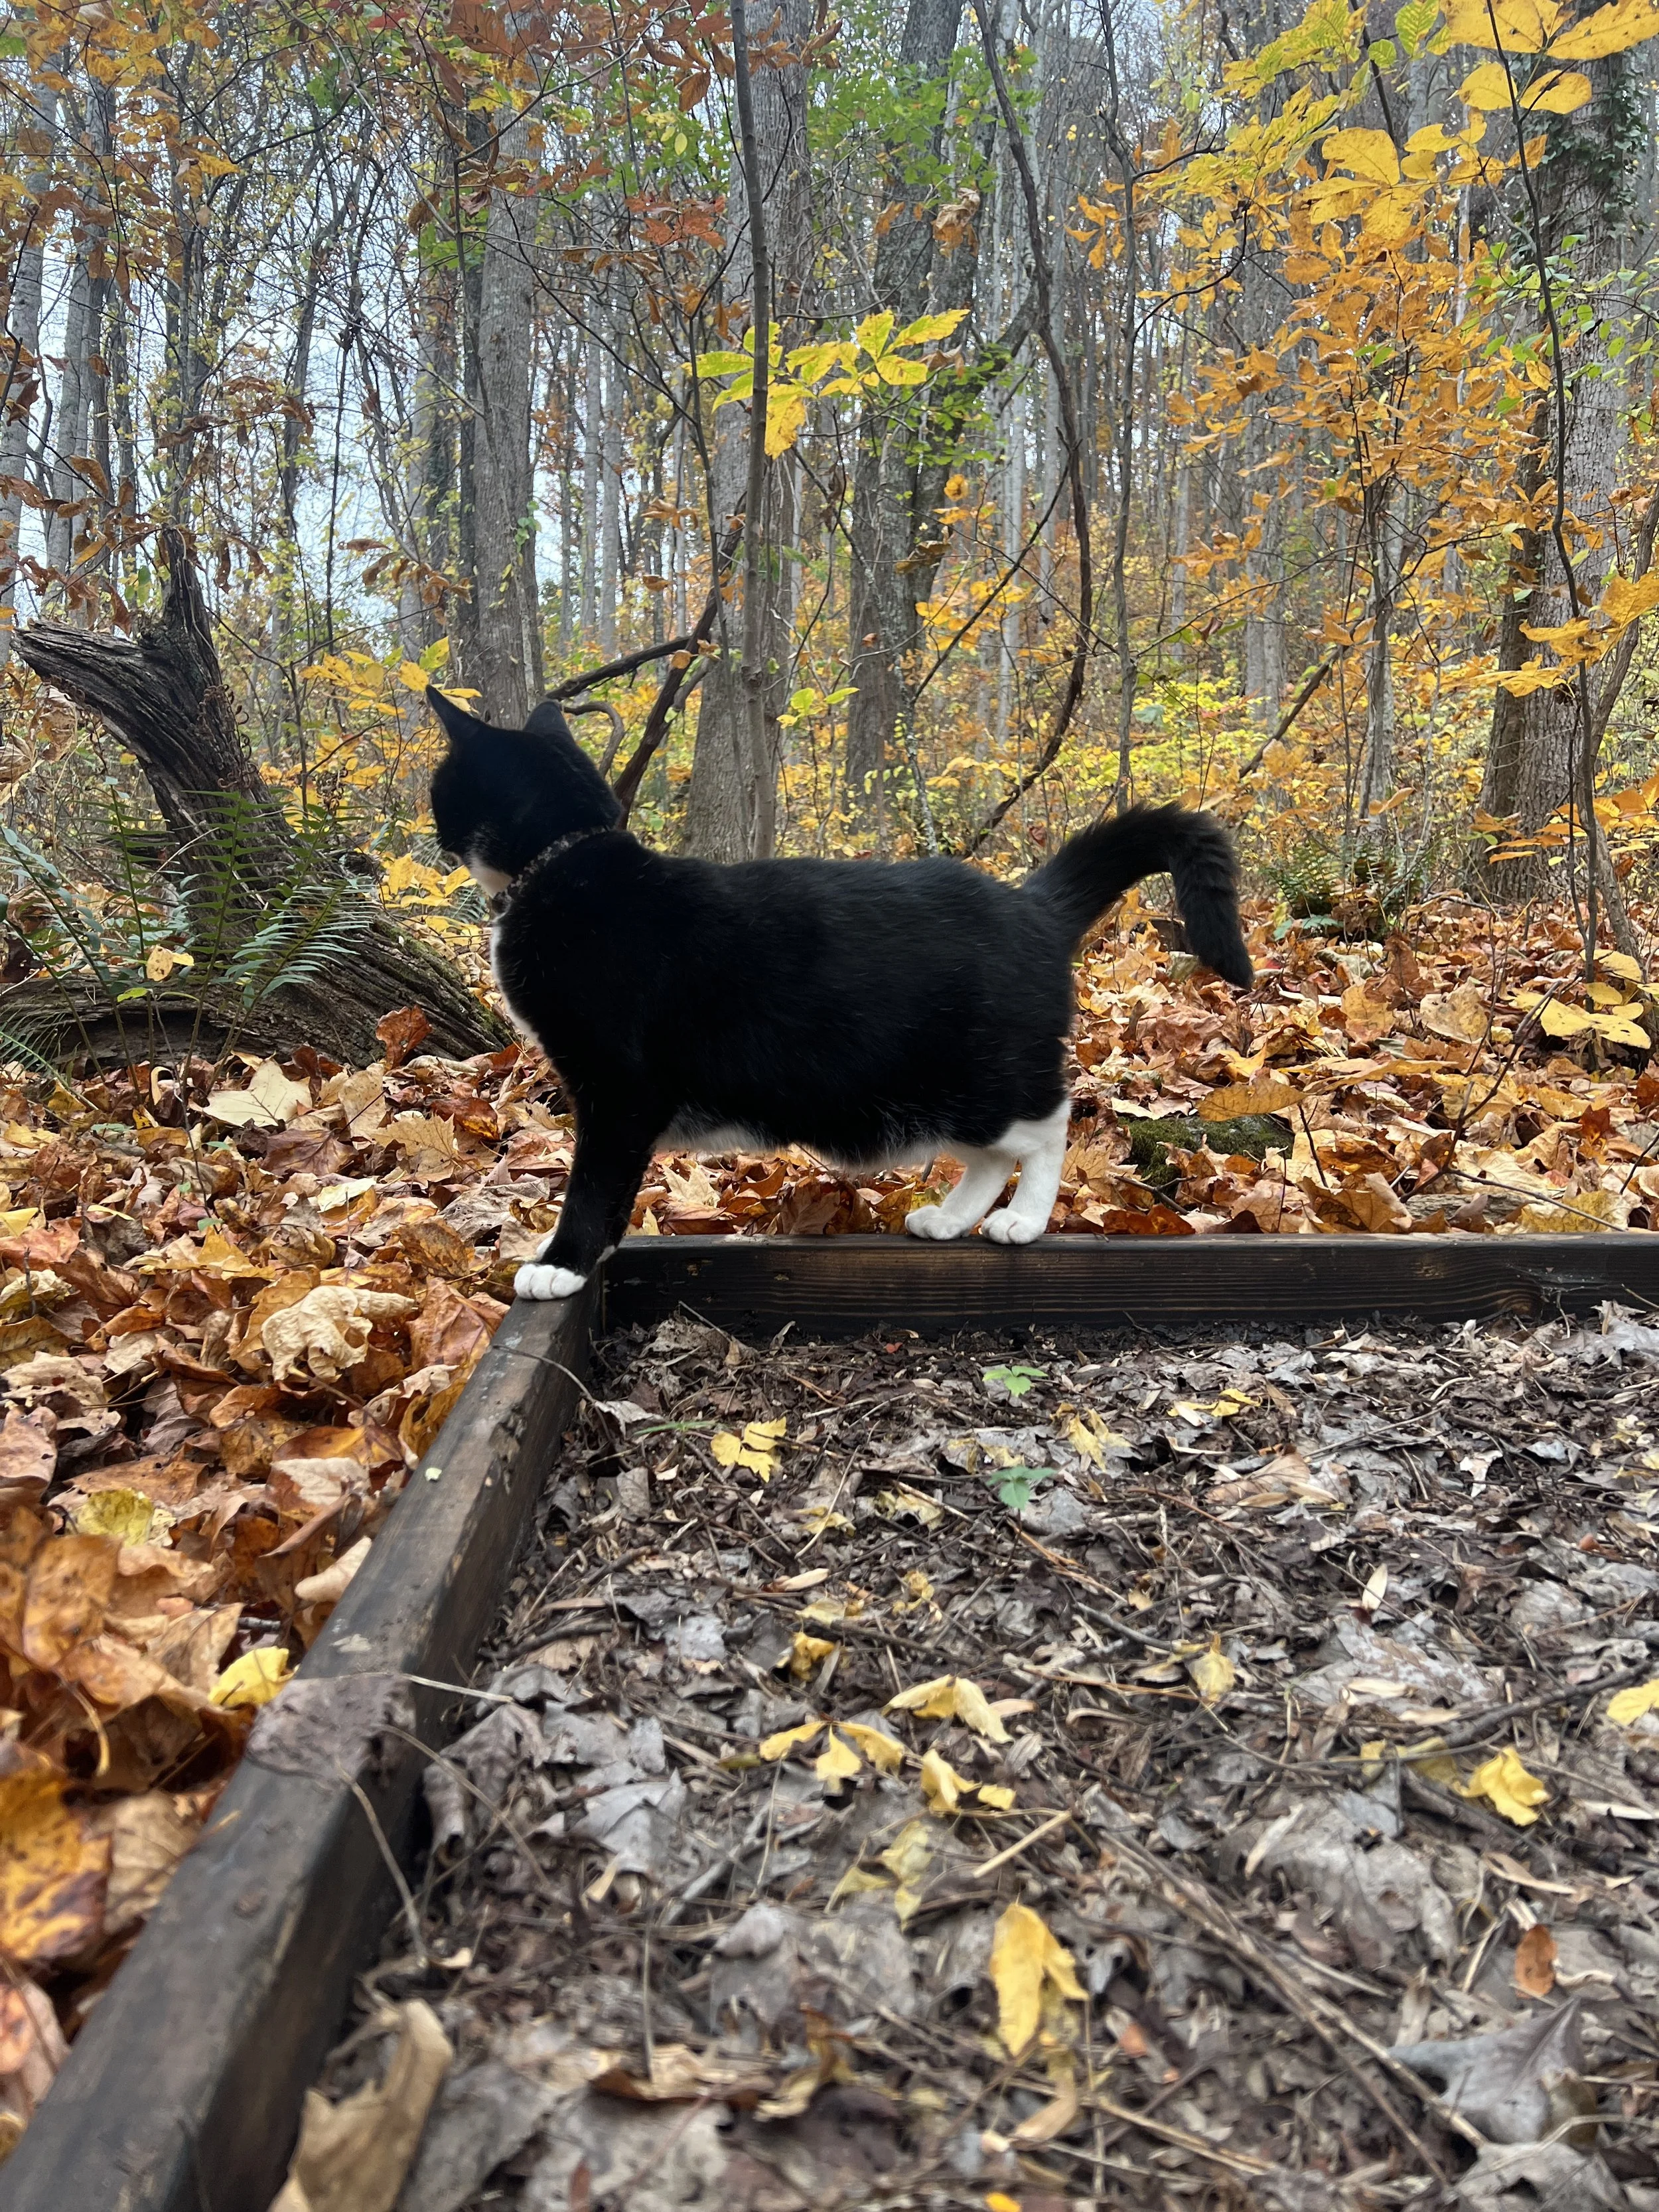
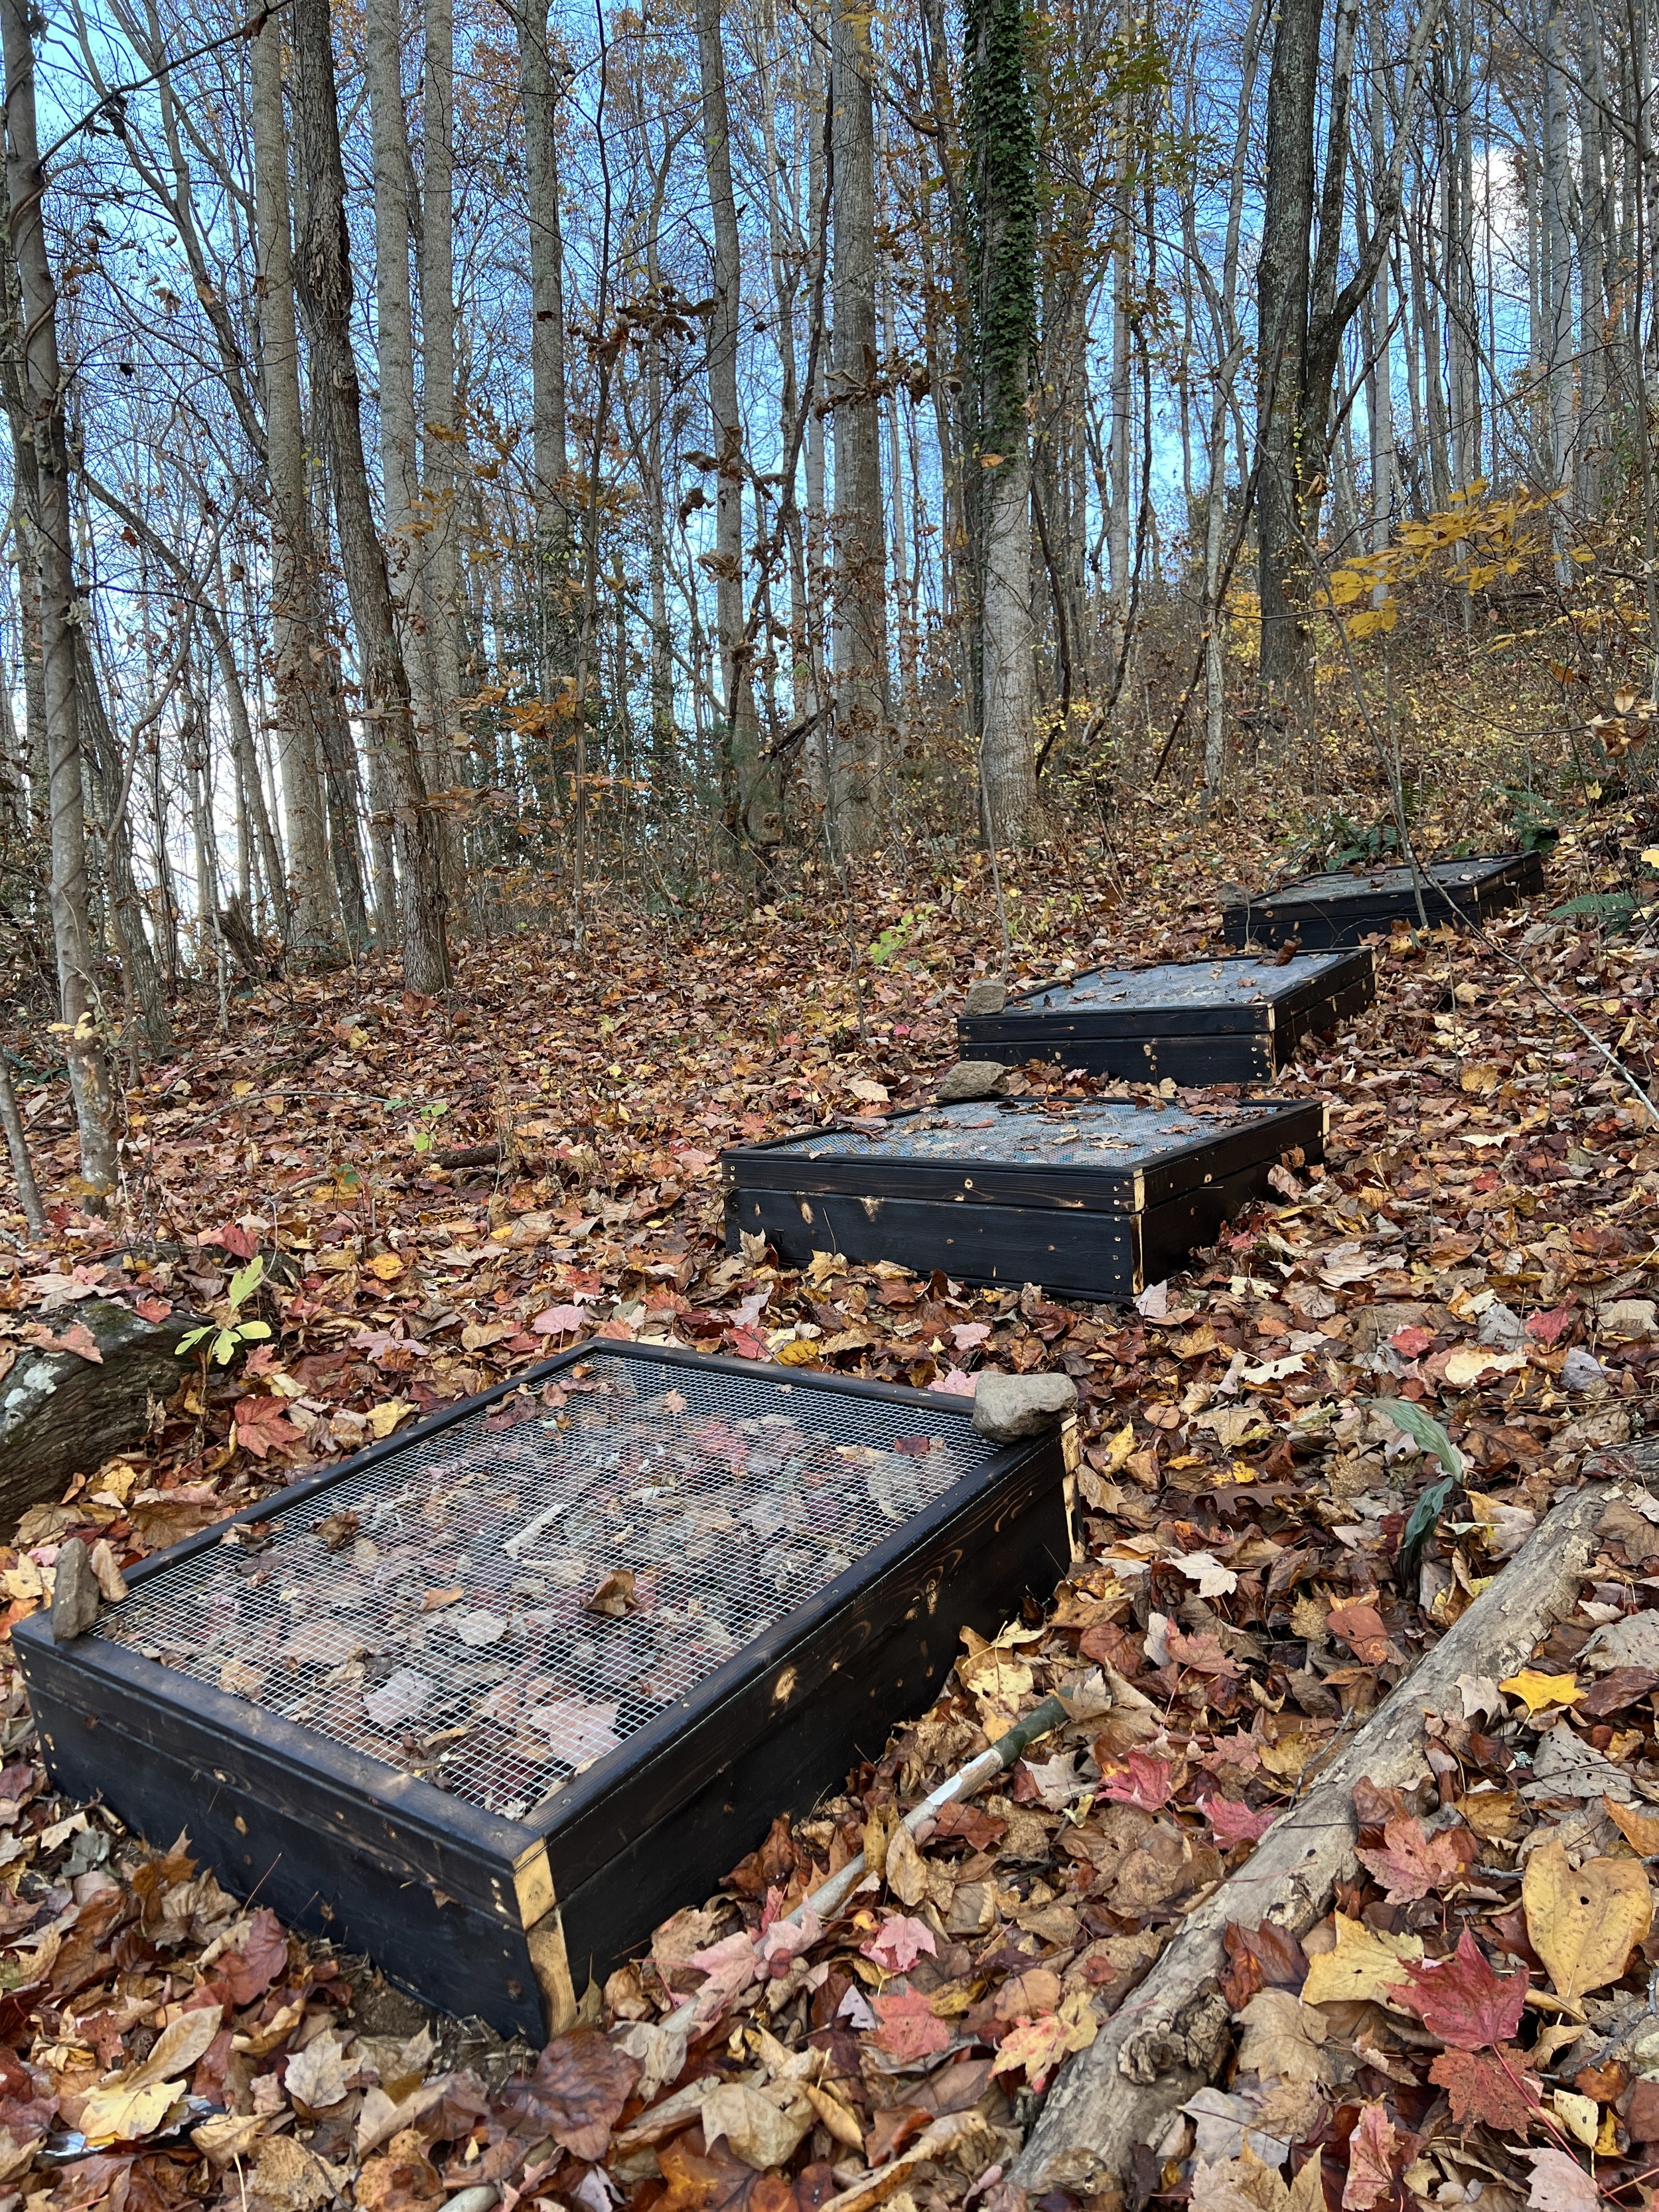
Many perennial seeds need to be in the soil for months or even years before germination so that they get the warm and cold cycles they need to break out of dormancy. The chance of these seeds being eaten by a critter or dug up by a squirrel goes up drastically compared to when you’re sowing quick germinating annual seeds in the spring. These nursery boxes keep your seeds safe from nut hoarding squirrel friends along with foraging mice, chipmunks, and birds, and they also keep larger animals such as deer, turkey and bears from compacting or digging around in the seed bed. It also keeps your seeds and seedlings safe from falling limbs, or in our case in the fall of 2024, falling trees! We were hit hard by Hurricane Helene here in Swannanoa that fall. We were very fortunate to have had minimal damage to our property compared to many, but most of our newly built nursery boxes didn’t make it. Amazingly most of the seedlings within them lived, thanks to those strong little walls!
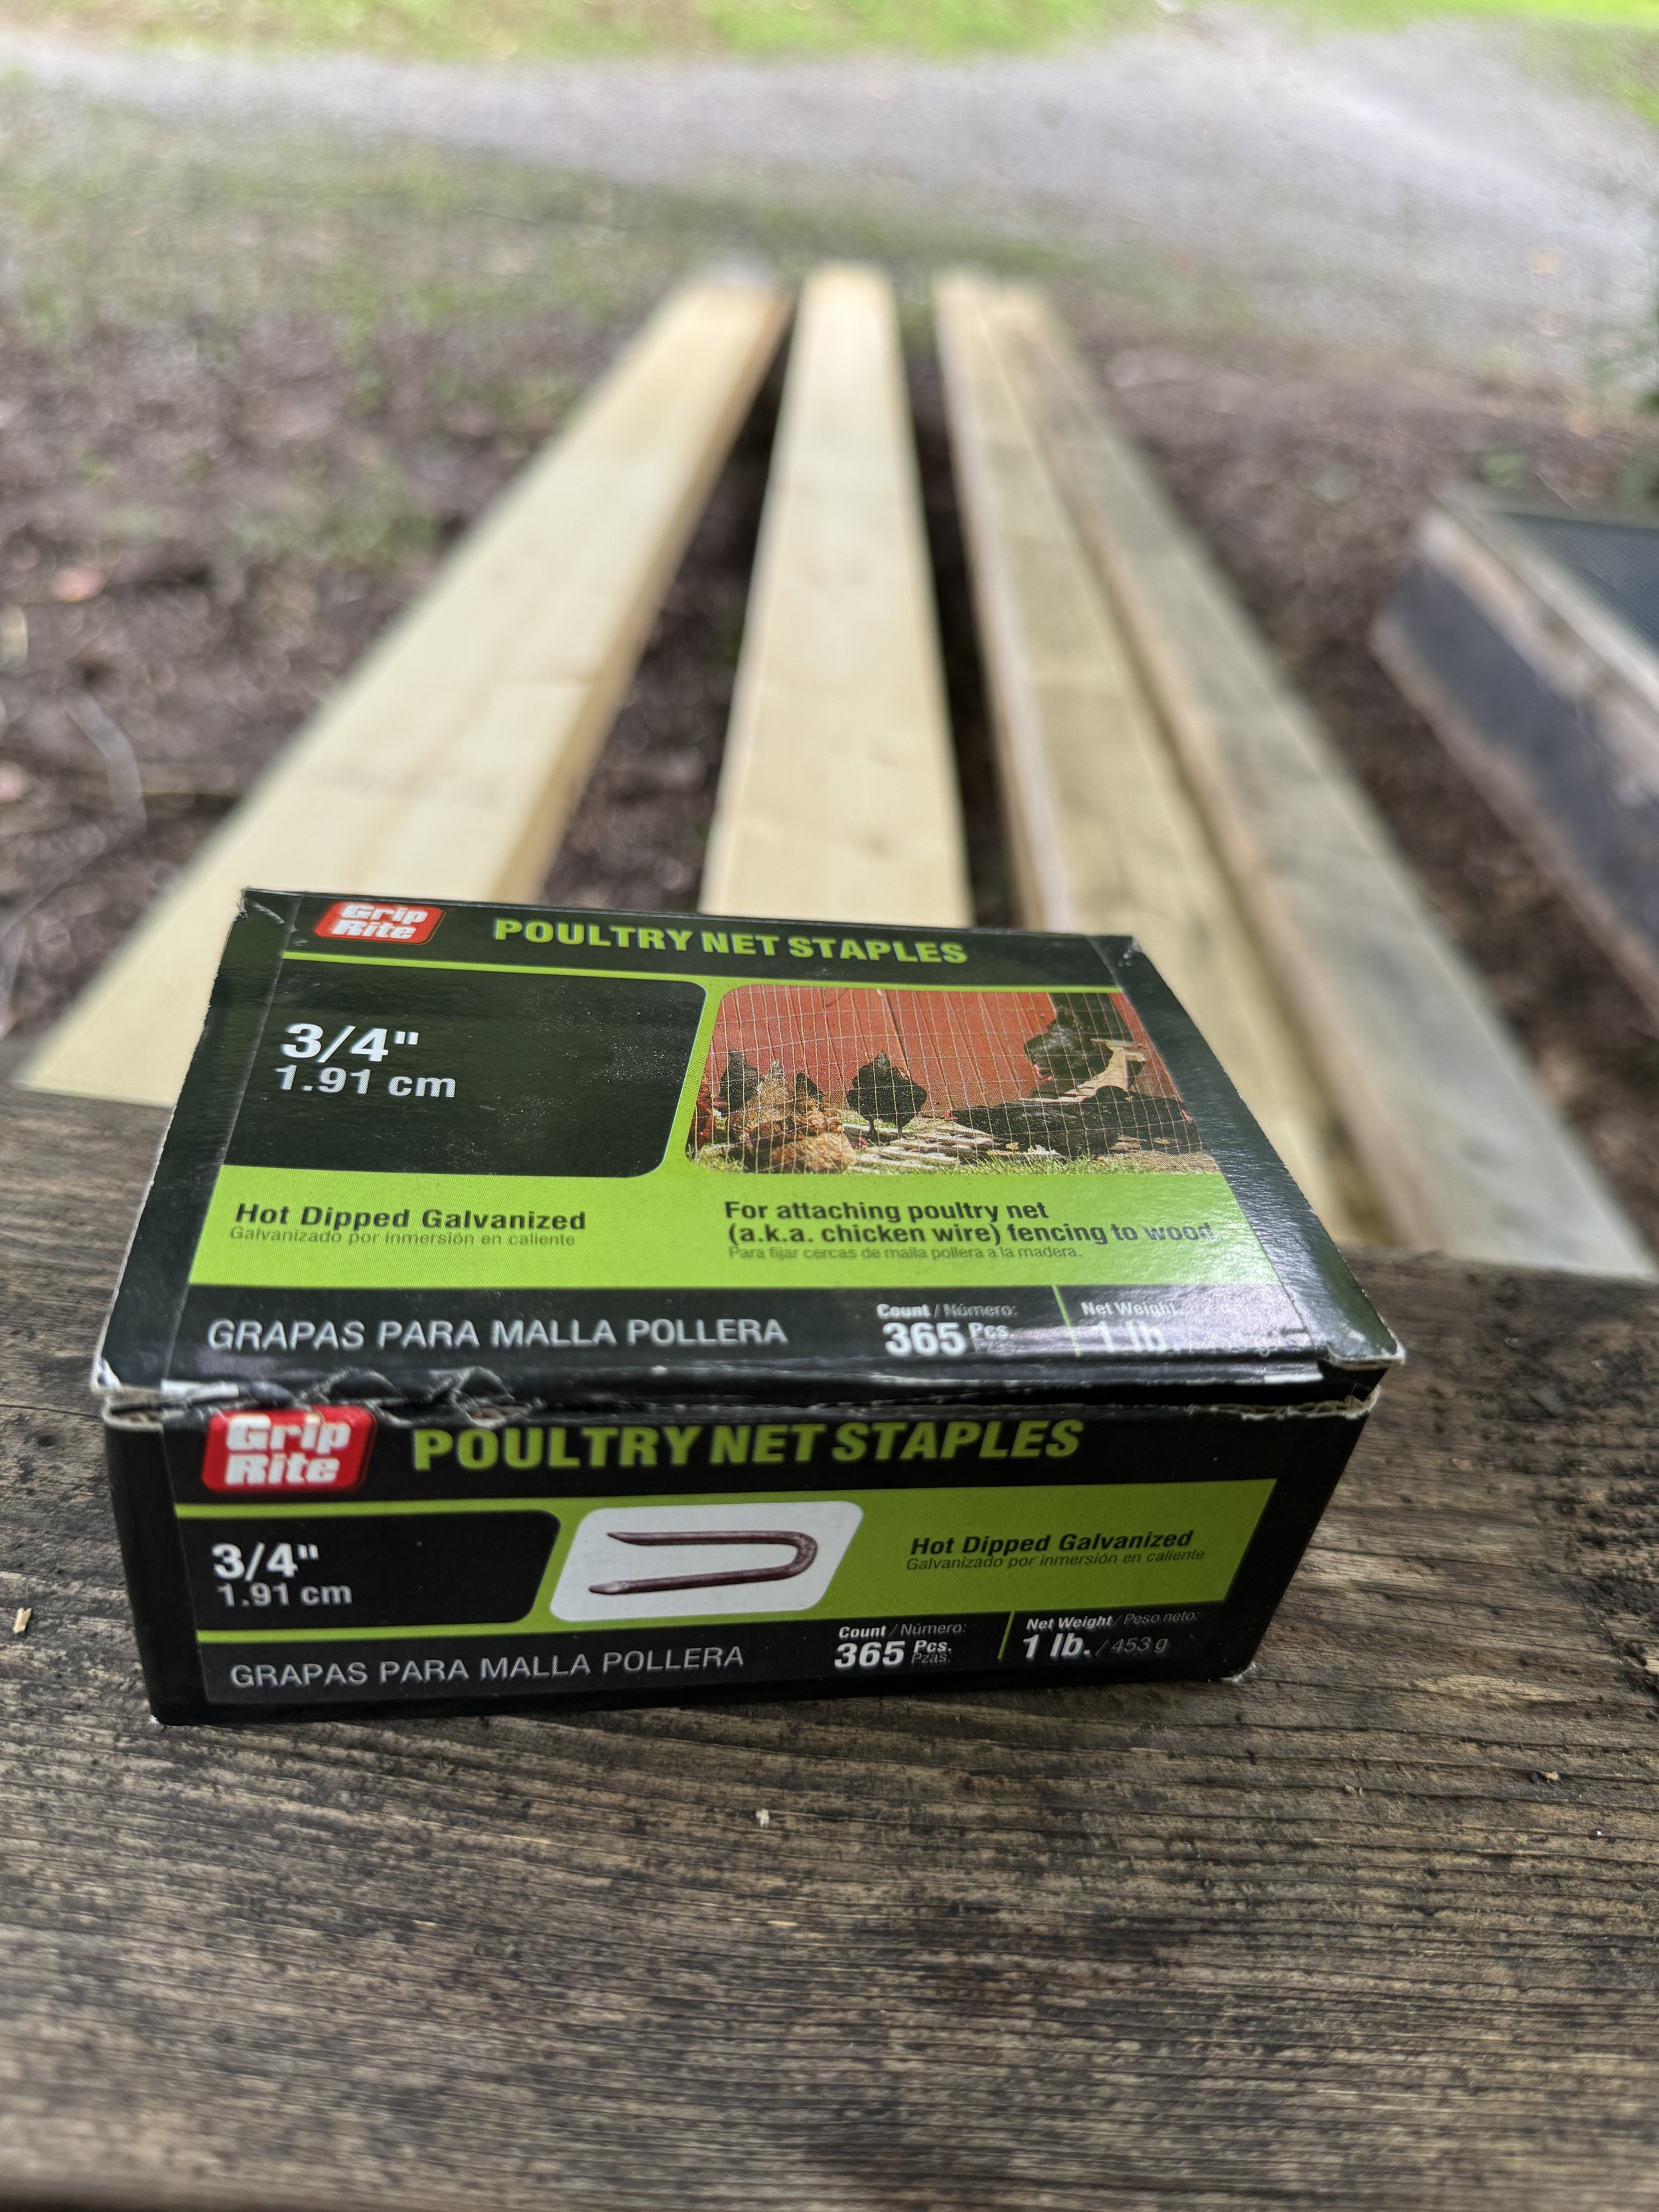
Here’s the shopping list we used to create four nursery boxes with lids.

Builds four 3’x3’ boxes
This is what we used because the materials are relatively affordable and easy to come by, and there’s minimal waste when we make 4 at a time. Just remember that this is not the only way! Let us know if you come up with something that works great for you!
*We used galvanized hardware cloth. If you can afford it, stainless steel hardware cloth will last way longer and is better for the environment.
Steps to build four 3’x3’ boxes:
We will start with the base of the boxes:
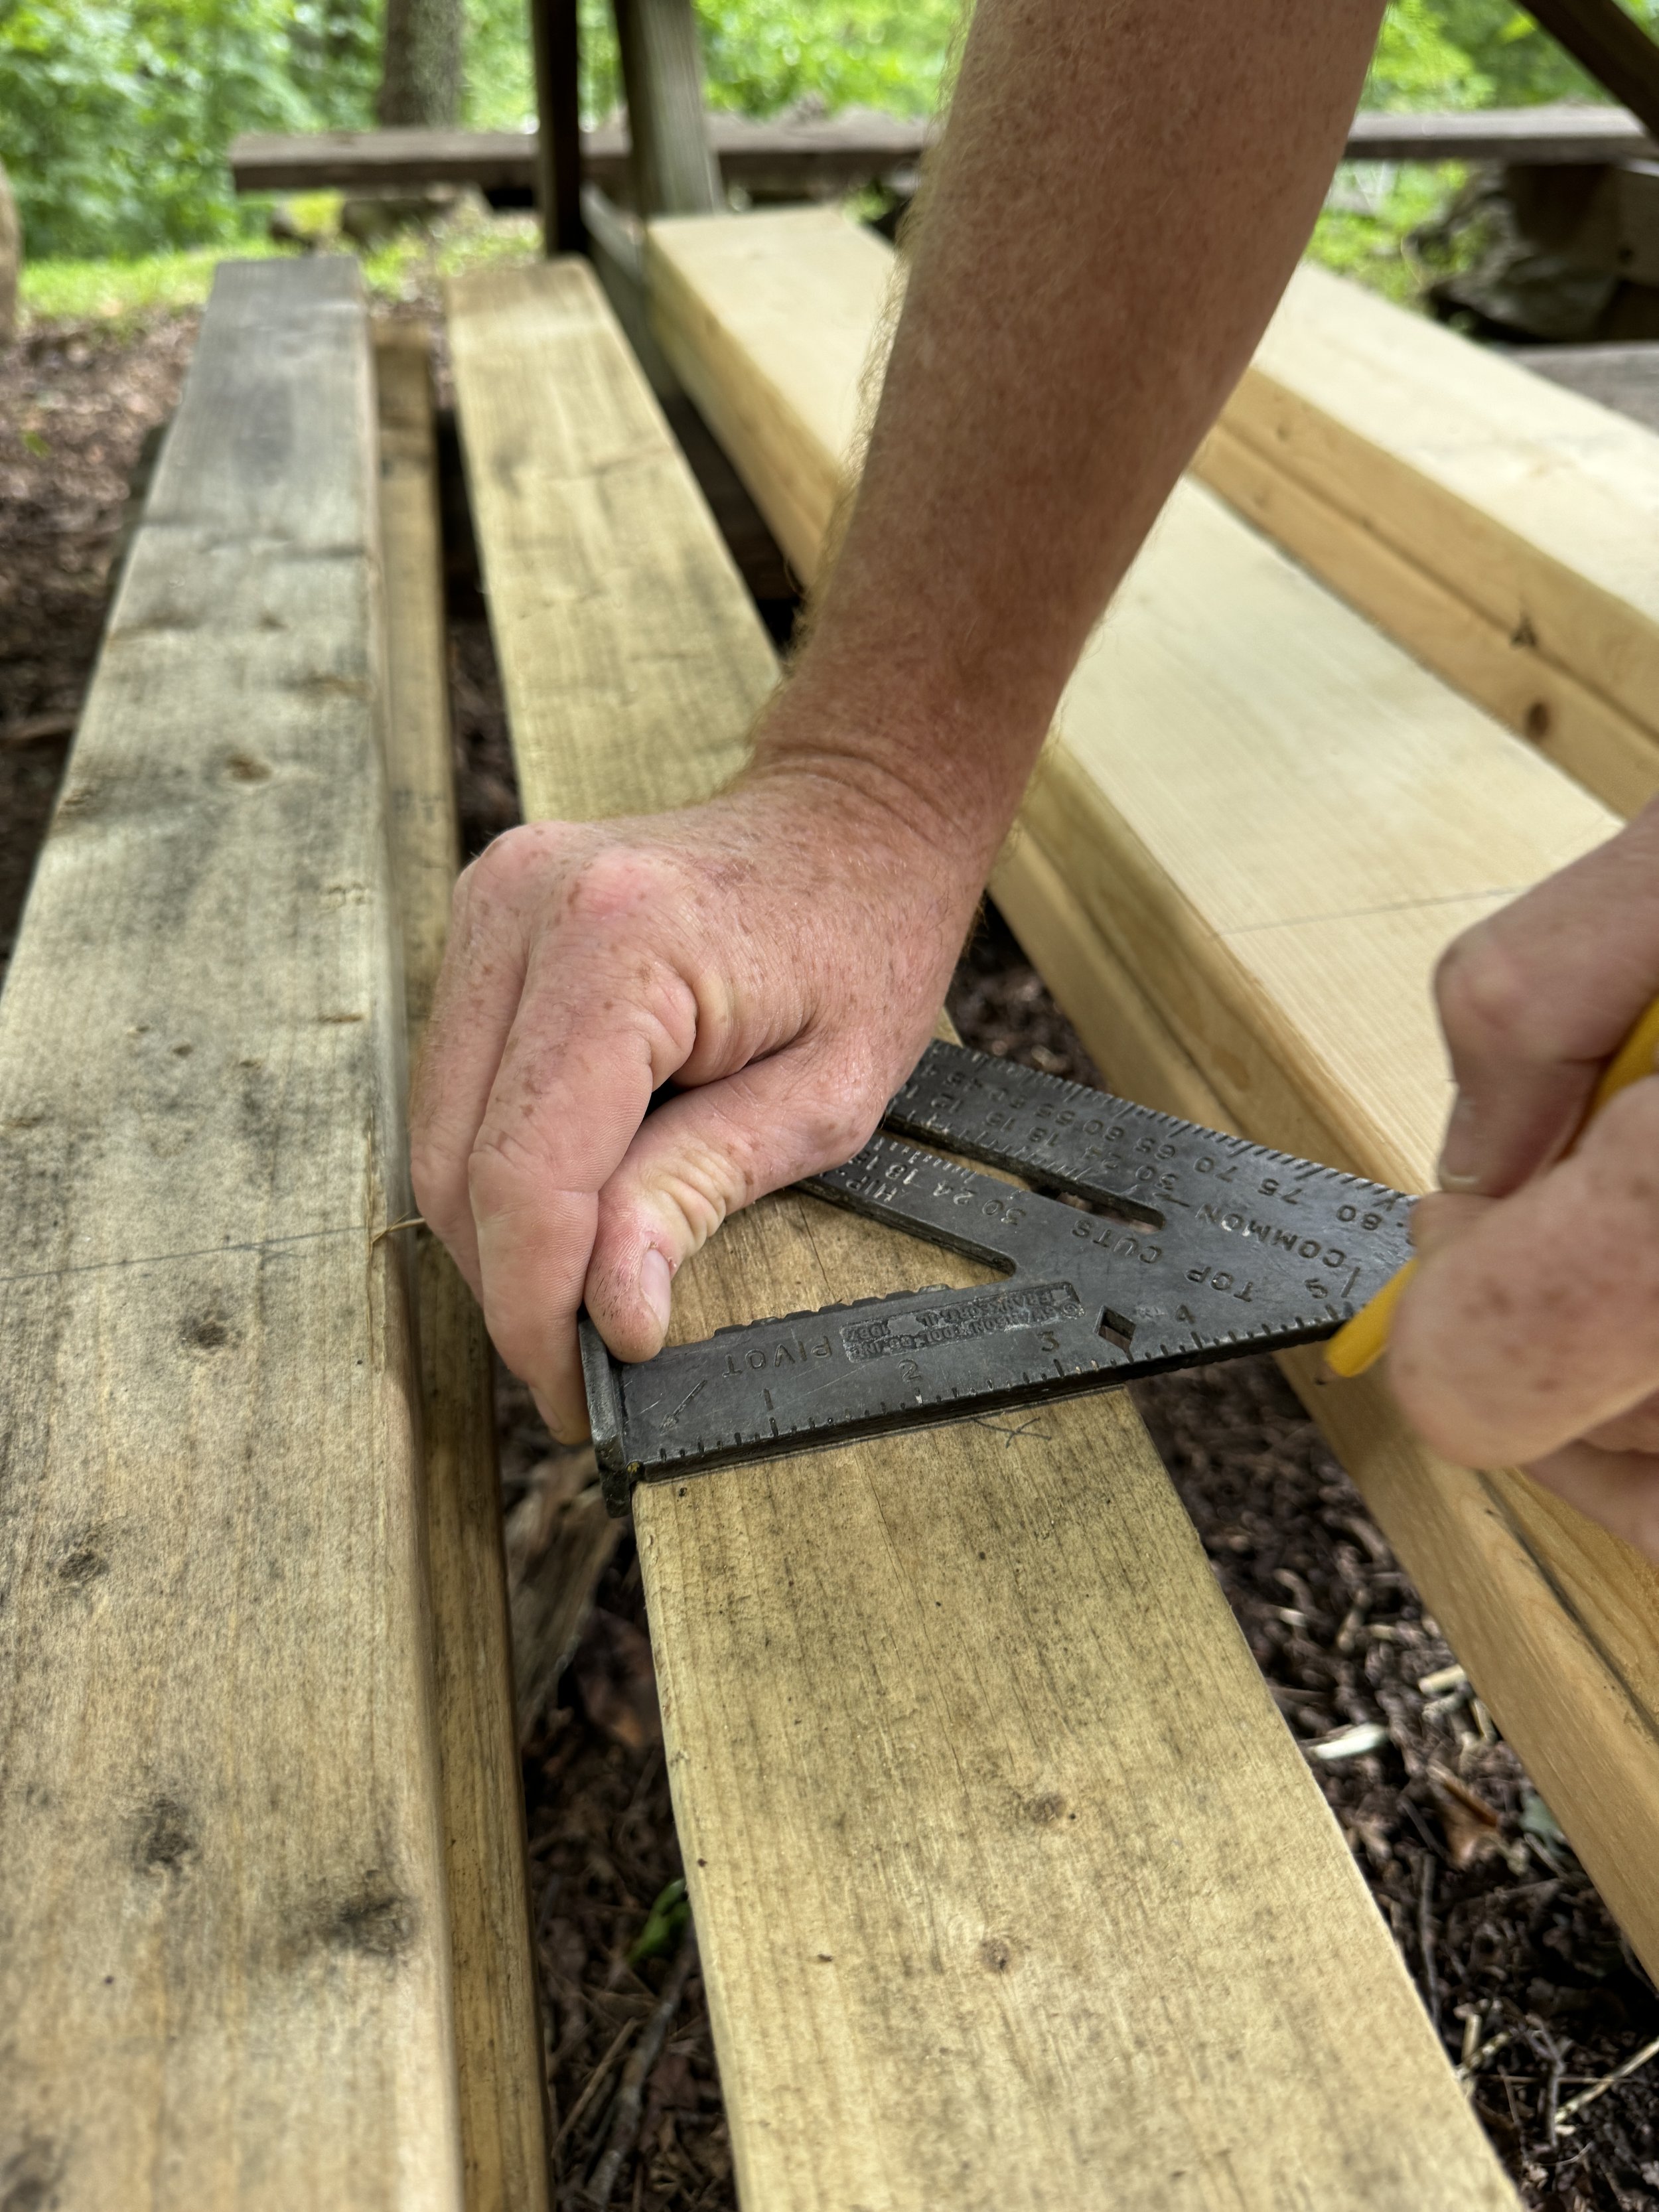
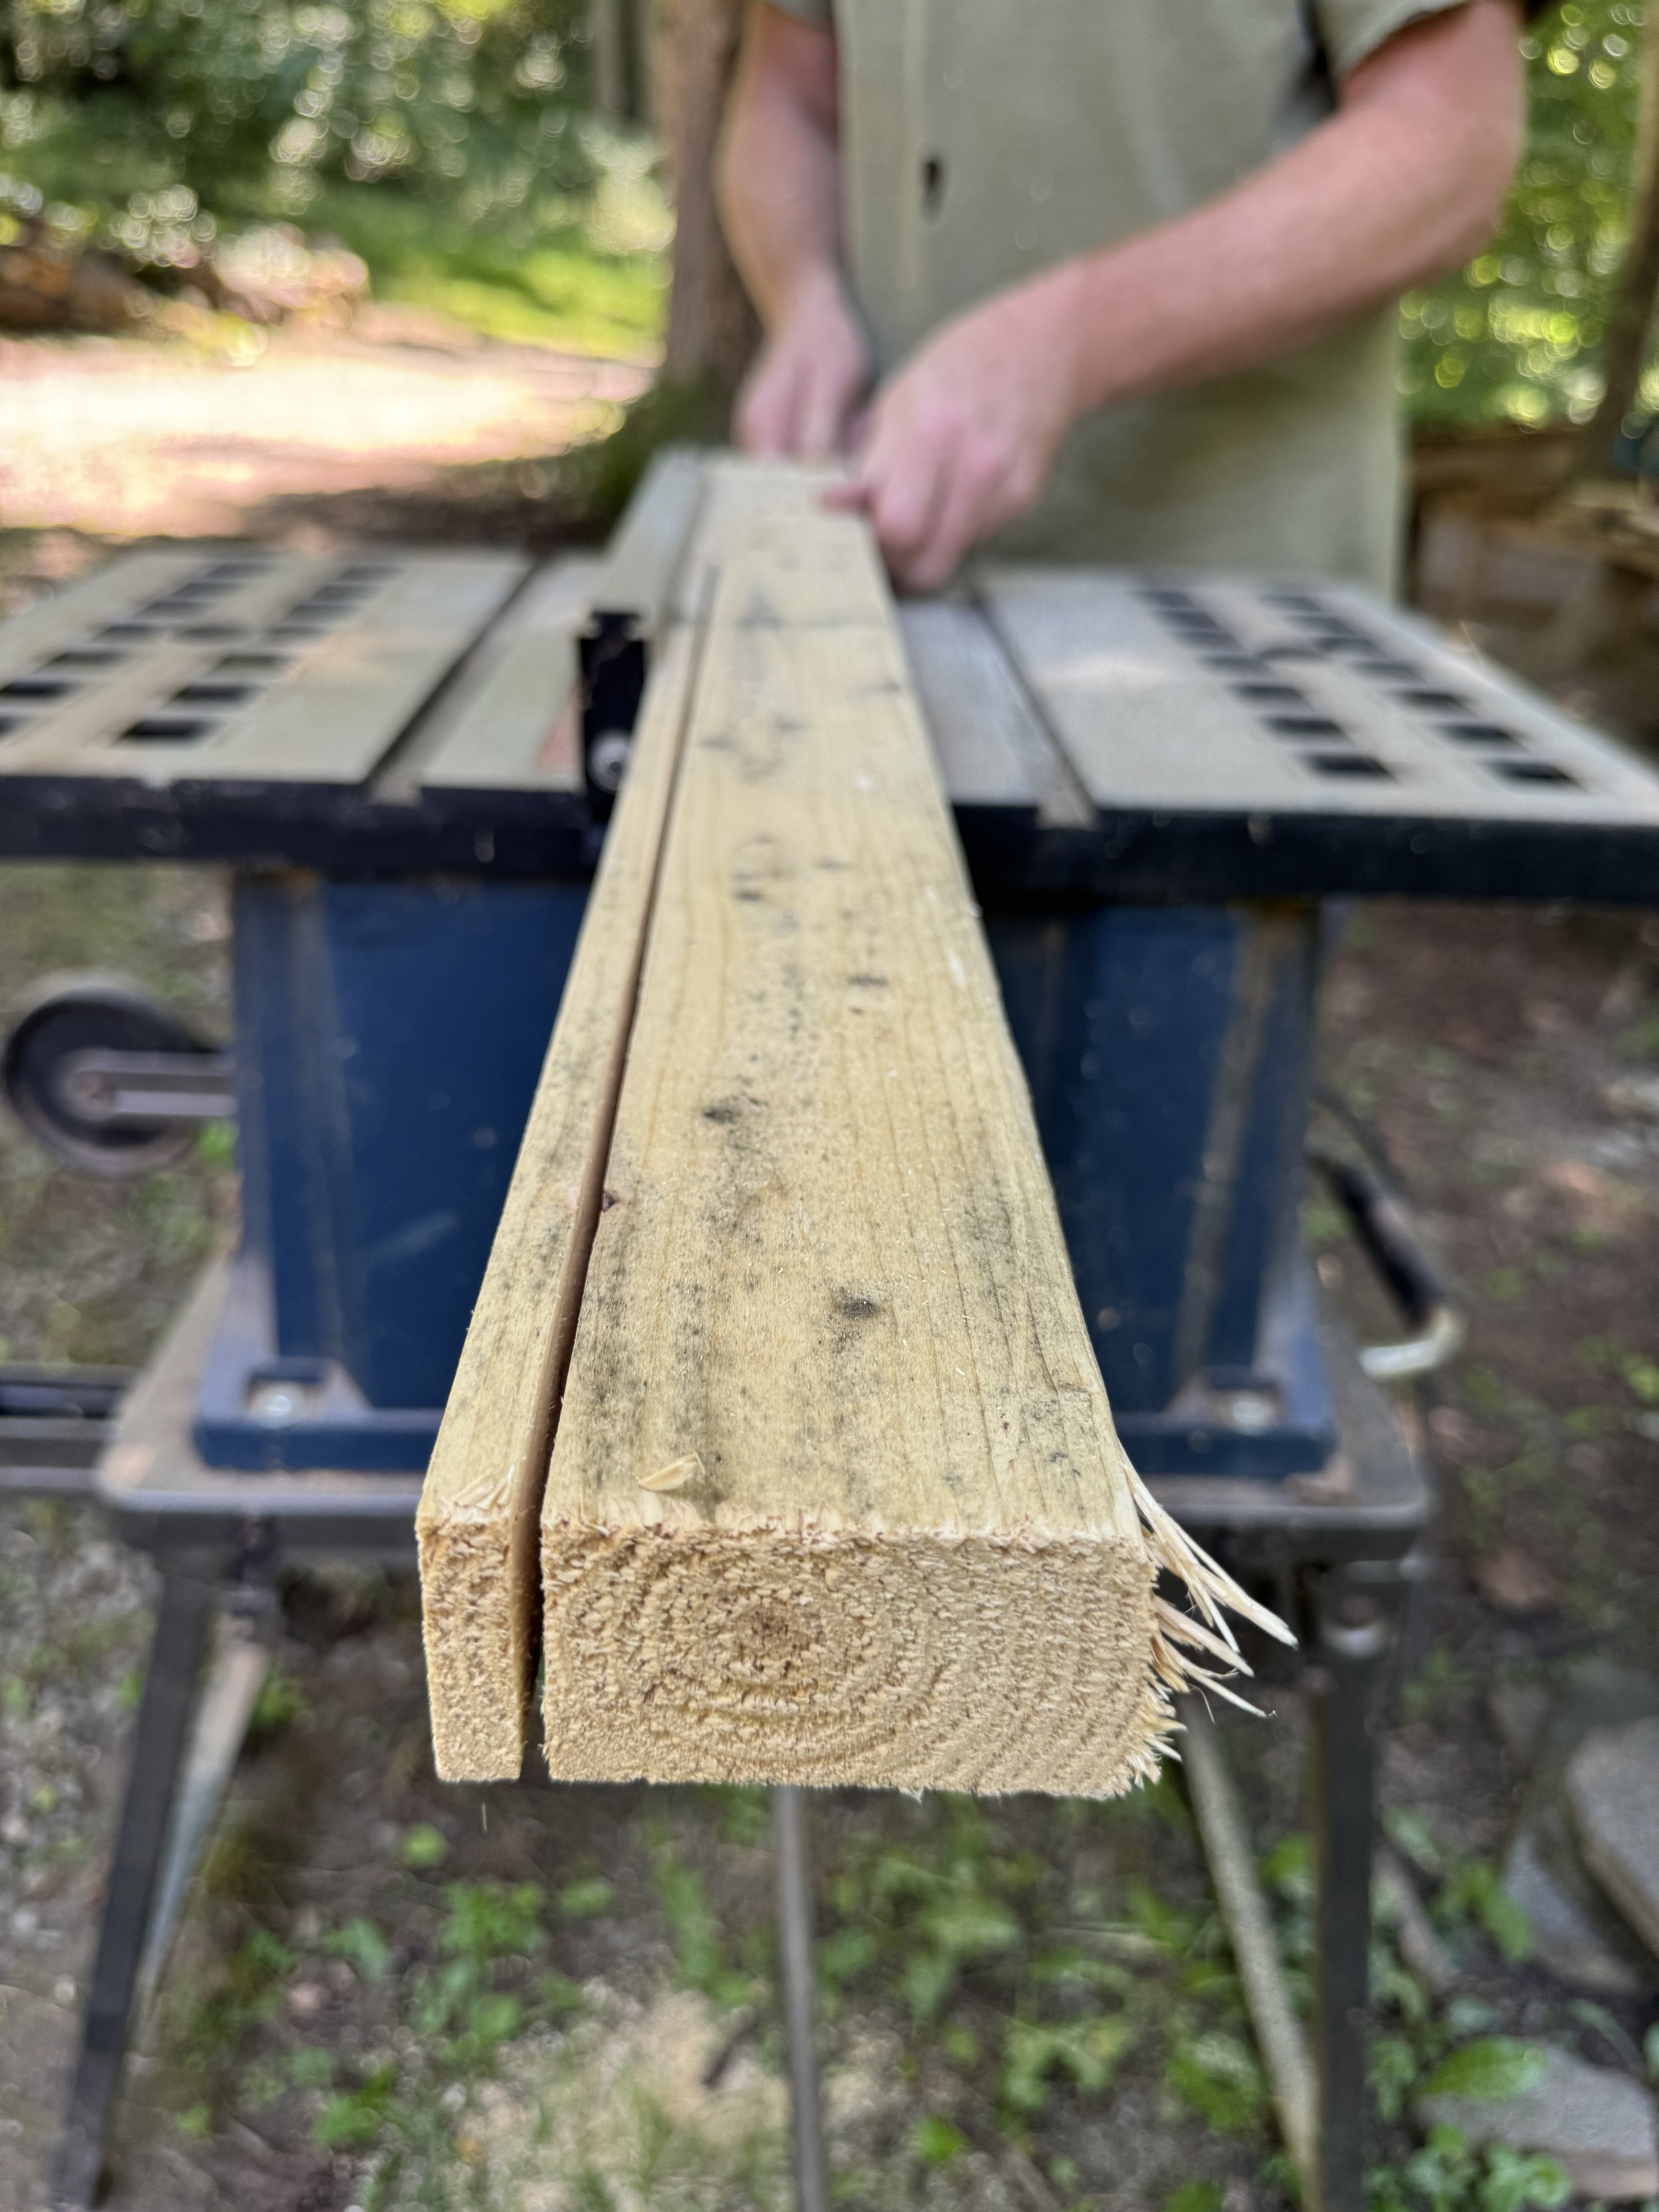
From each 12’ 2x6 cut two pieces to 37” long.
Now cut the remaining pieces of 2x6 in half.
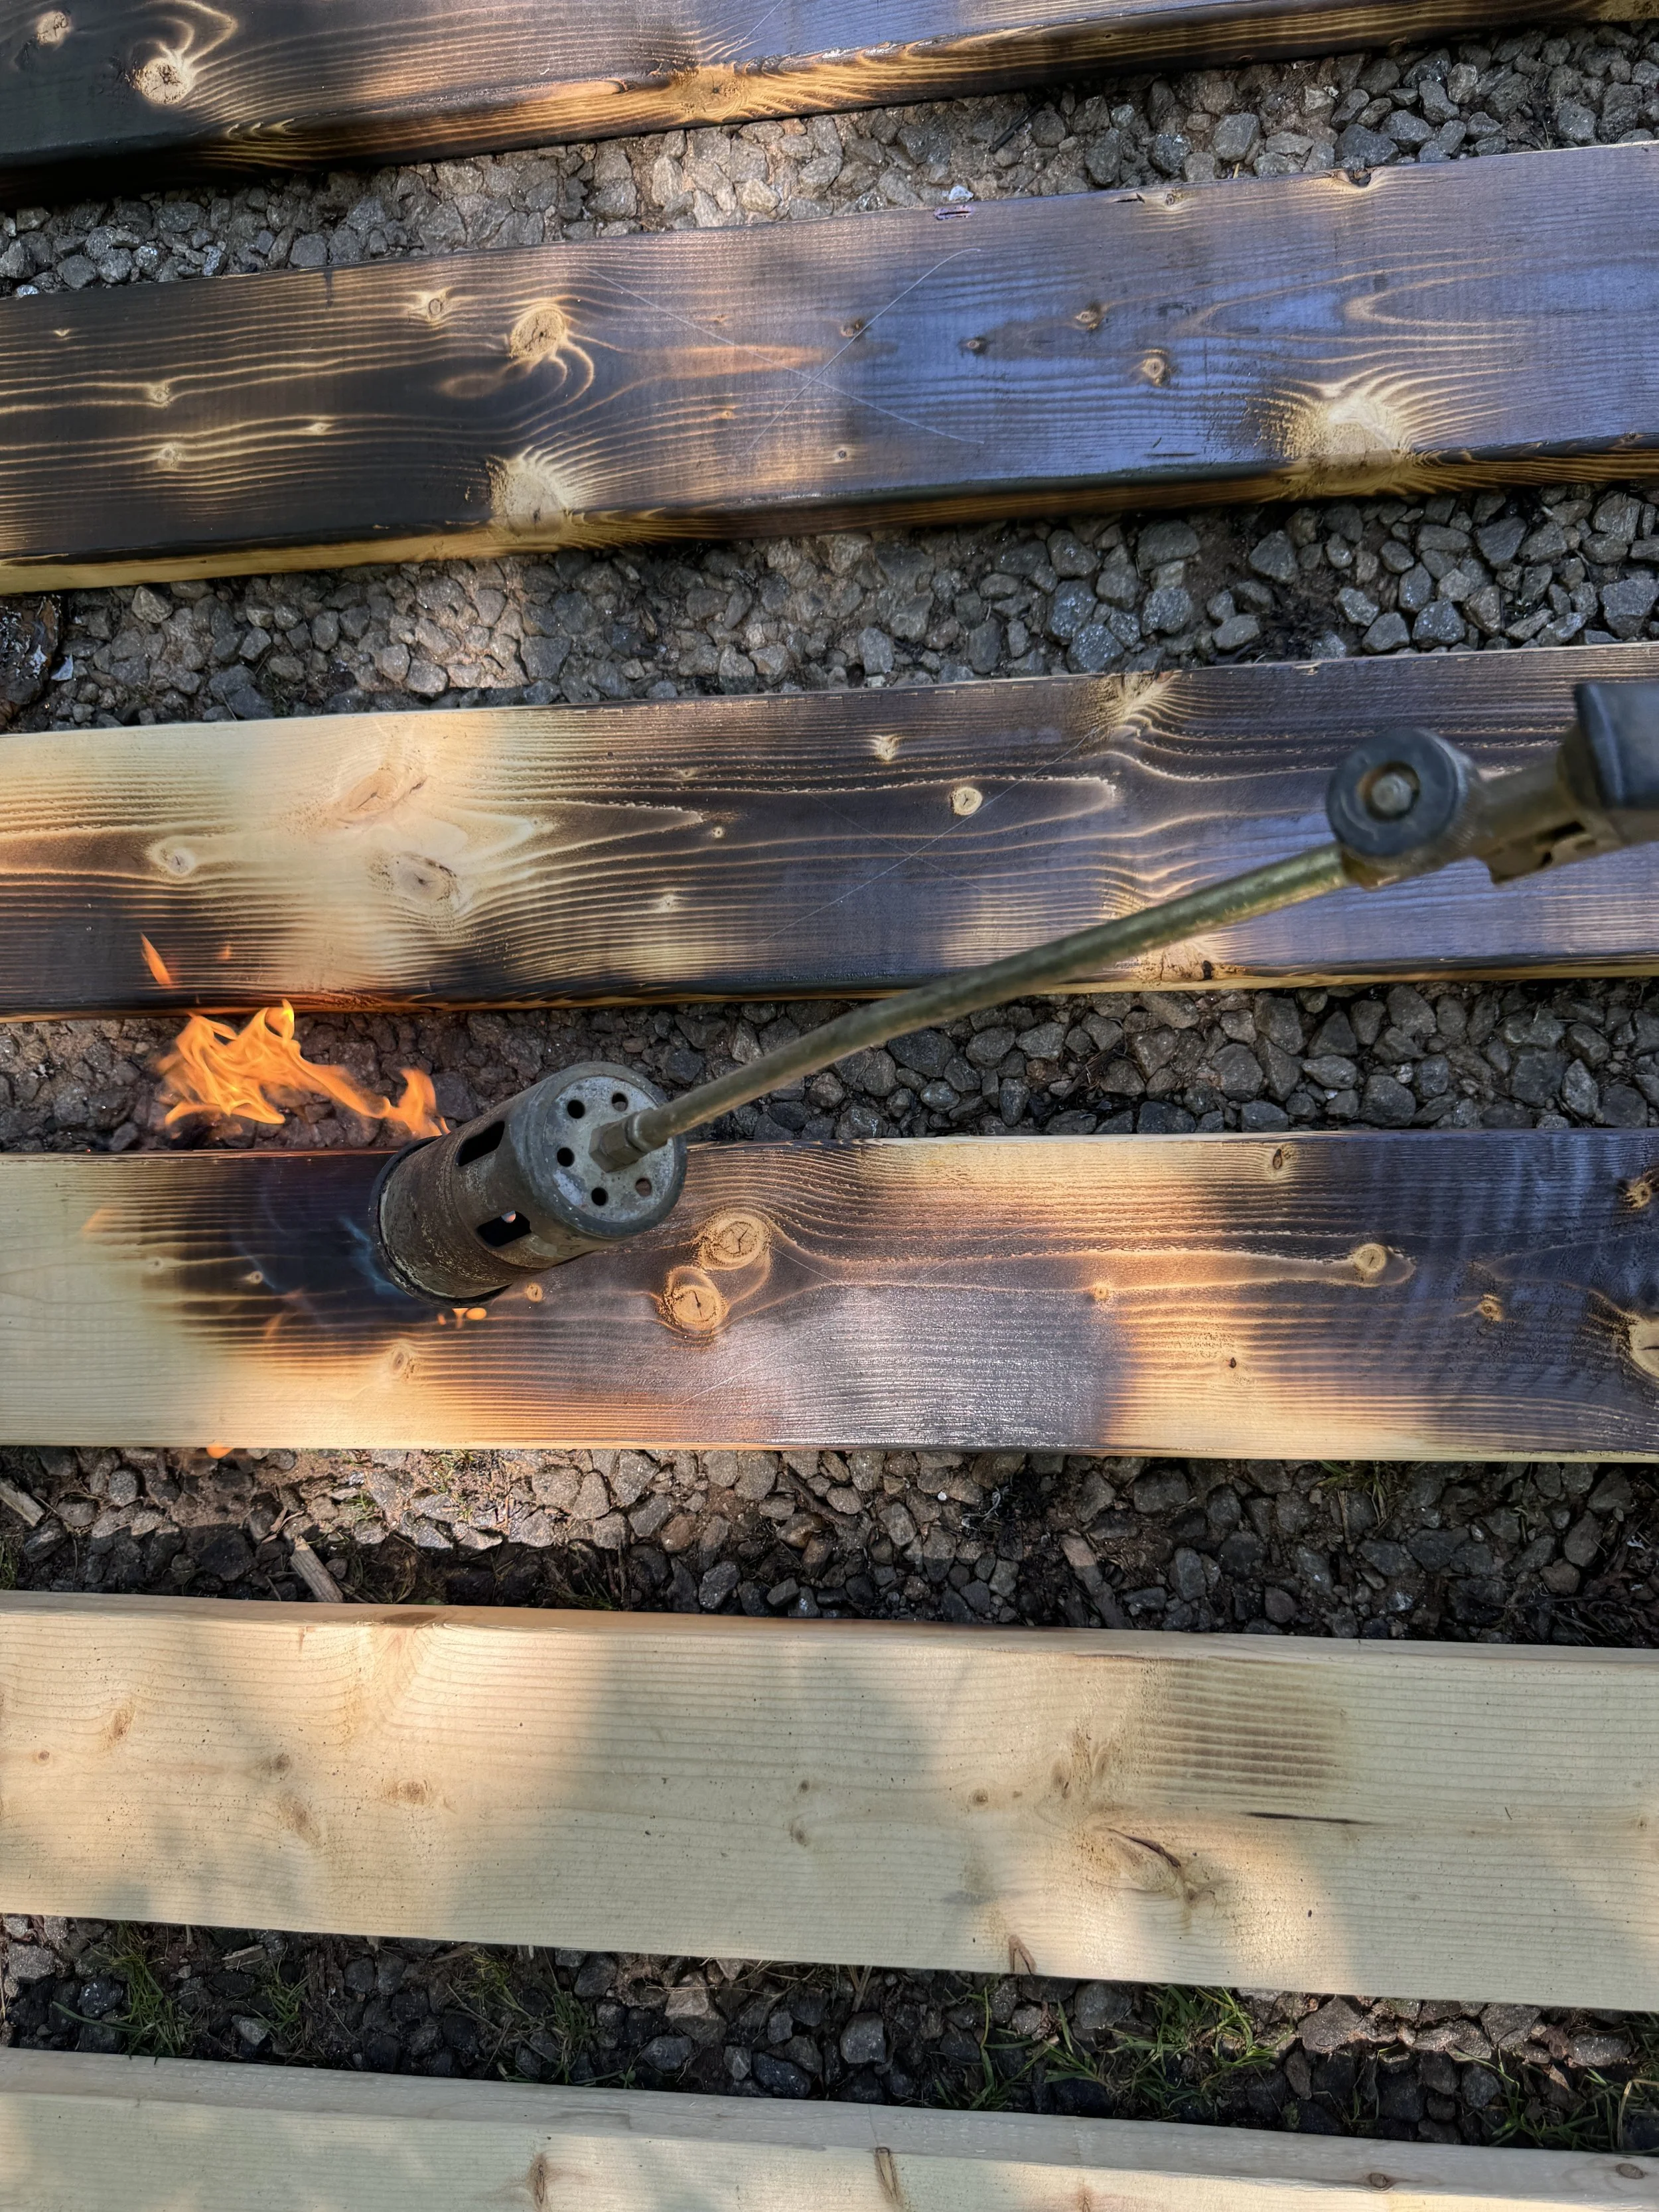
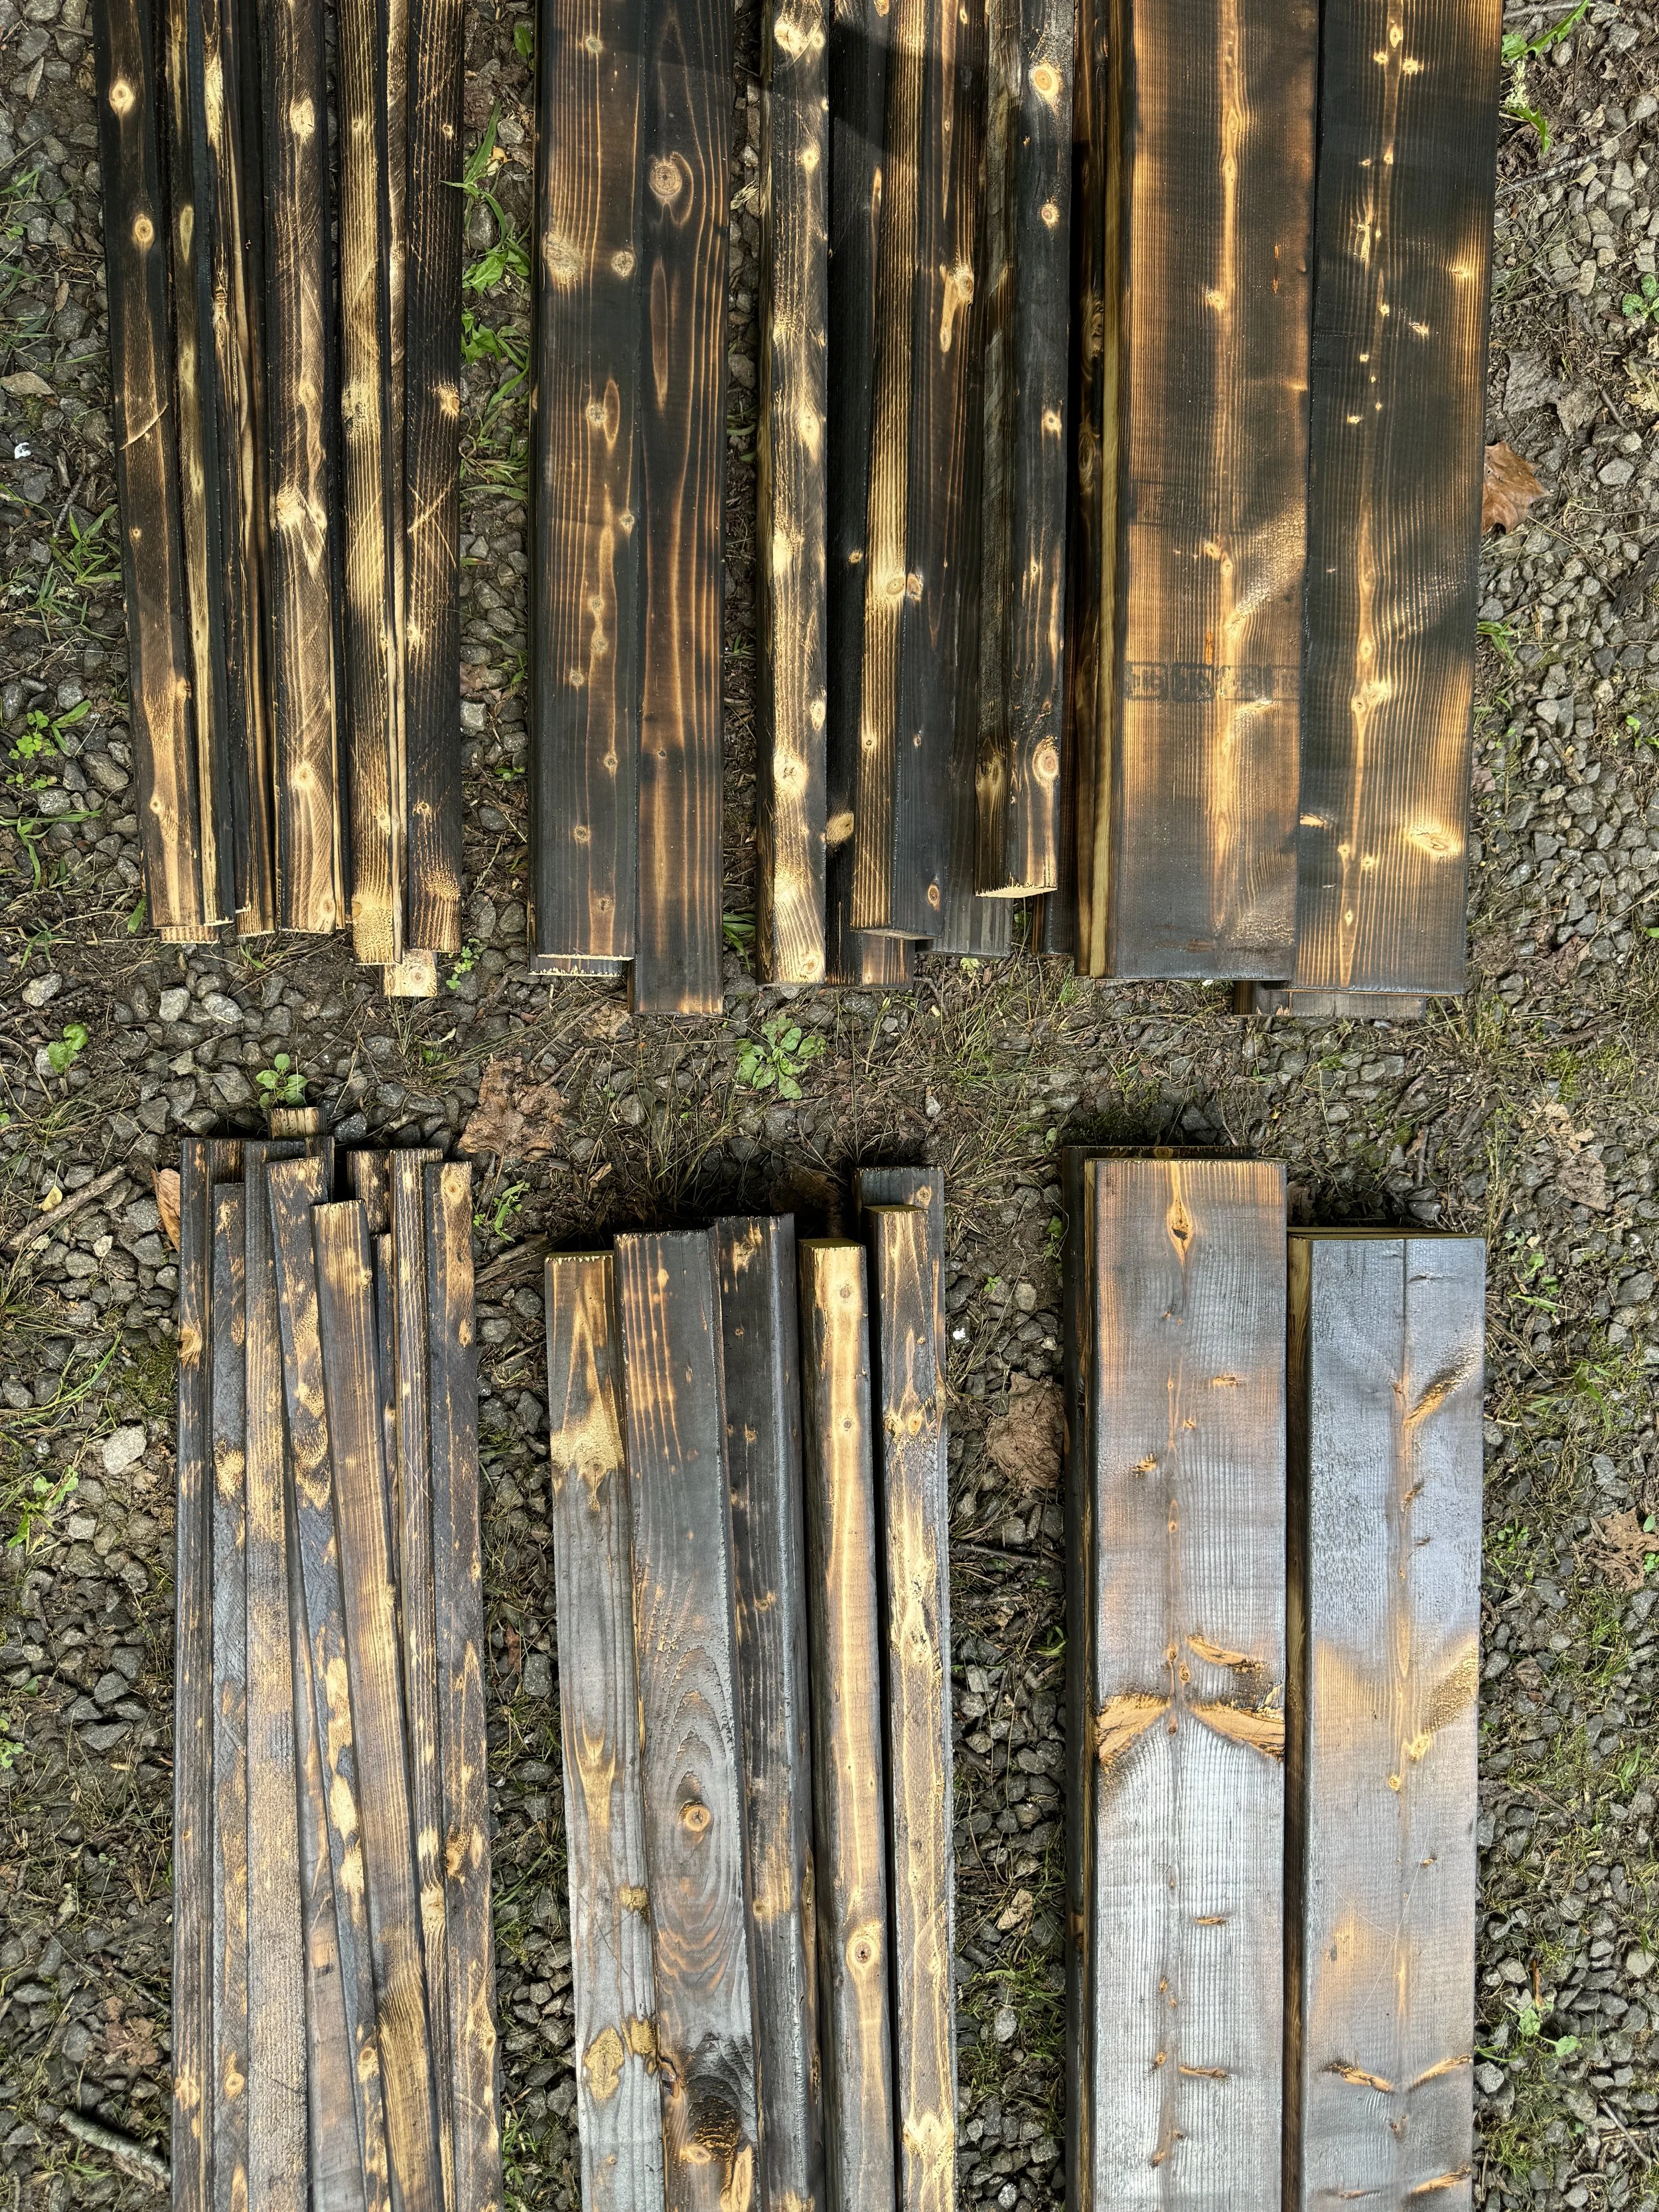
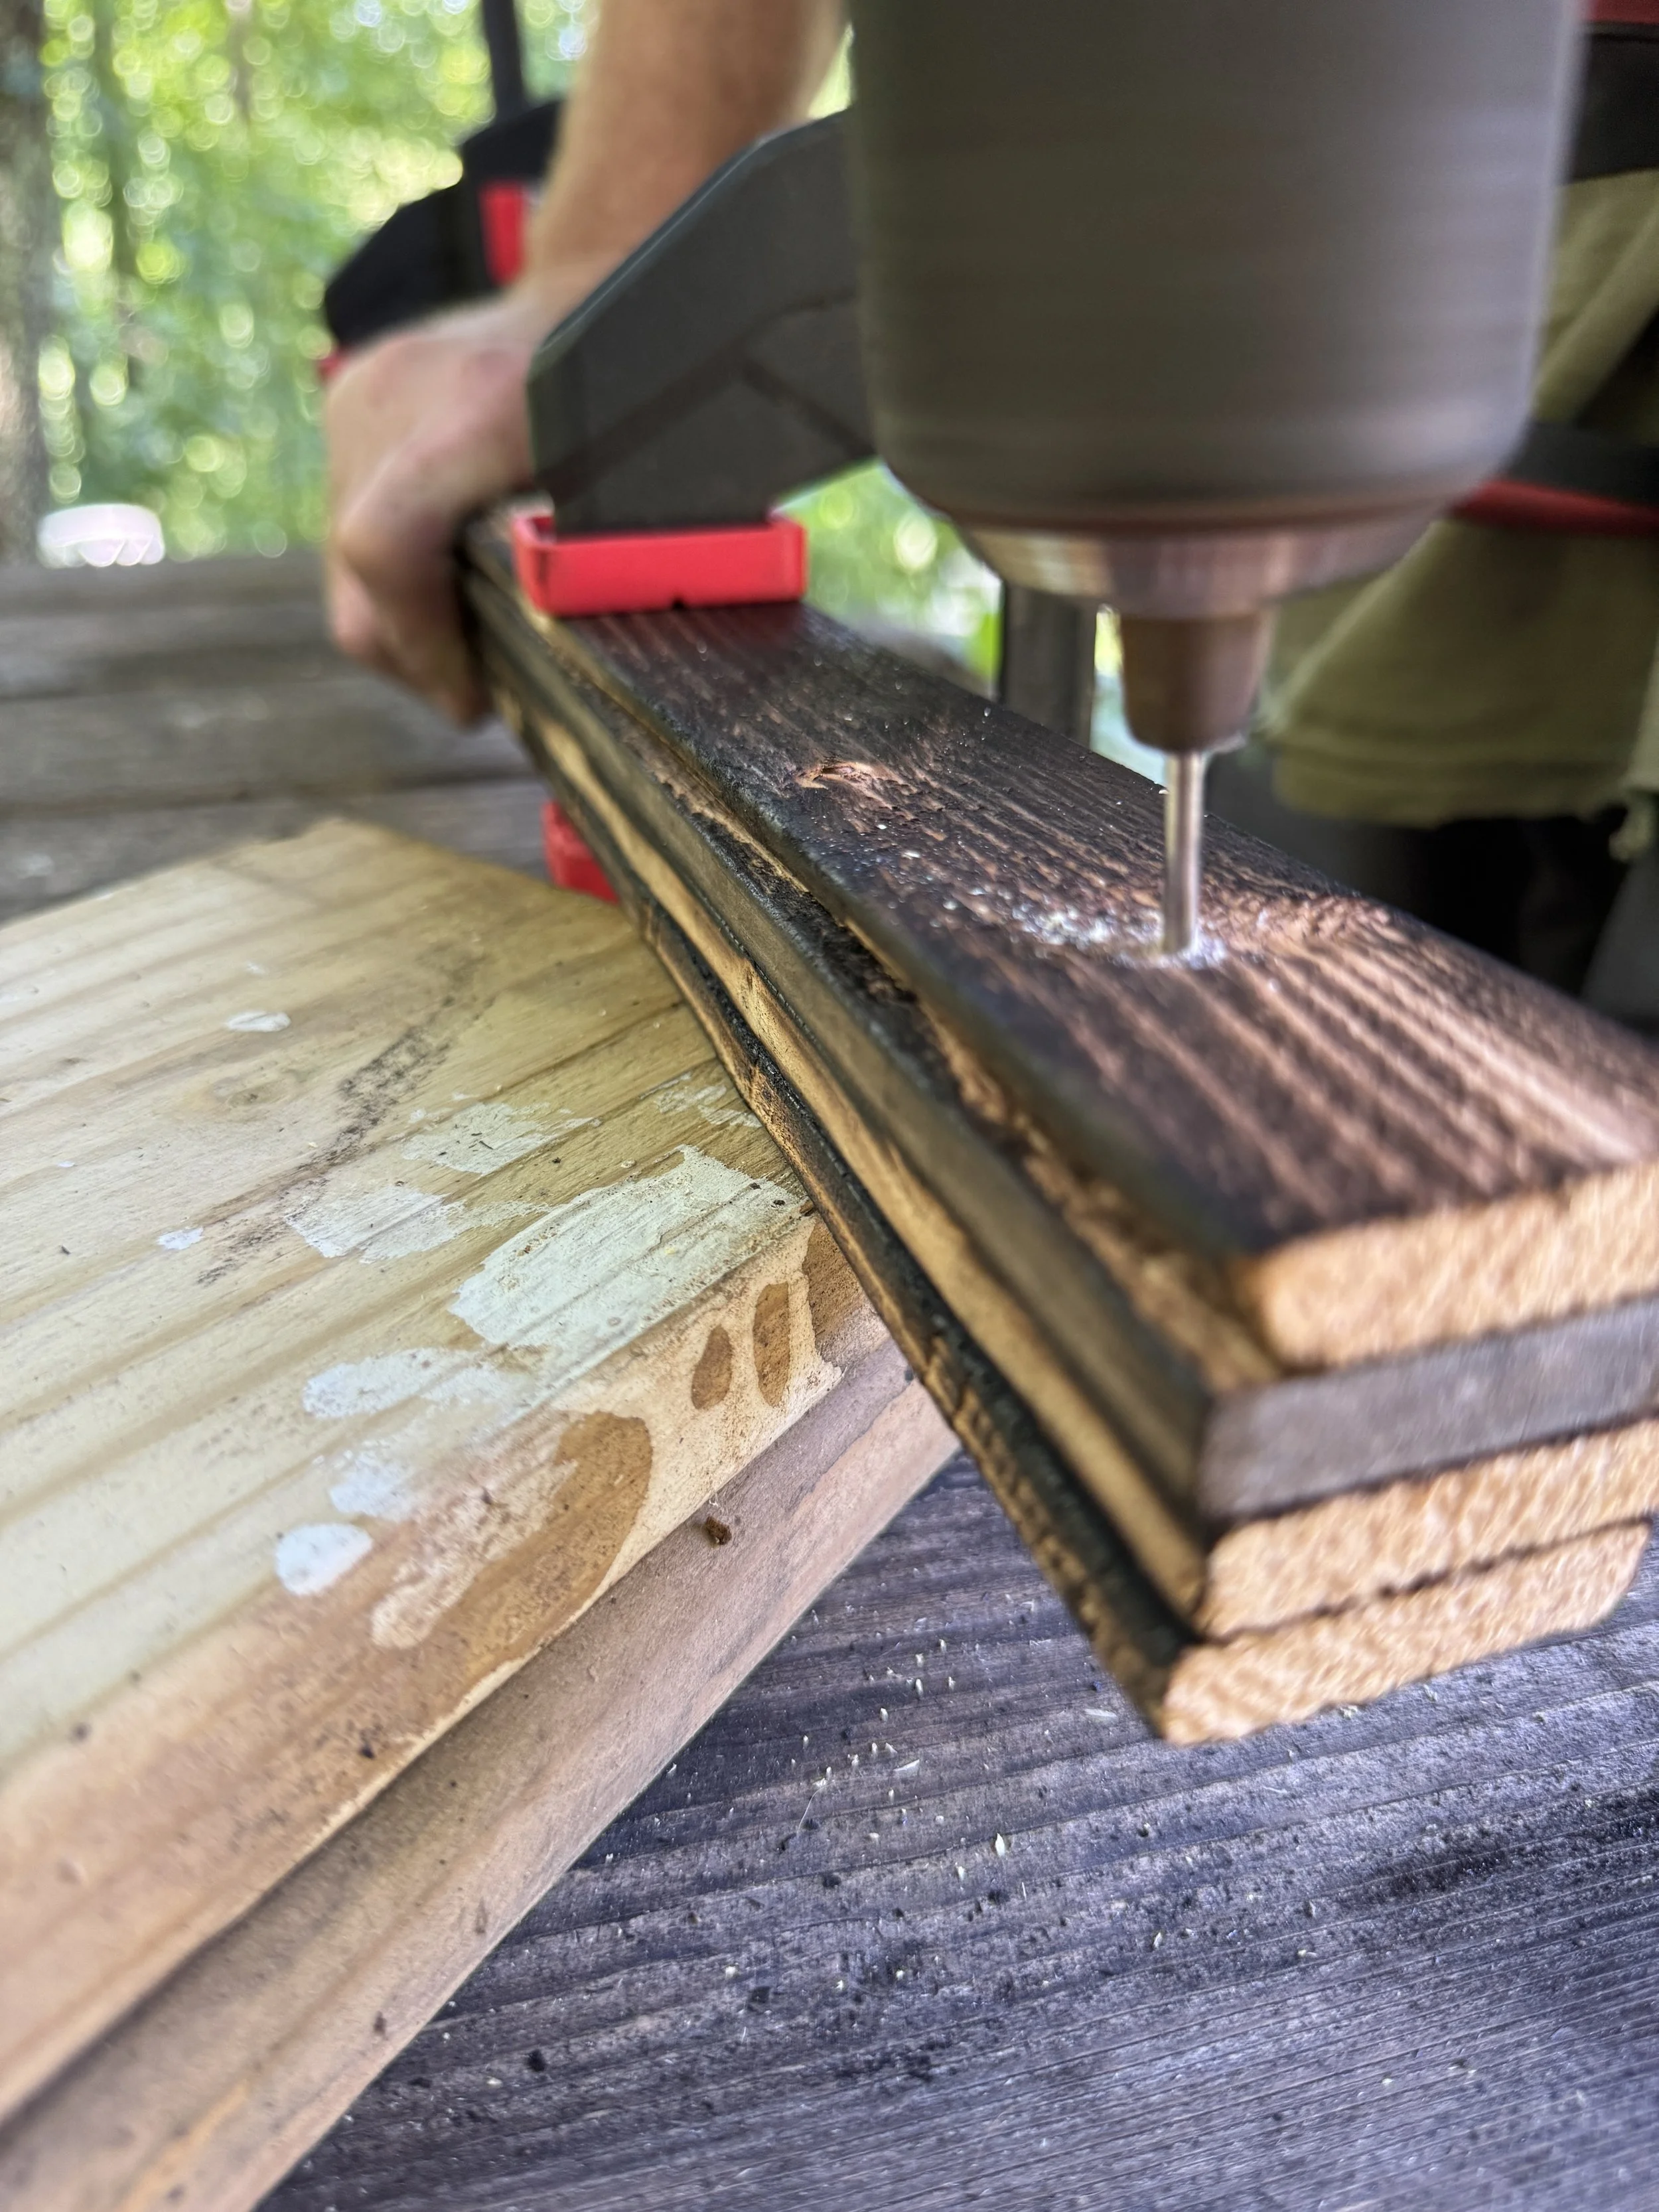
IF you are charring your wood, do that after it is cut, before assembly.
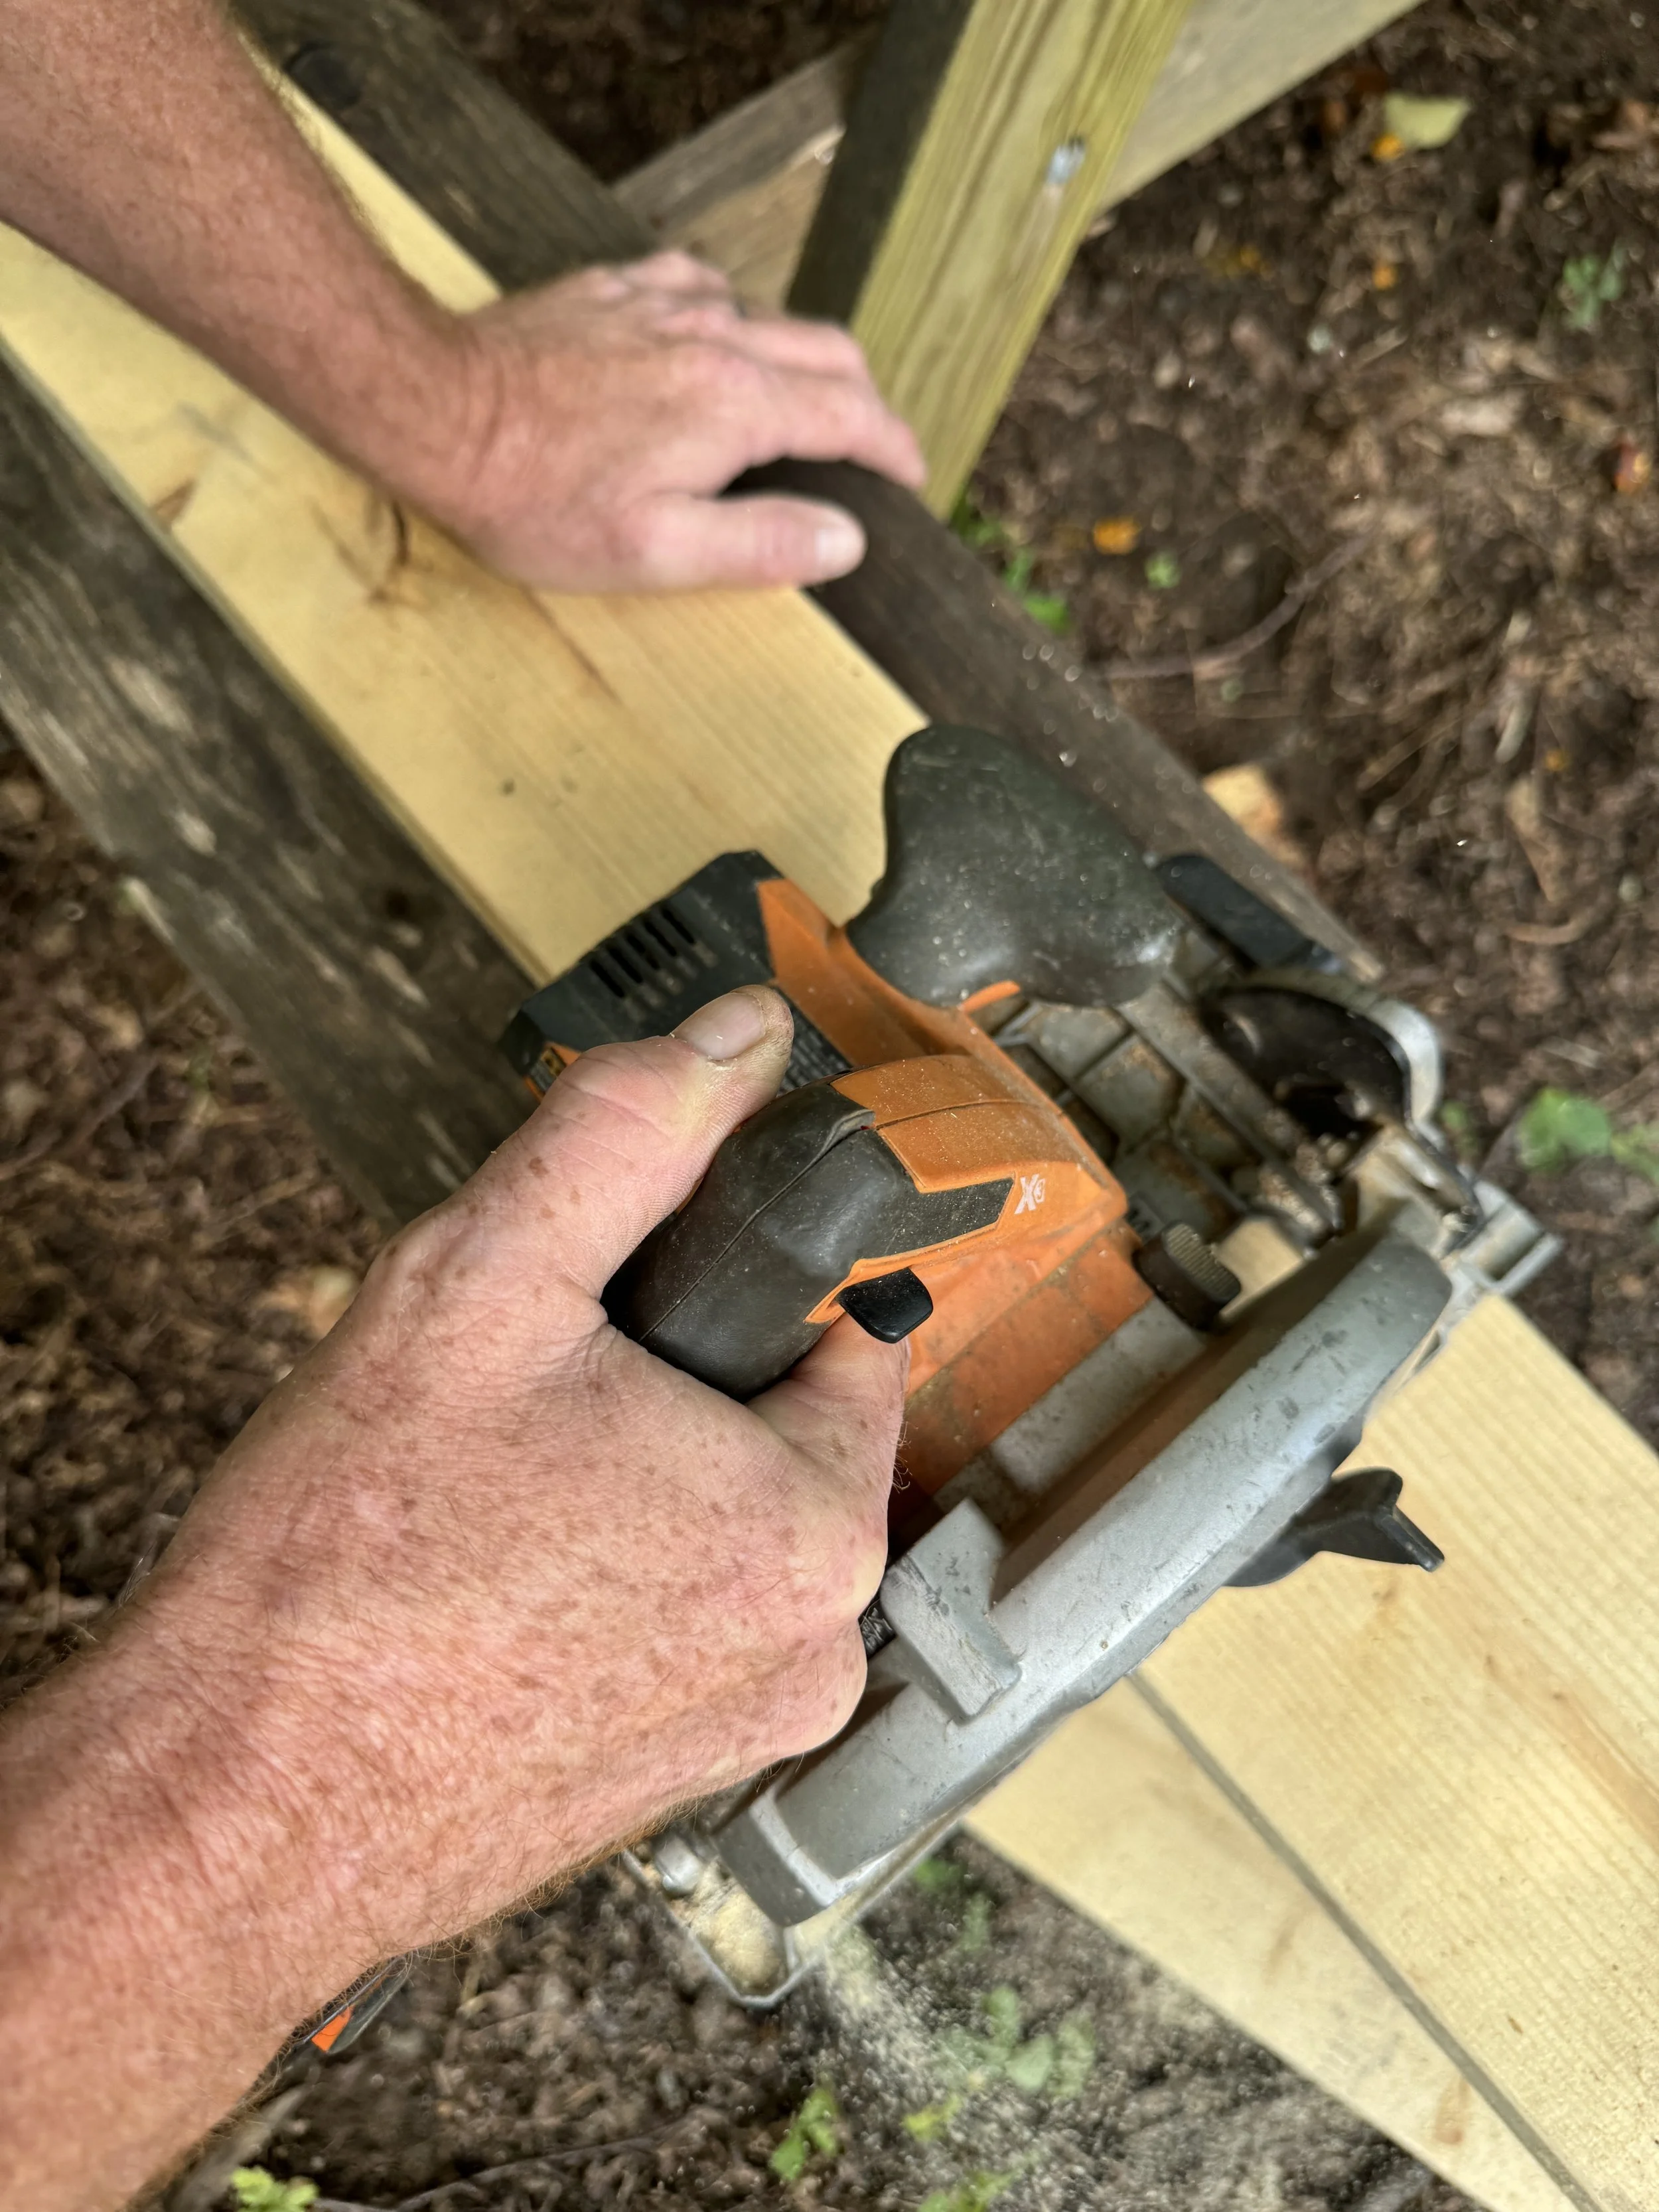
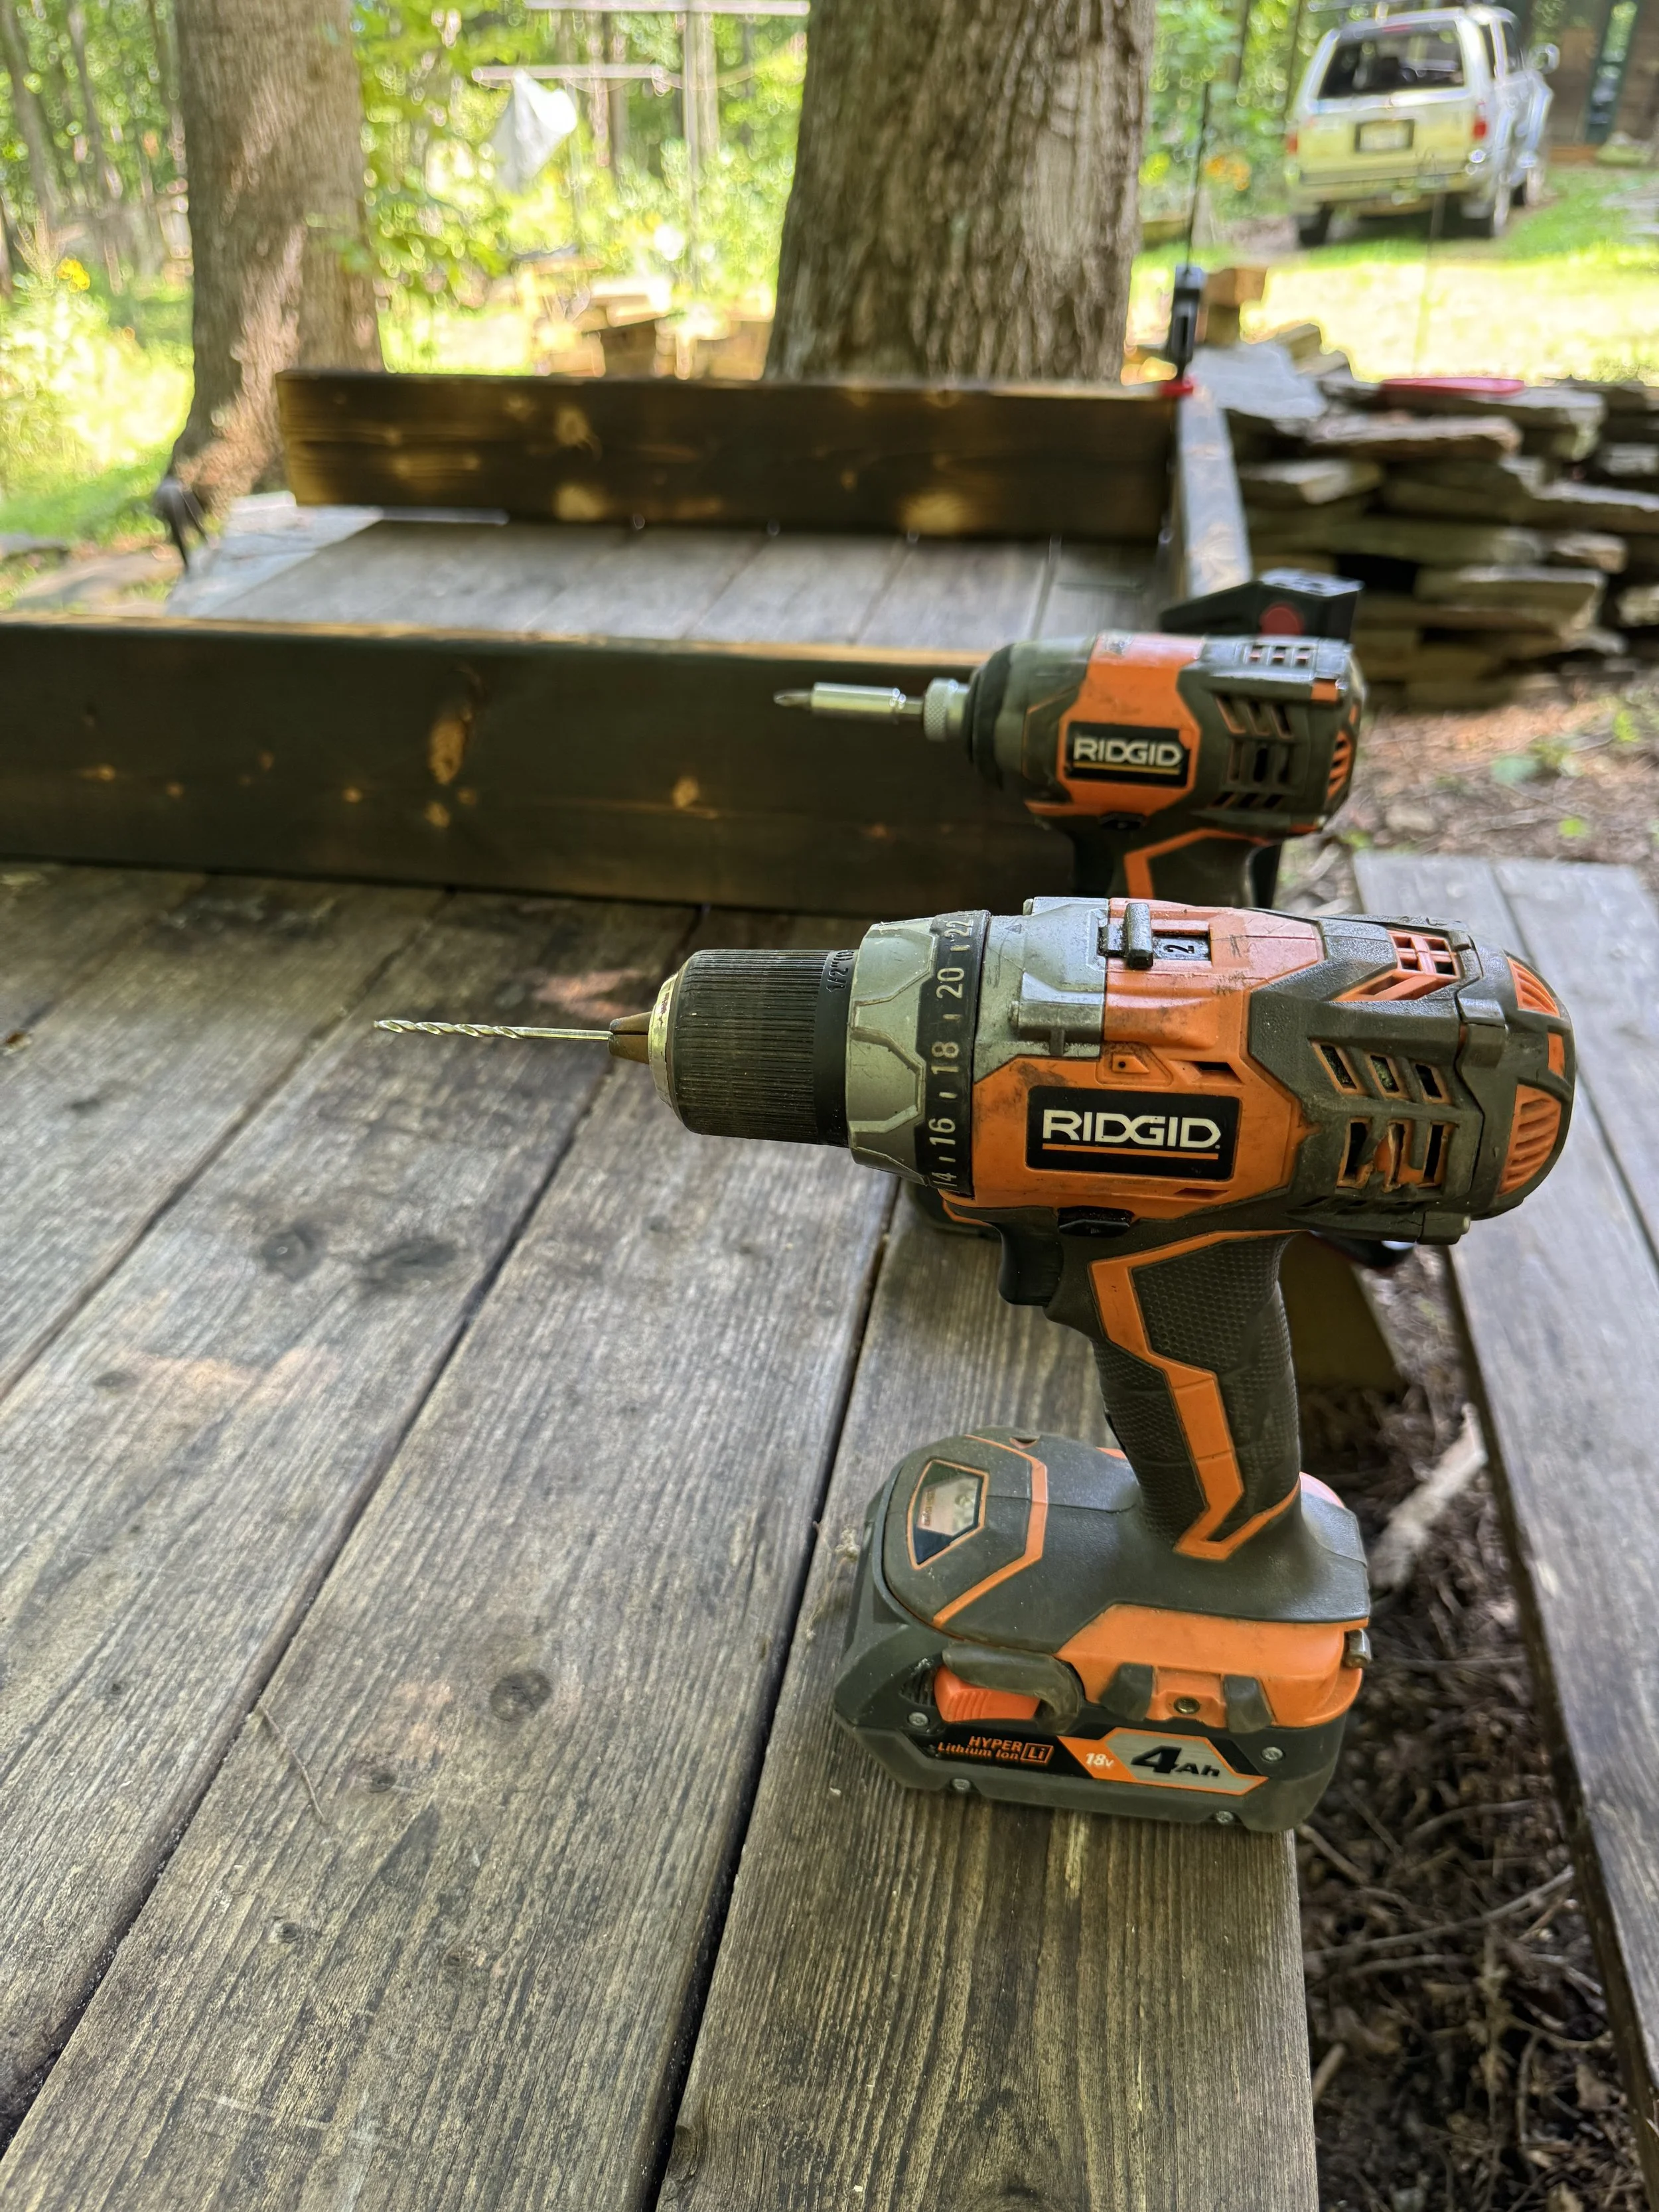
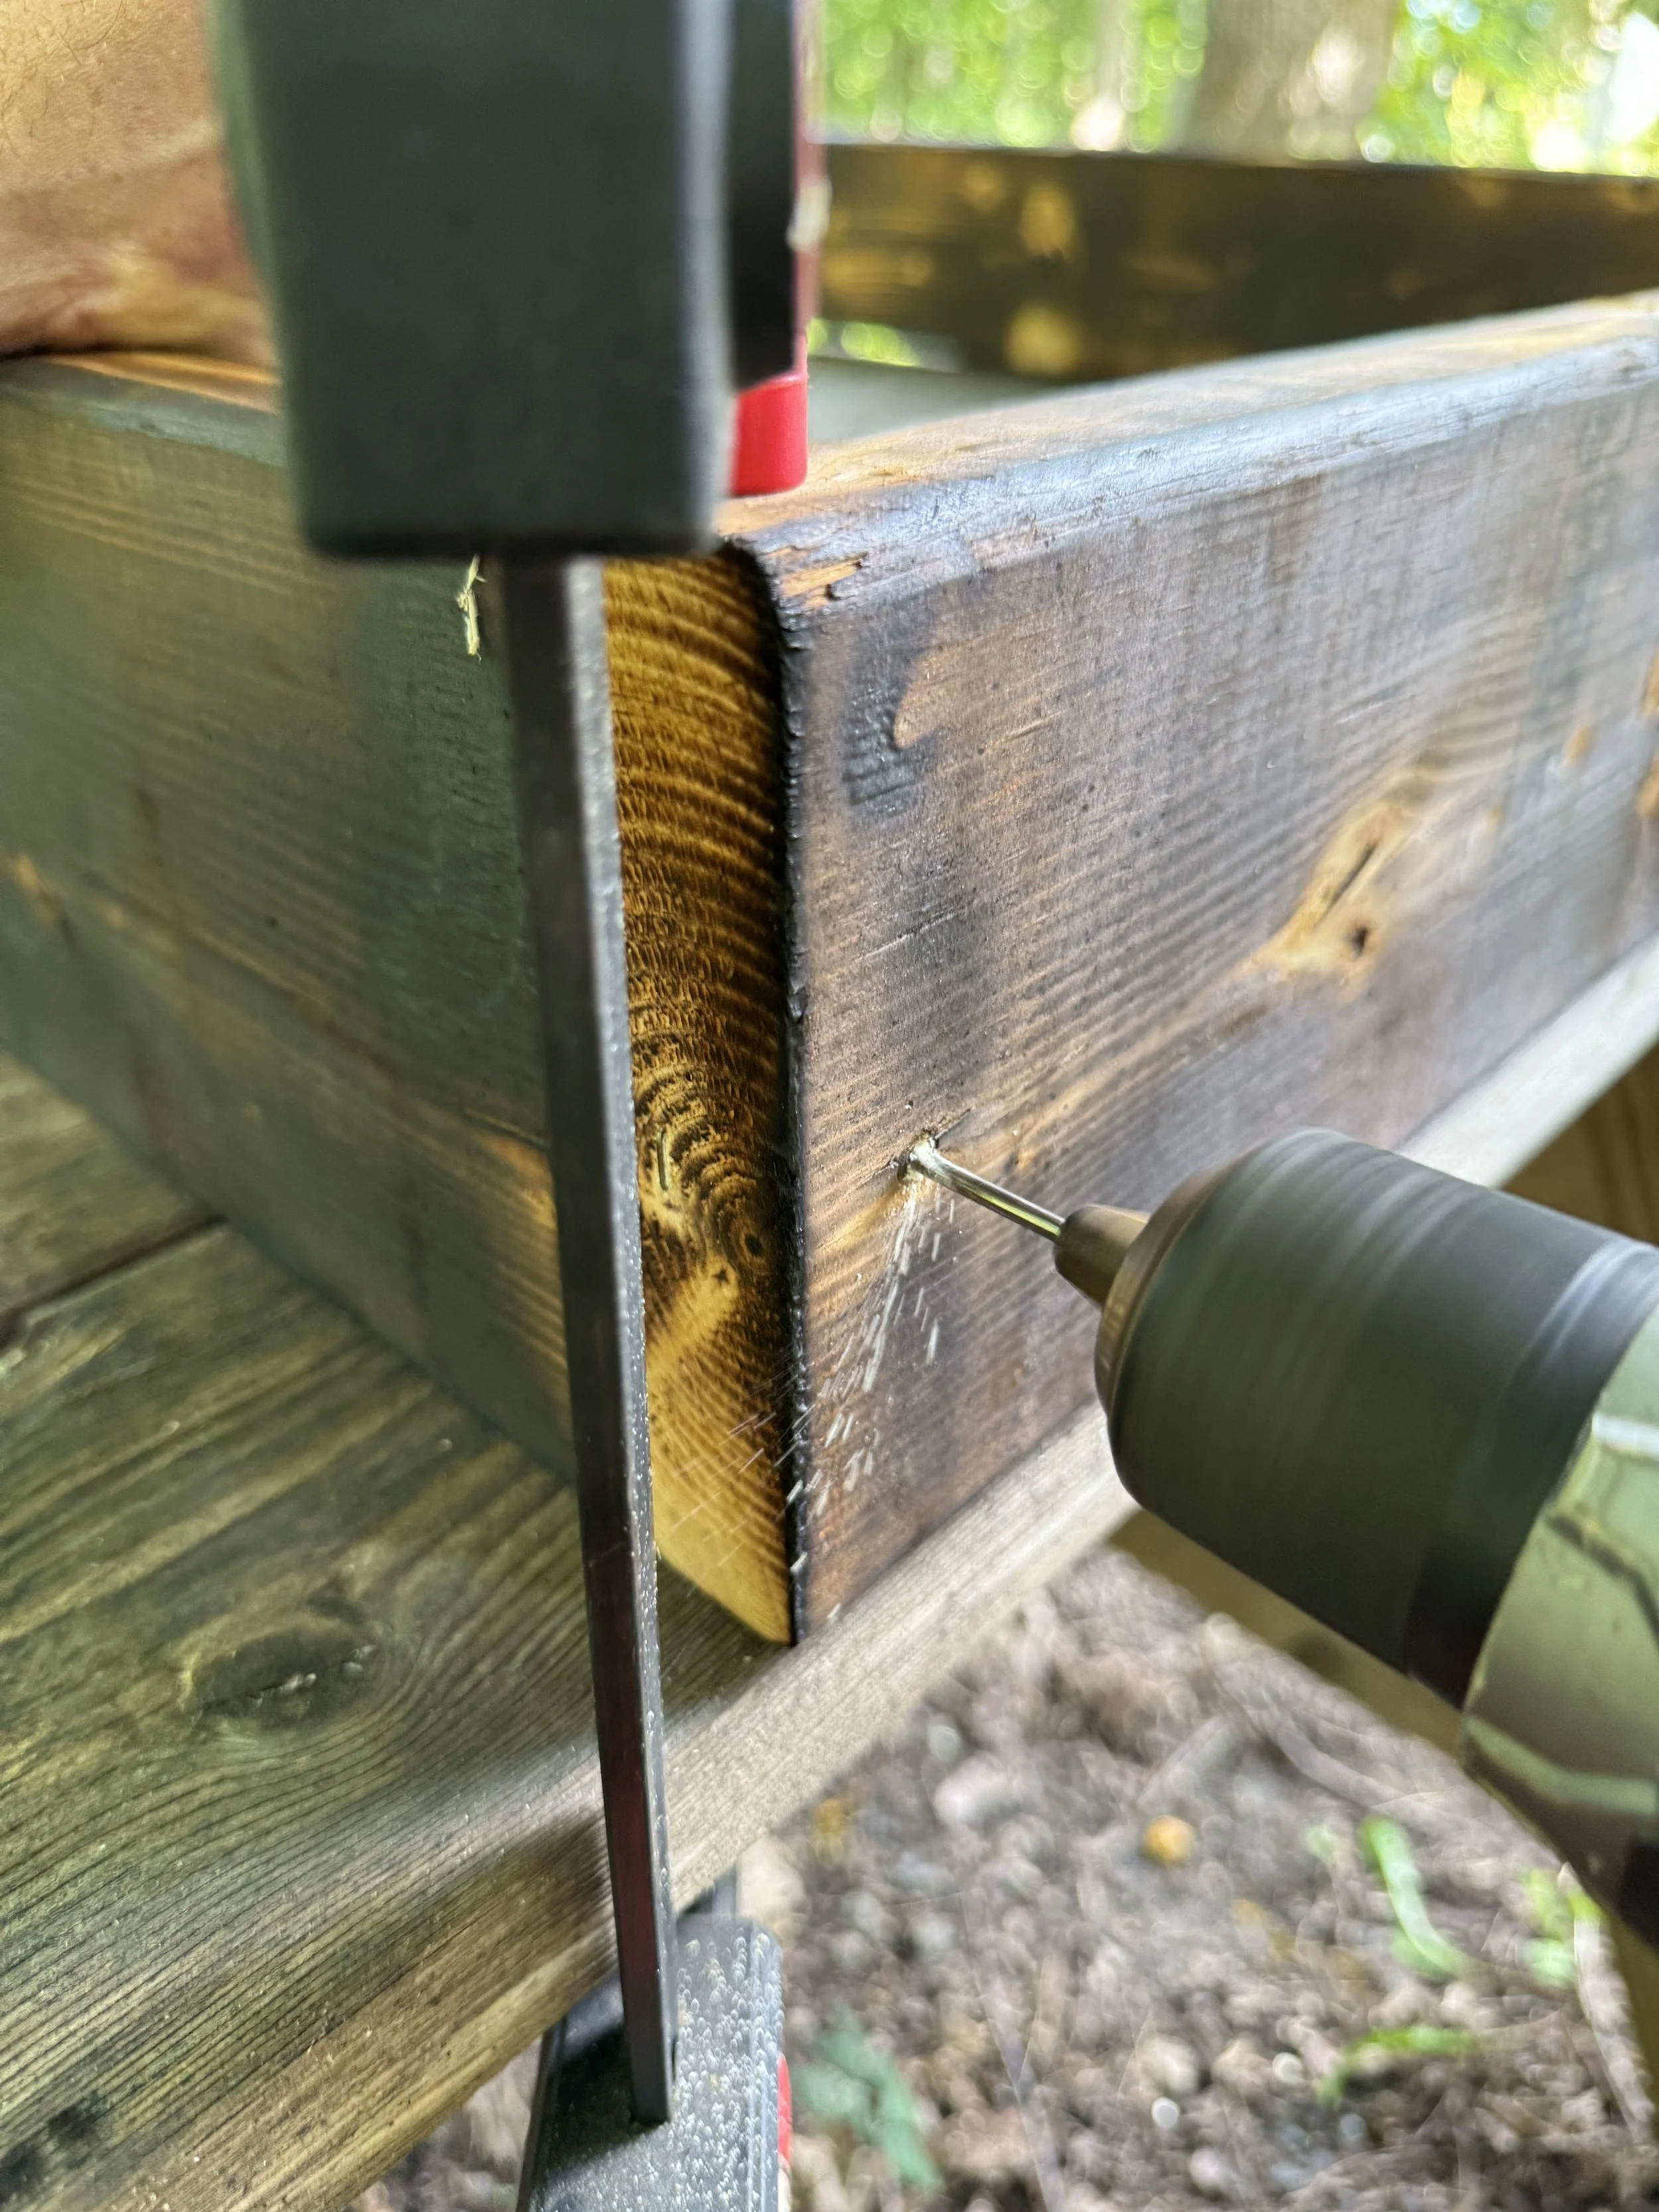
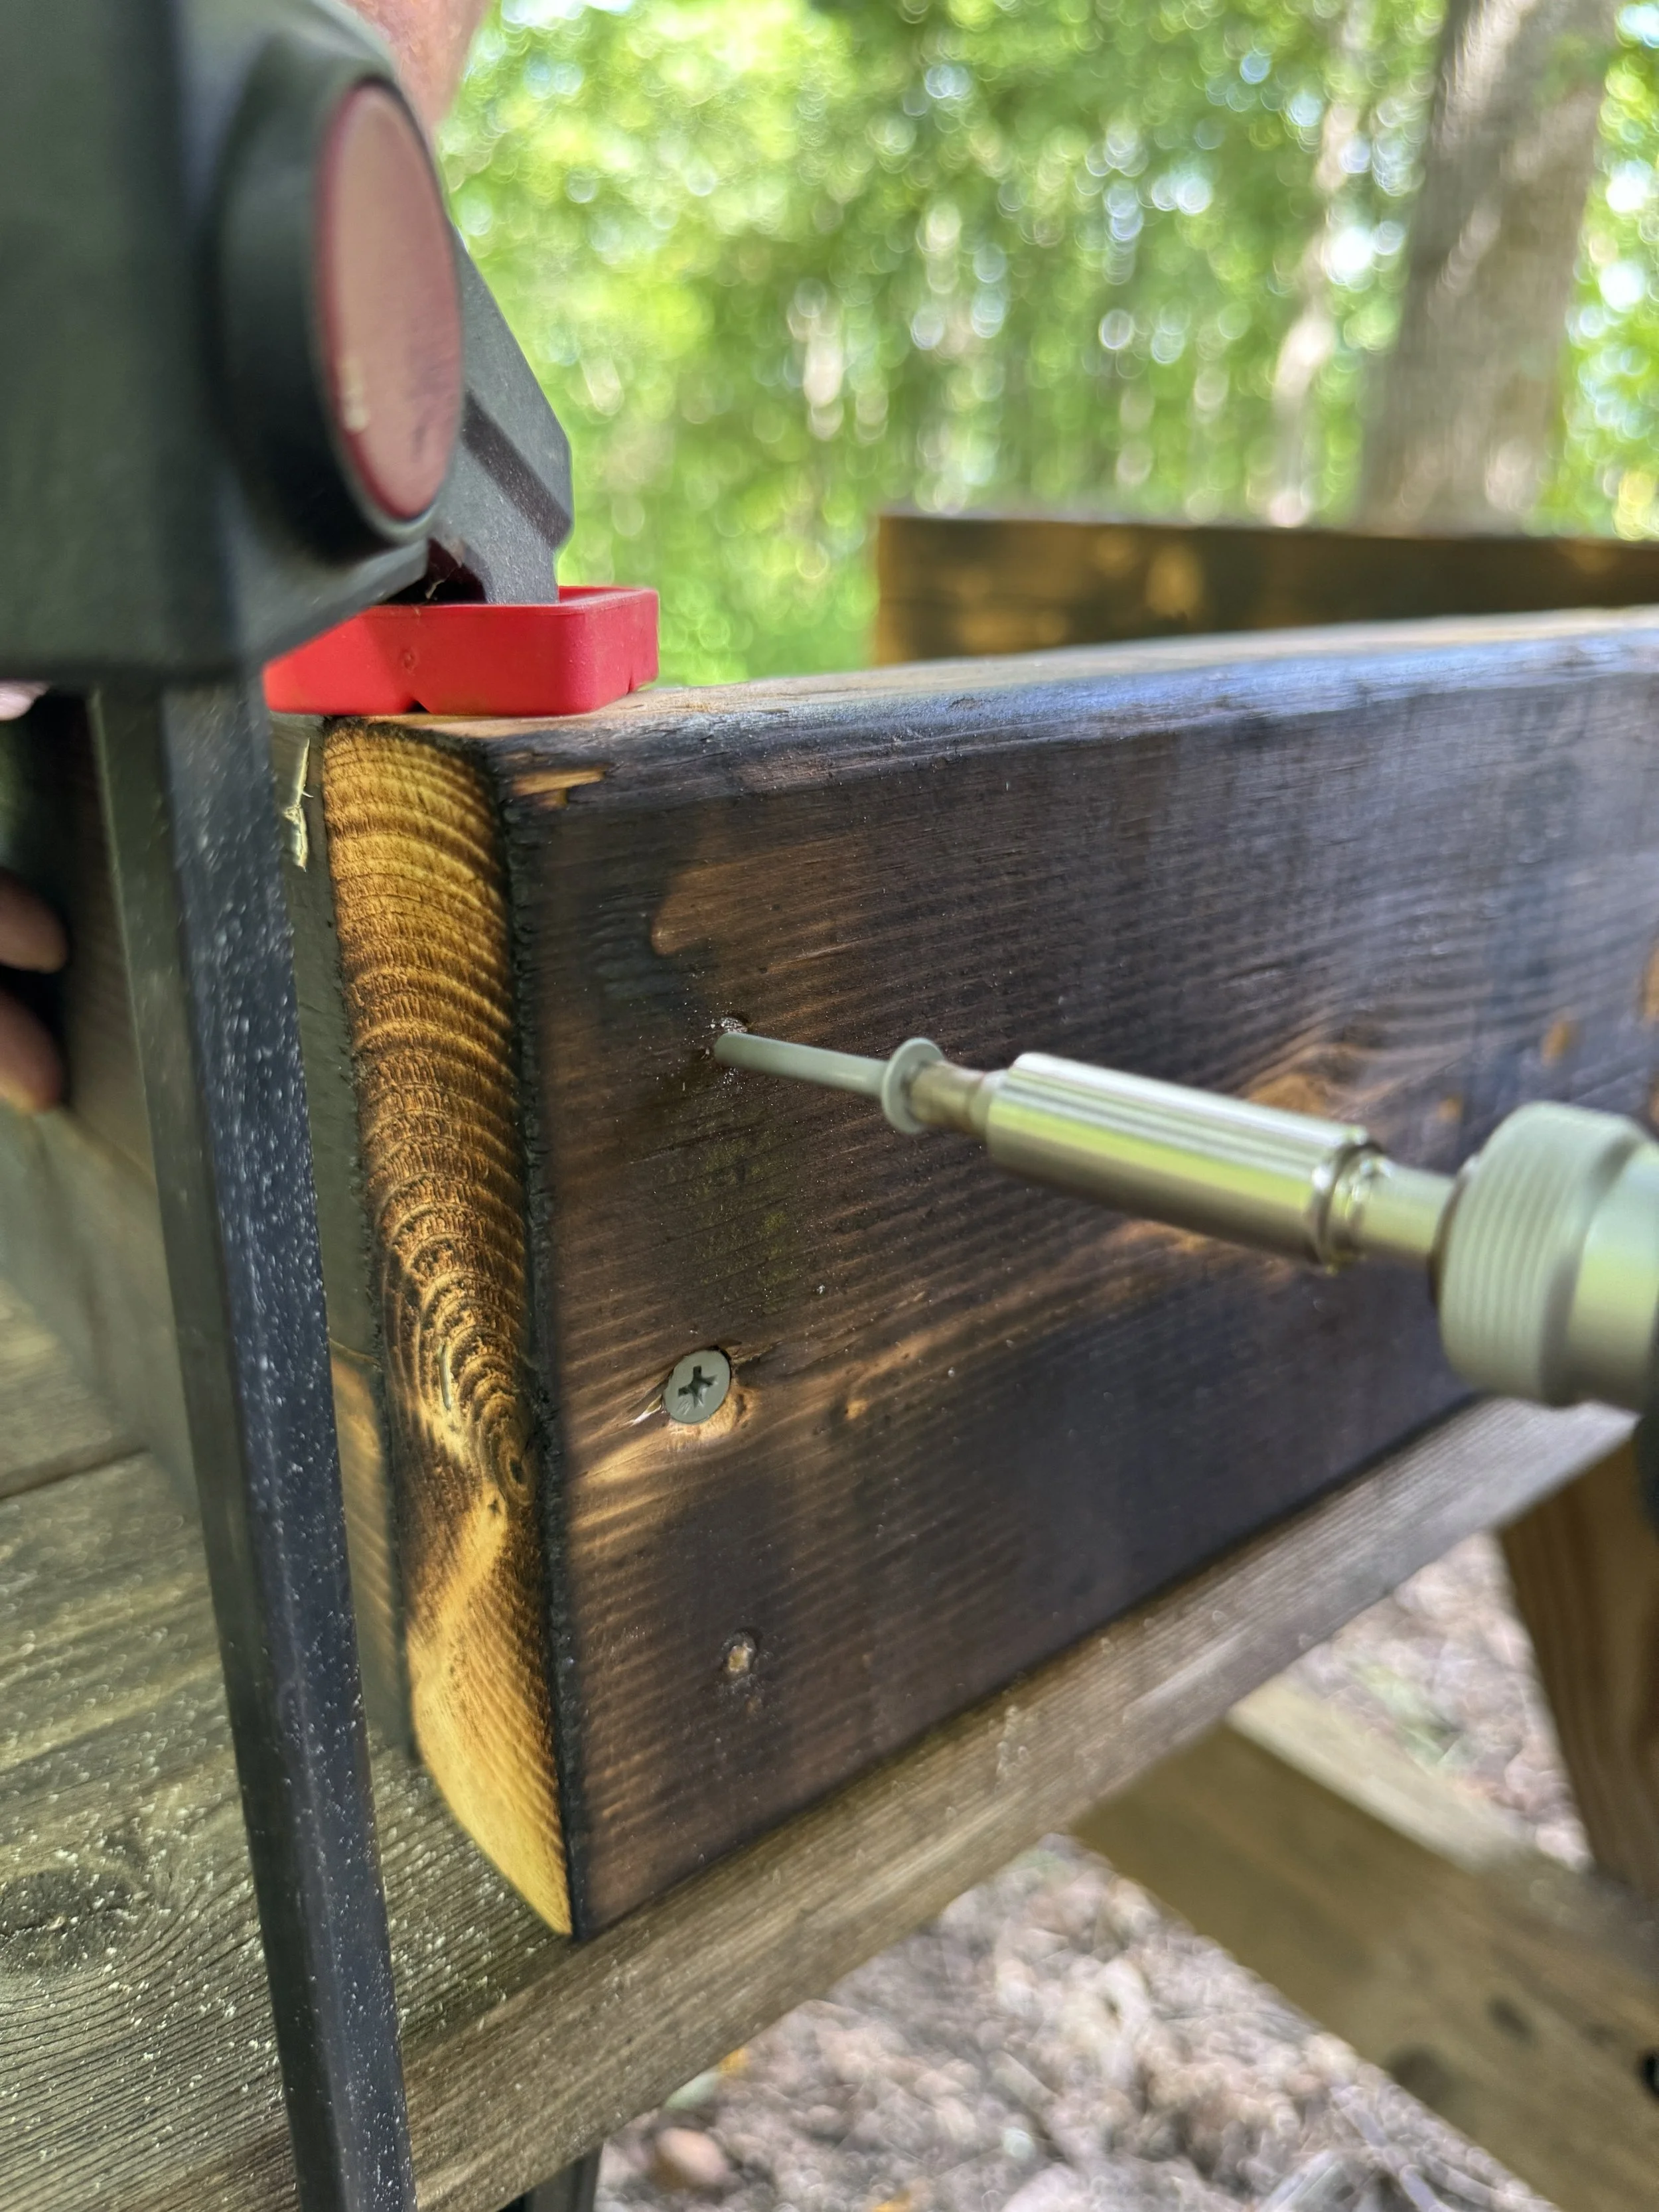
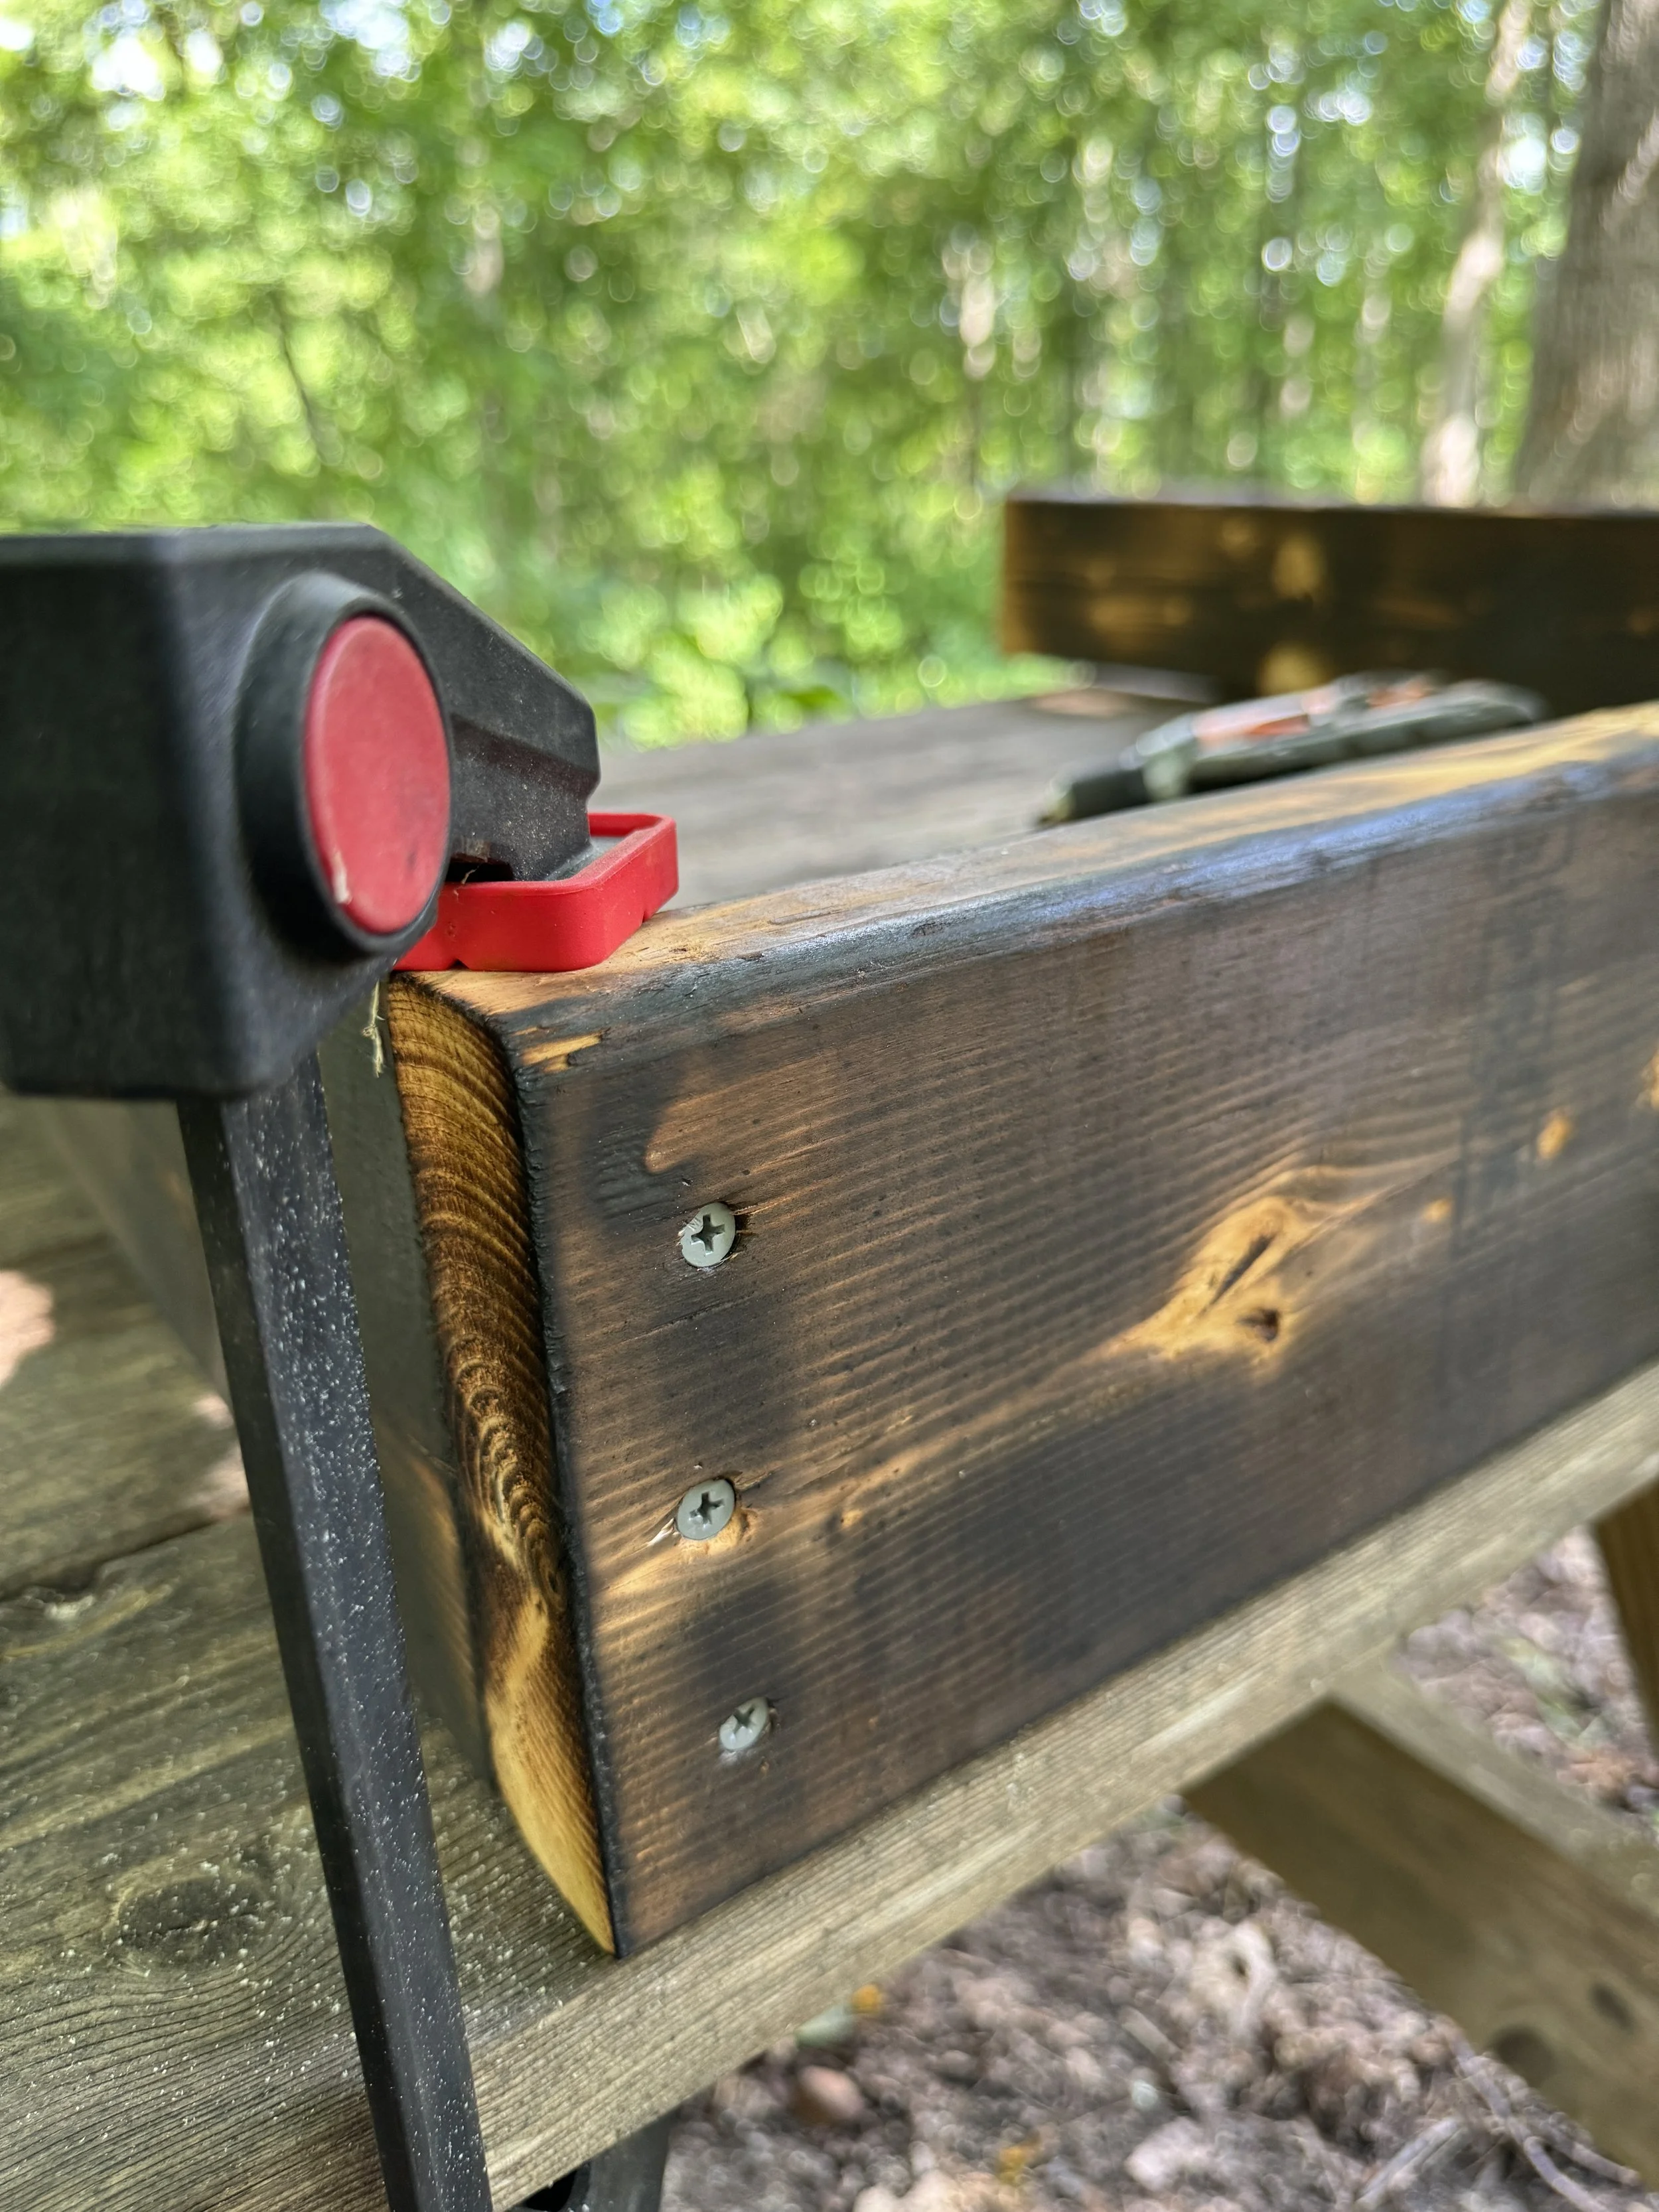
Assemble box with the 37” pieces opposite each other, with the two other pieces between them. You may want to fasten them together with clamps while you drill the holes for the screws.
Drill holes for screws, three on each end with 1/8” drill bit to prevent splitting when driving in screws.
Screw them together.
Next
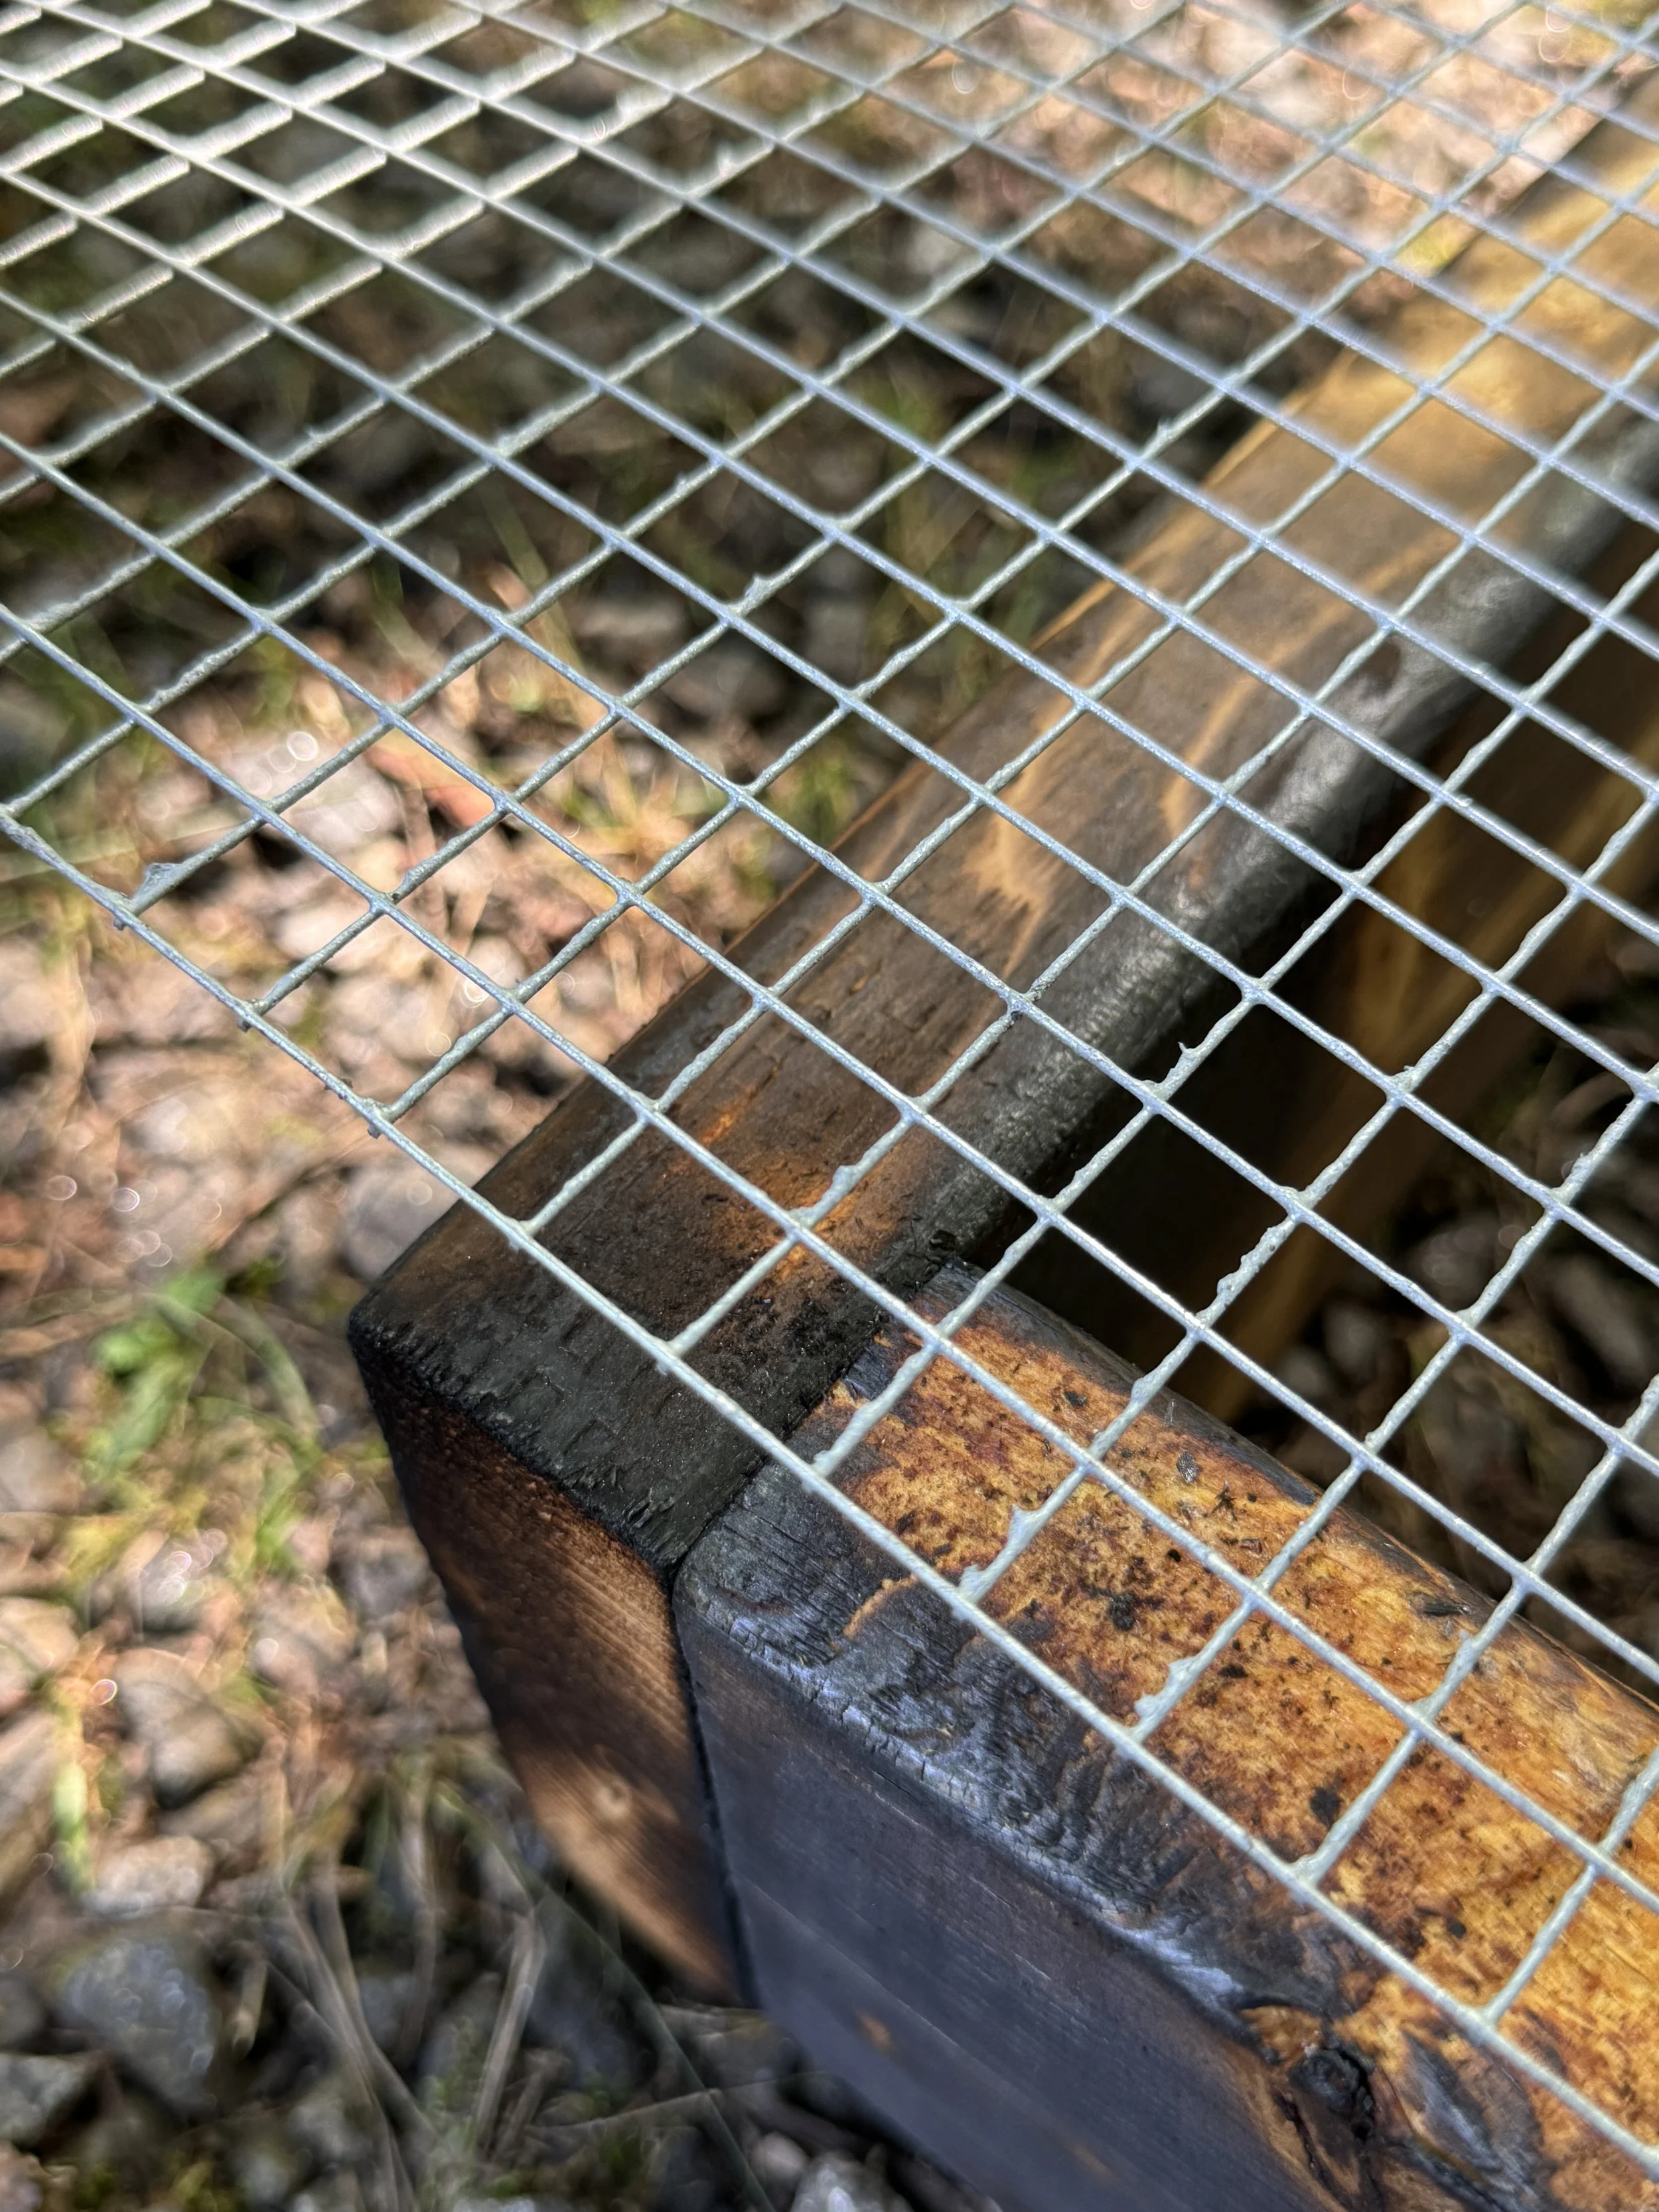
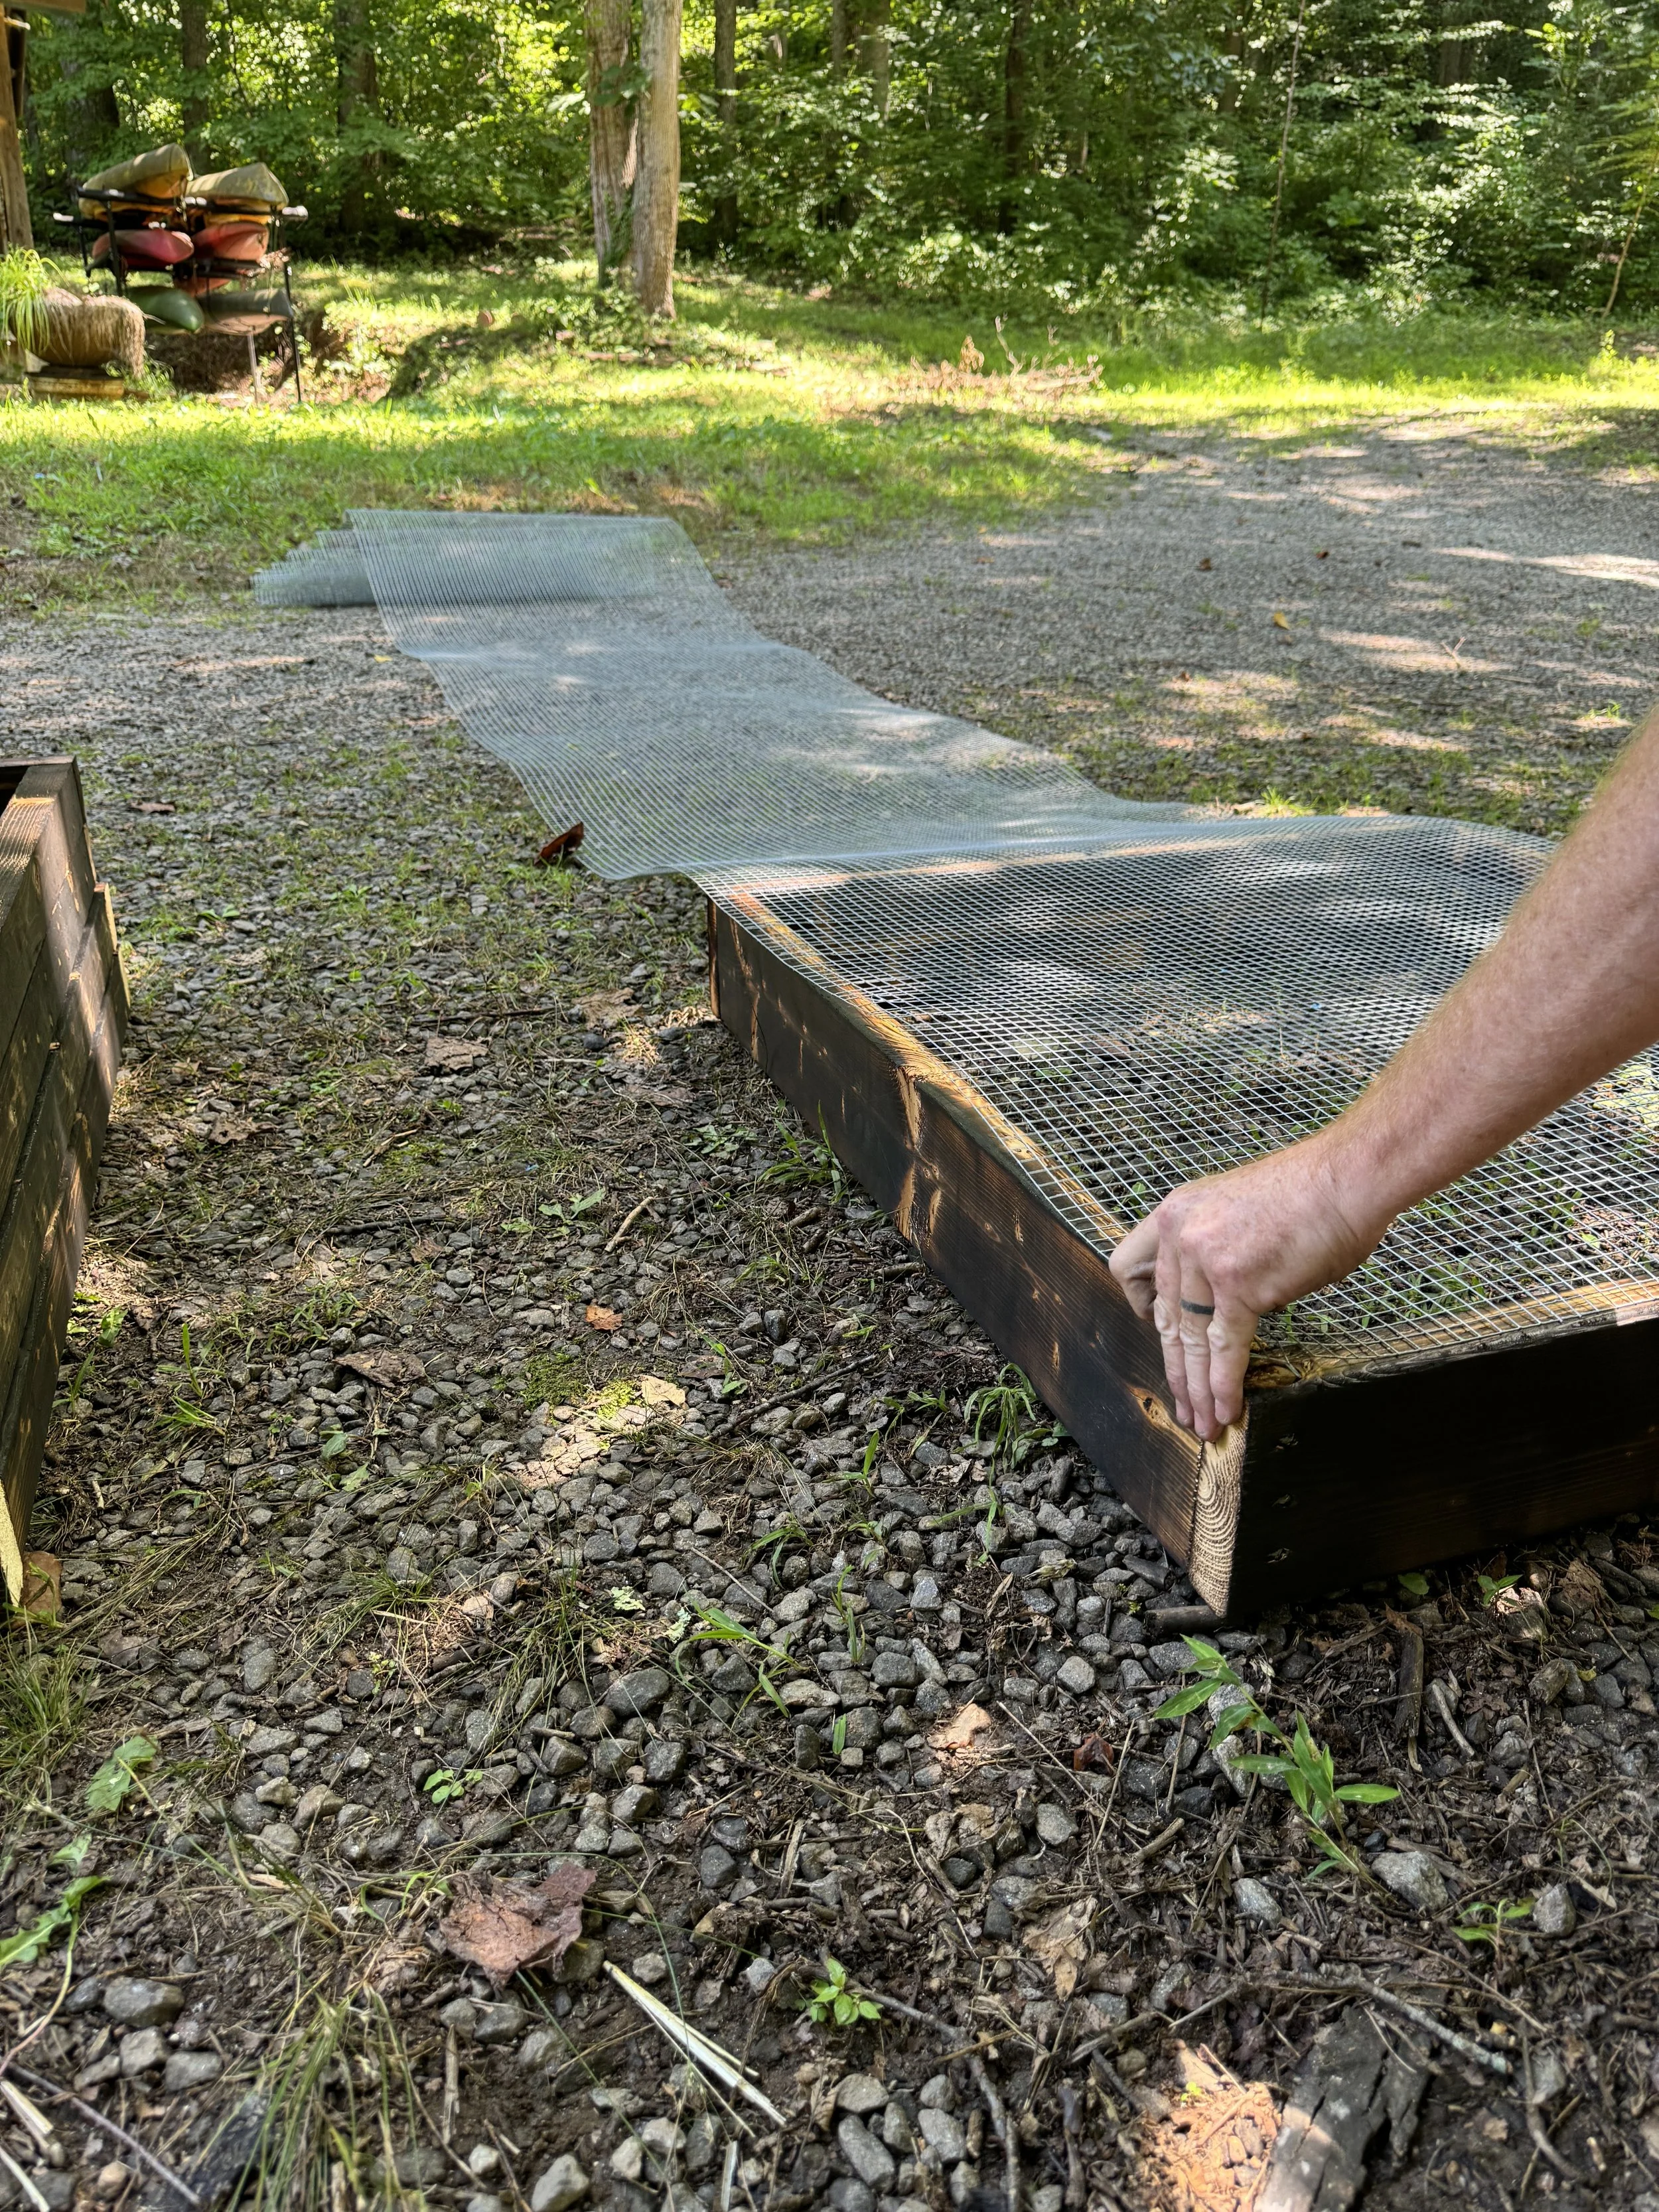
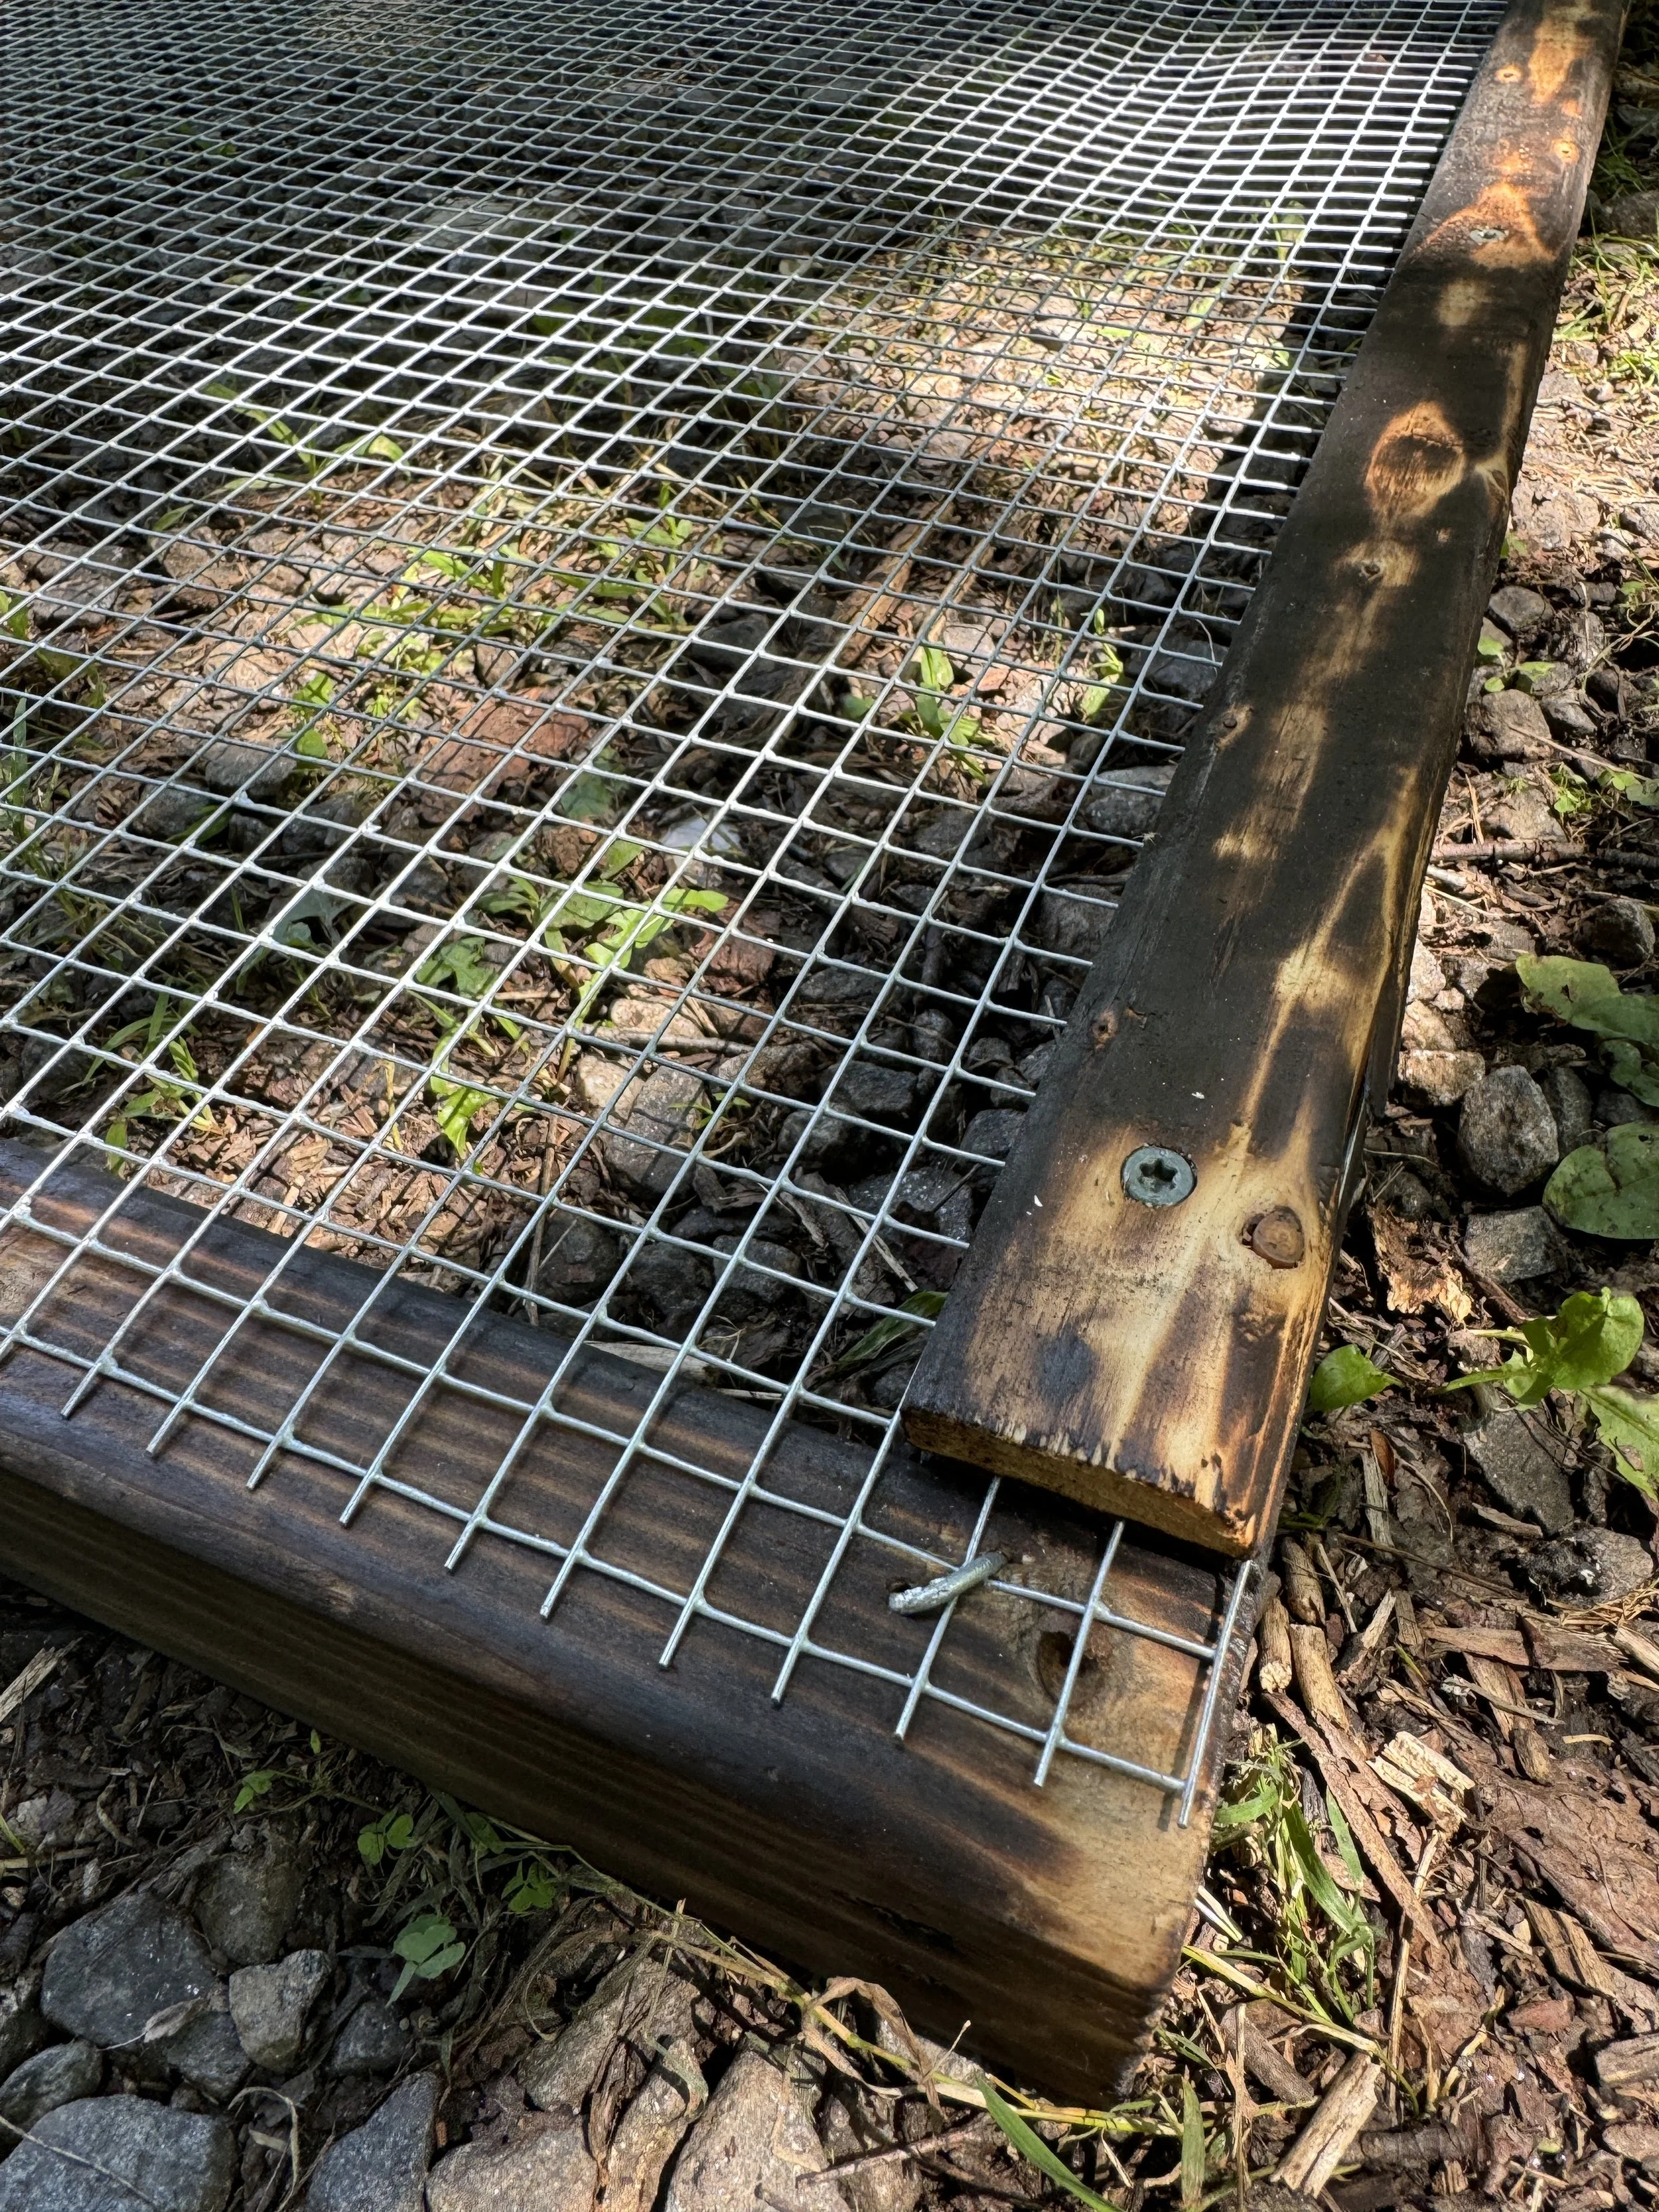
Roll out some hardware cloth onto the box placing the end onto one of the 37” pieces of wood so that there’s around 1/2” wood border on all three of the sides. (We found it easiest to staple it down on the three sides until you get about 6” from the end that needs to be cut)
Cut to fit, then finish stapling.
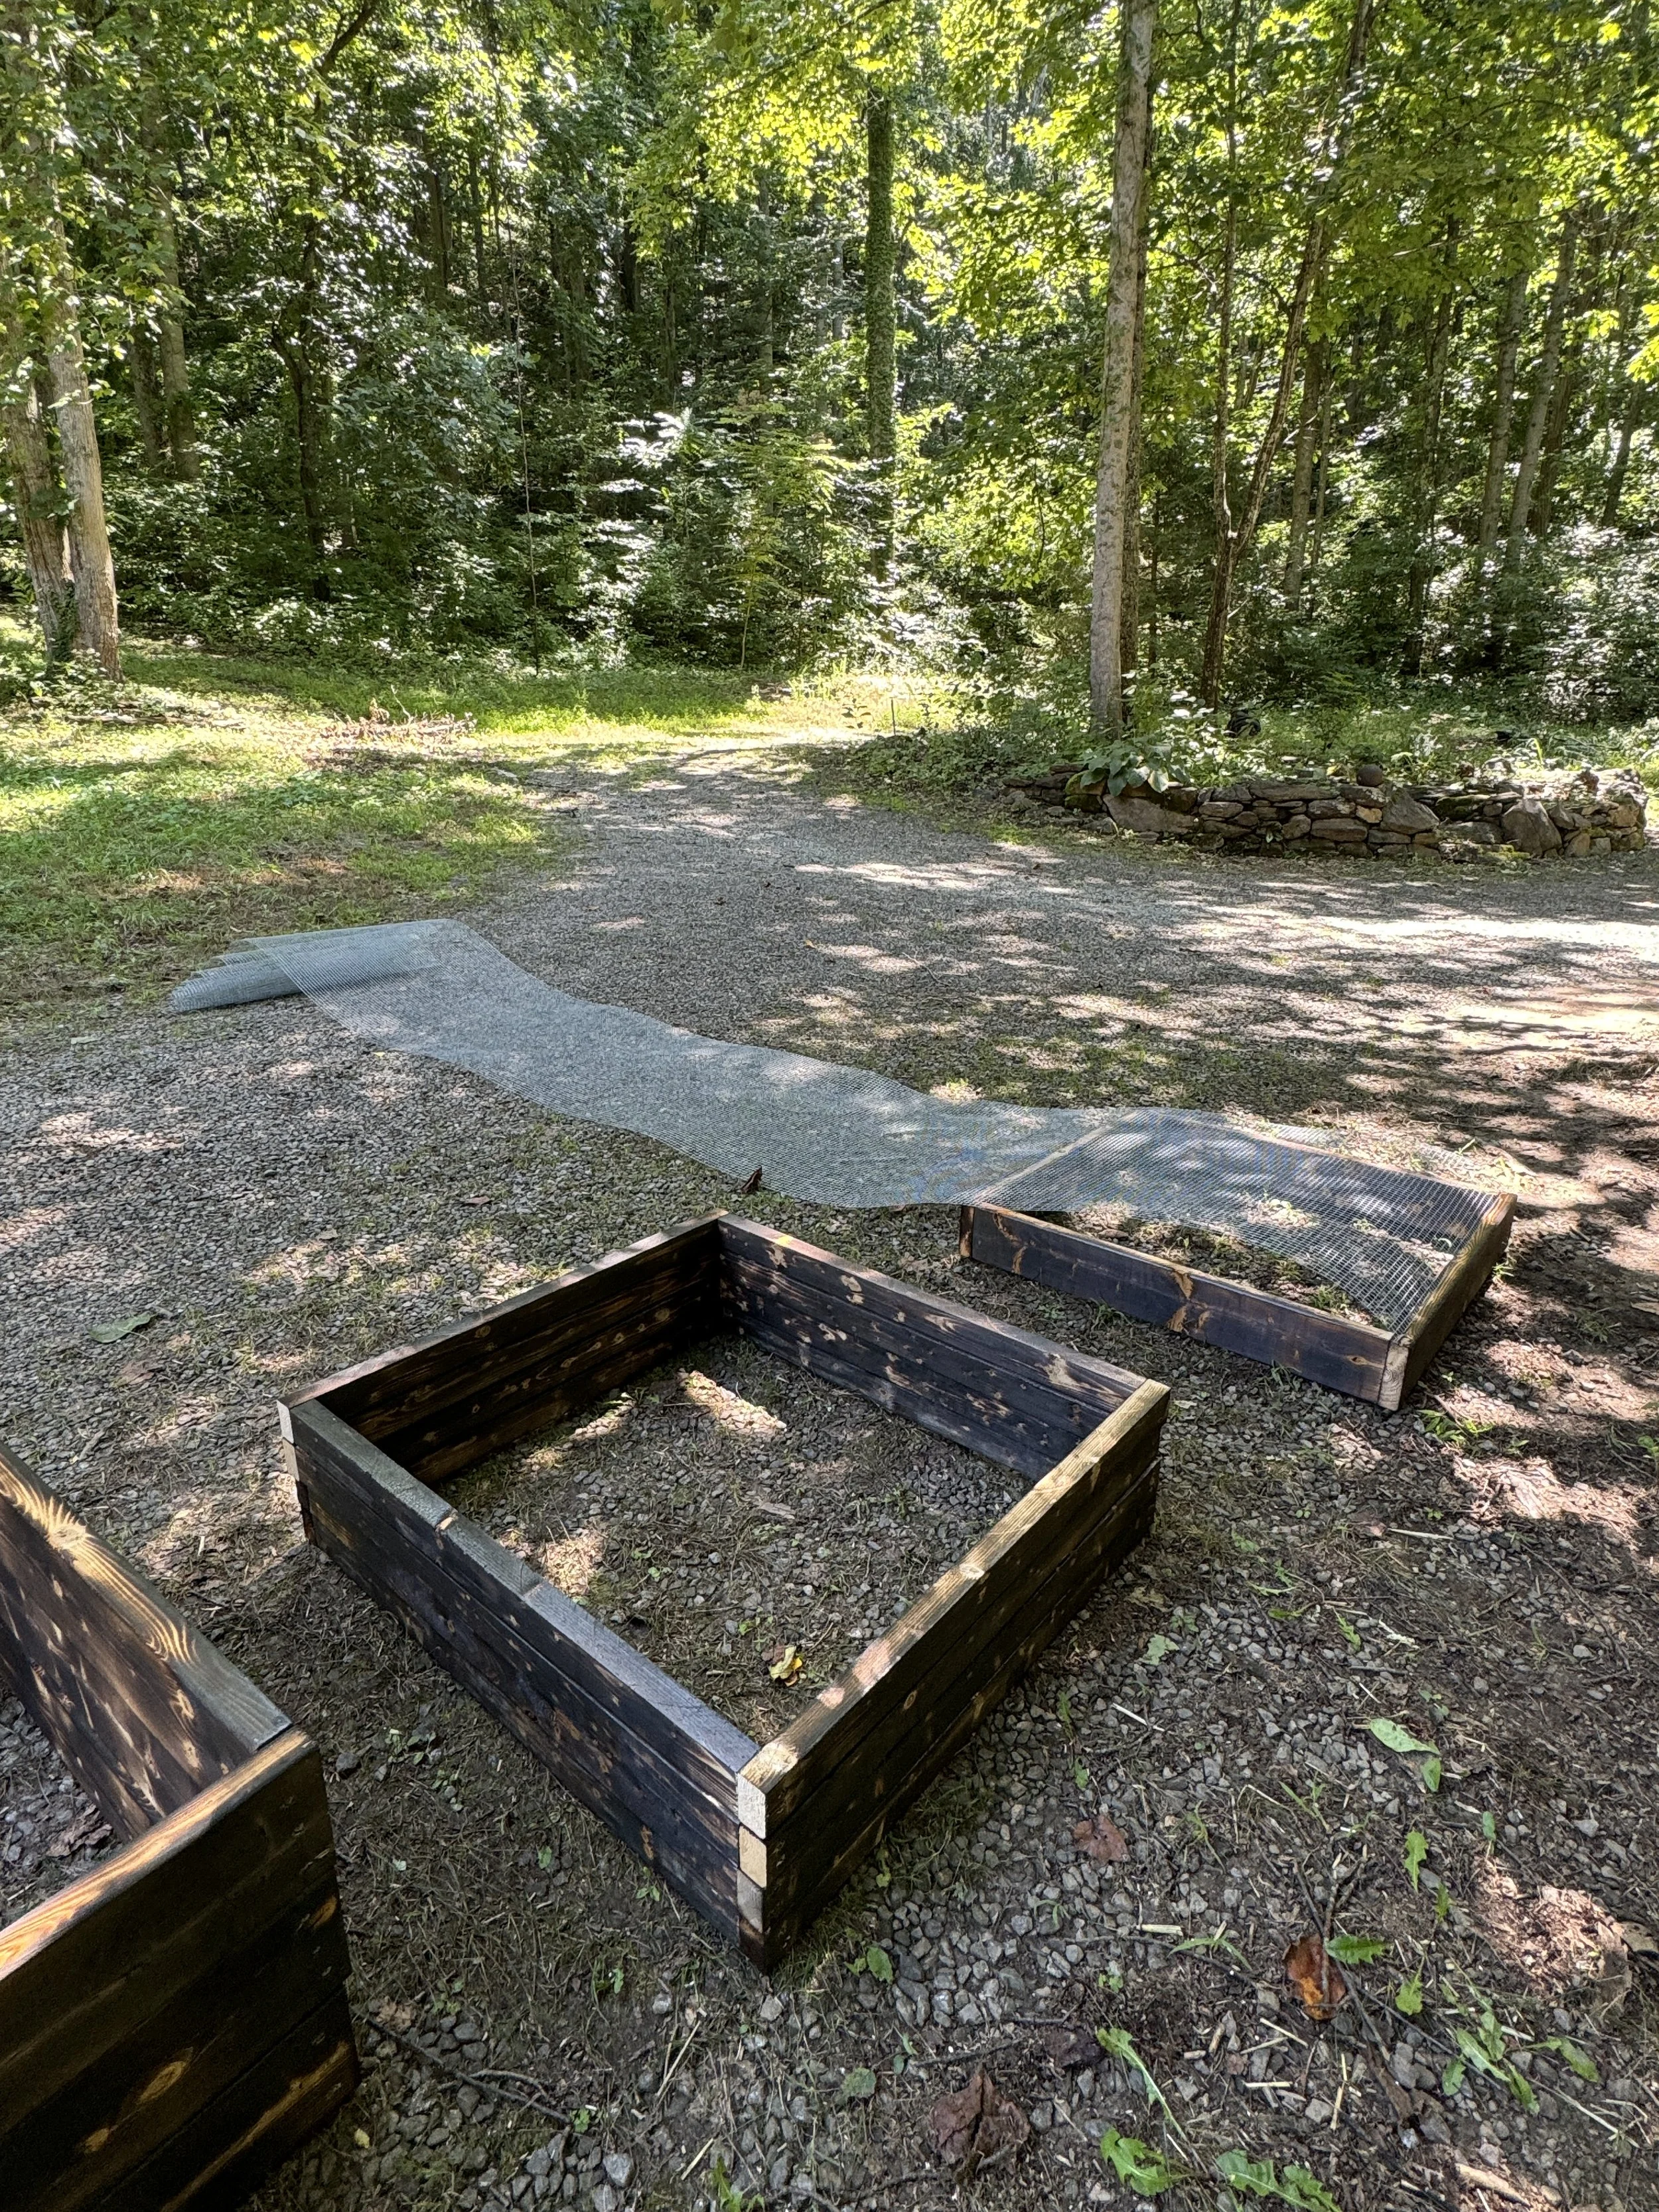
Ta-da! That’s going to be the bottom, where you’ll be putting the soil and planting the seeds.
Now for the lids:
From each 12’ 2x4, cut two pieces to 37” long (just like we did before).
Cut remaining pieces of 2x4 in half.
Char (optional)
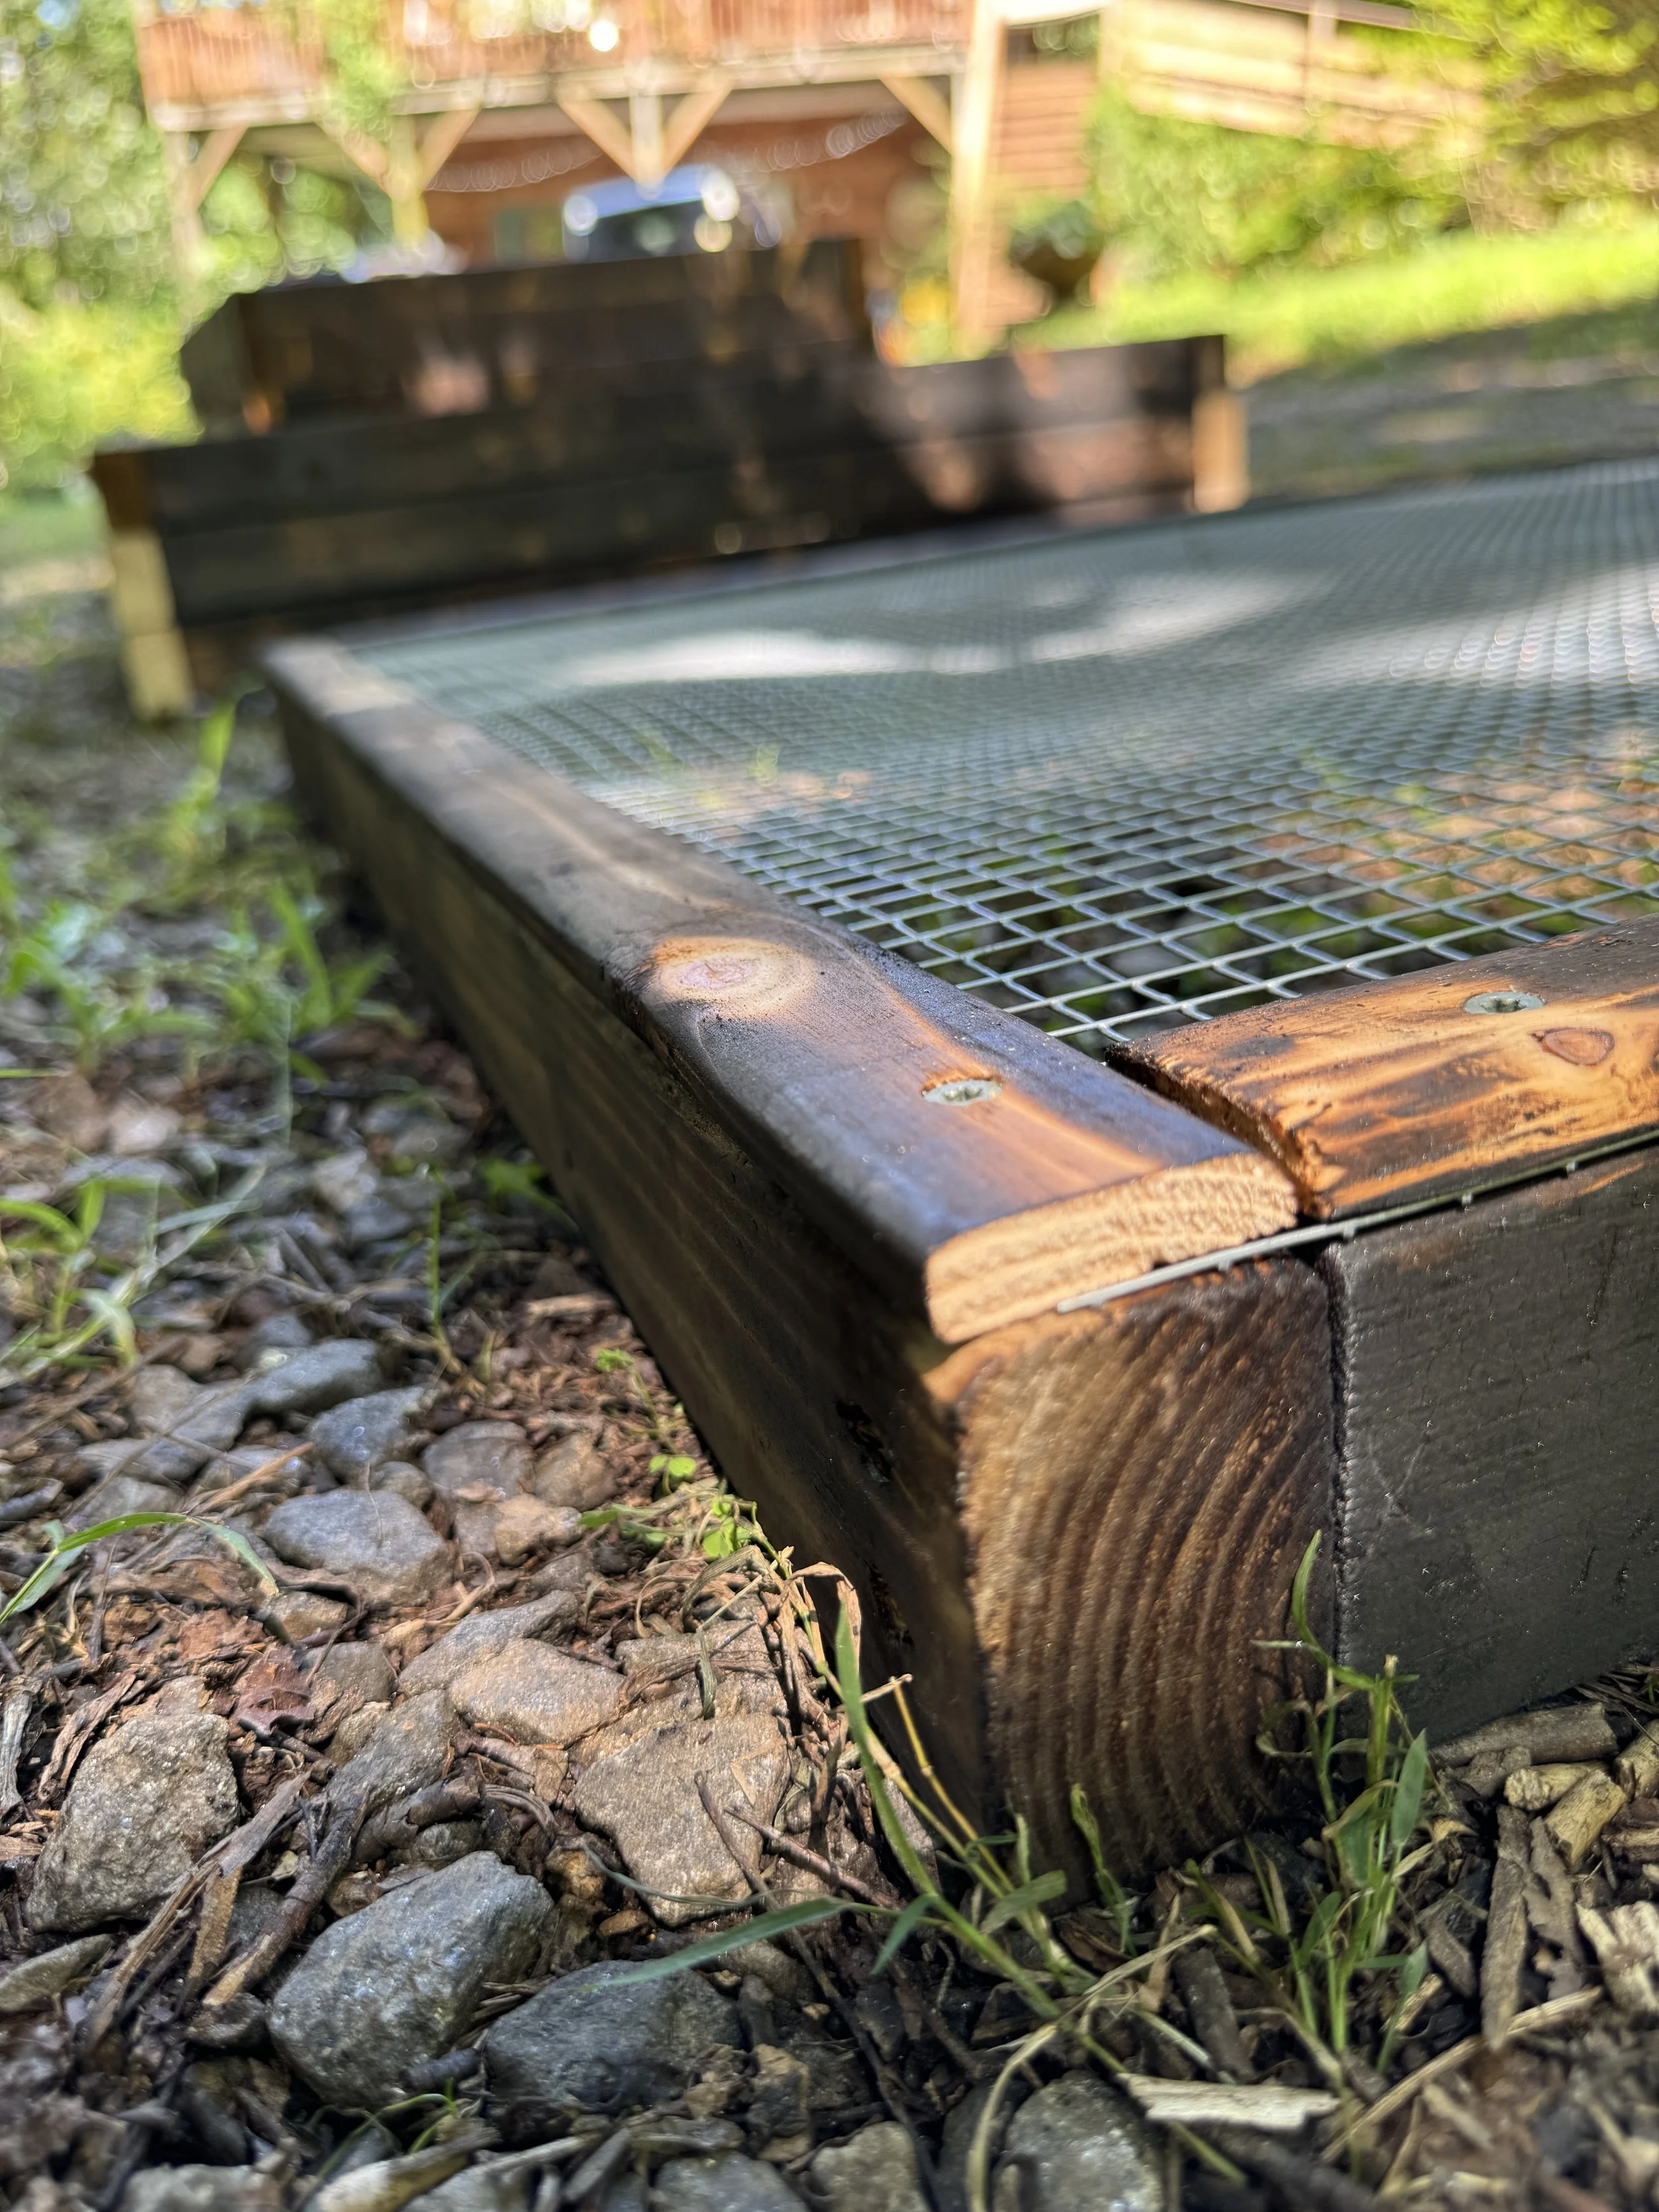
Now rip 1/2” off of the edge lengthwise of each piece of 2x4 to be the screen edge cover (depending on the tool you’re using you can do this before or after cutting them to size). Unlike the bottoms, you’ll be coming into contact with these lids, so it’s nice for them to have this little trim piece to keep you from getting cut by the wire ends when handling the lids.
Pre drill holes for all of these just like the others, including the trim pieces.
Do the screen just like you did for the bottoms.
Add screen edge cover and screw down.

That’s it! You’ve made your own nursery boxes.
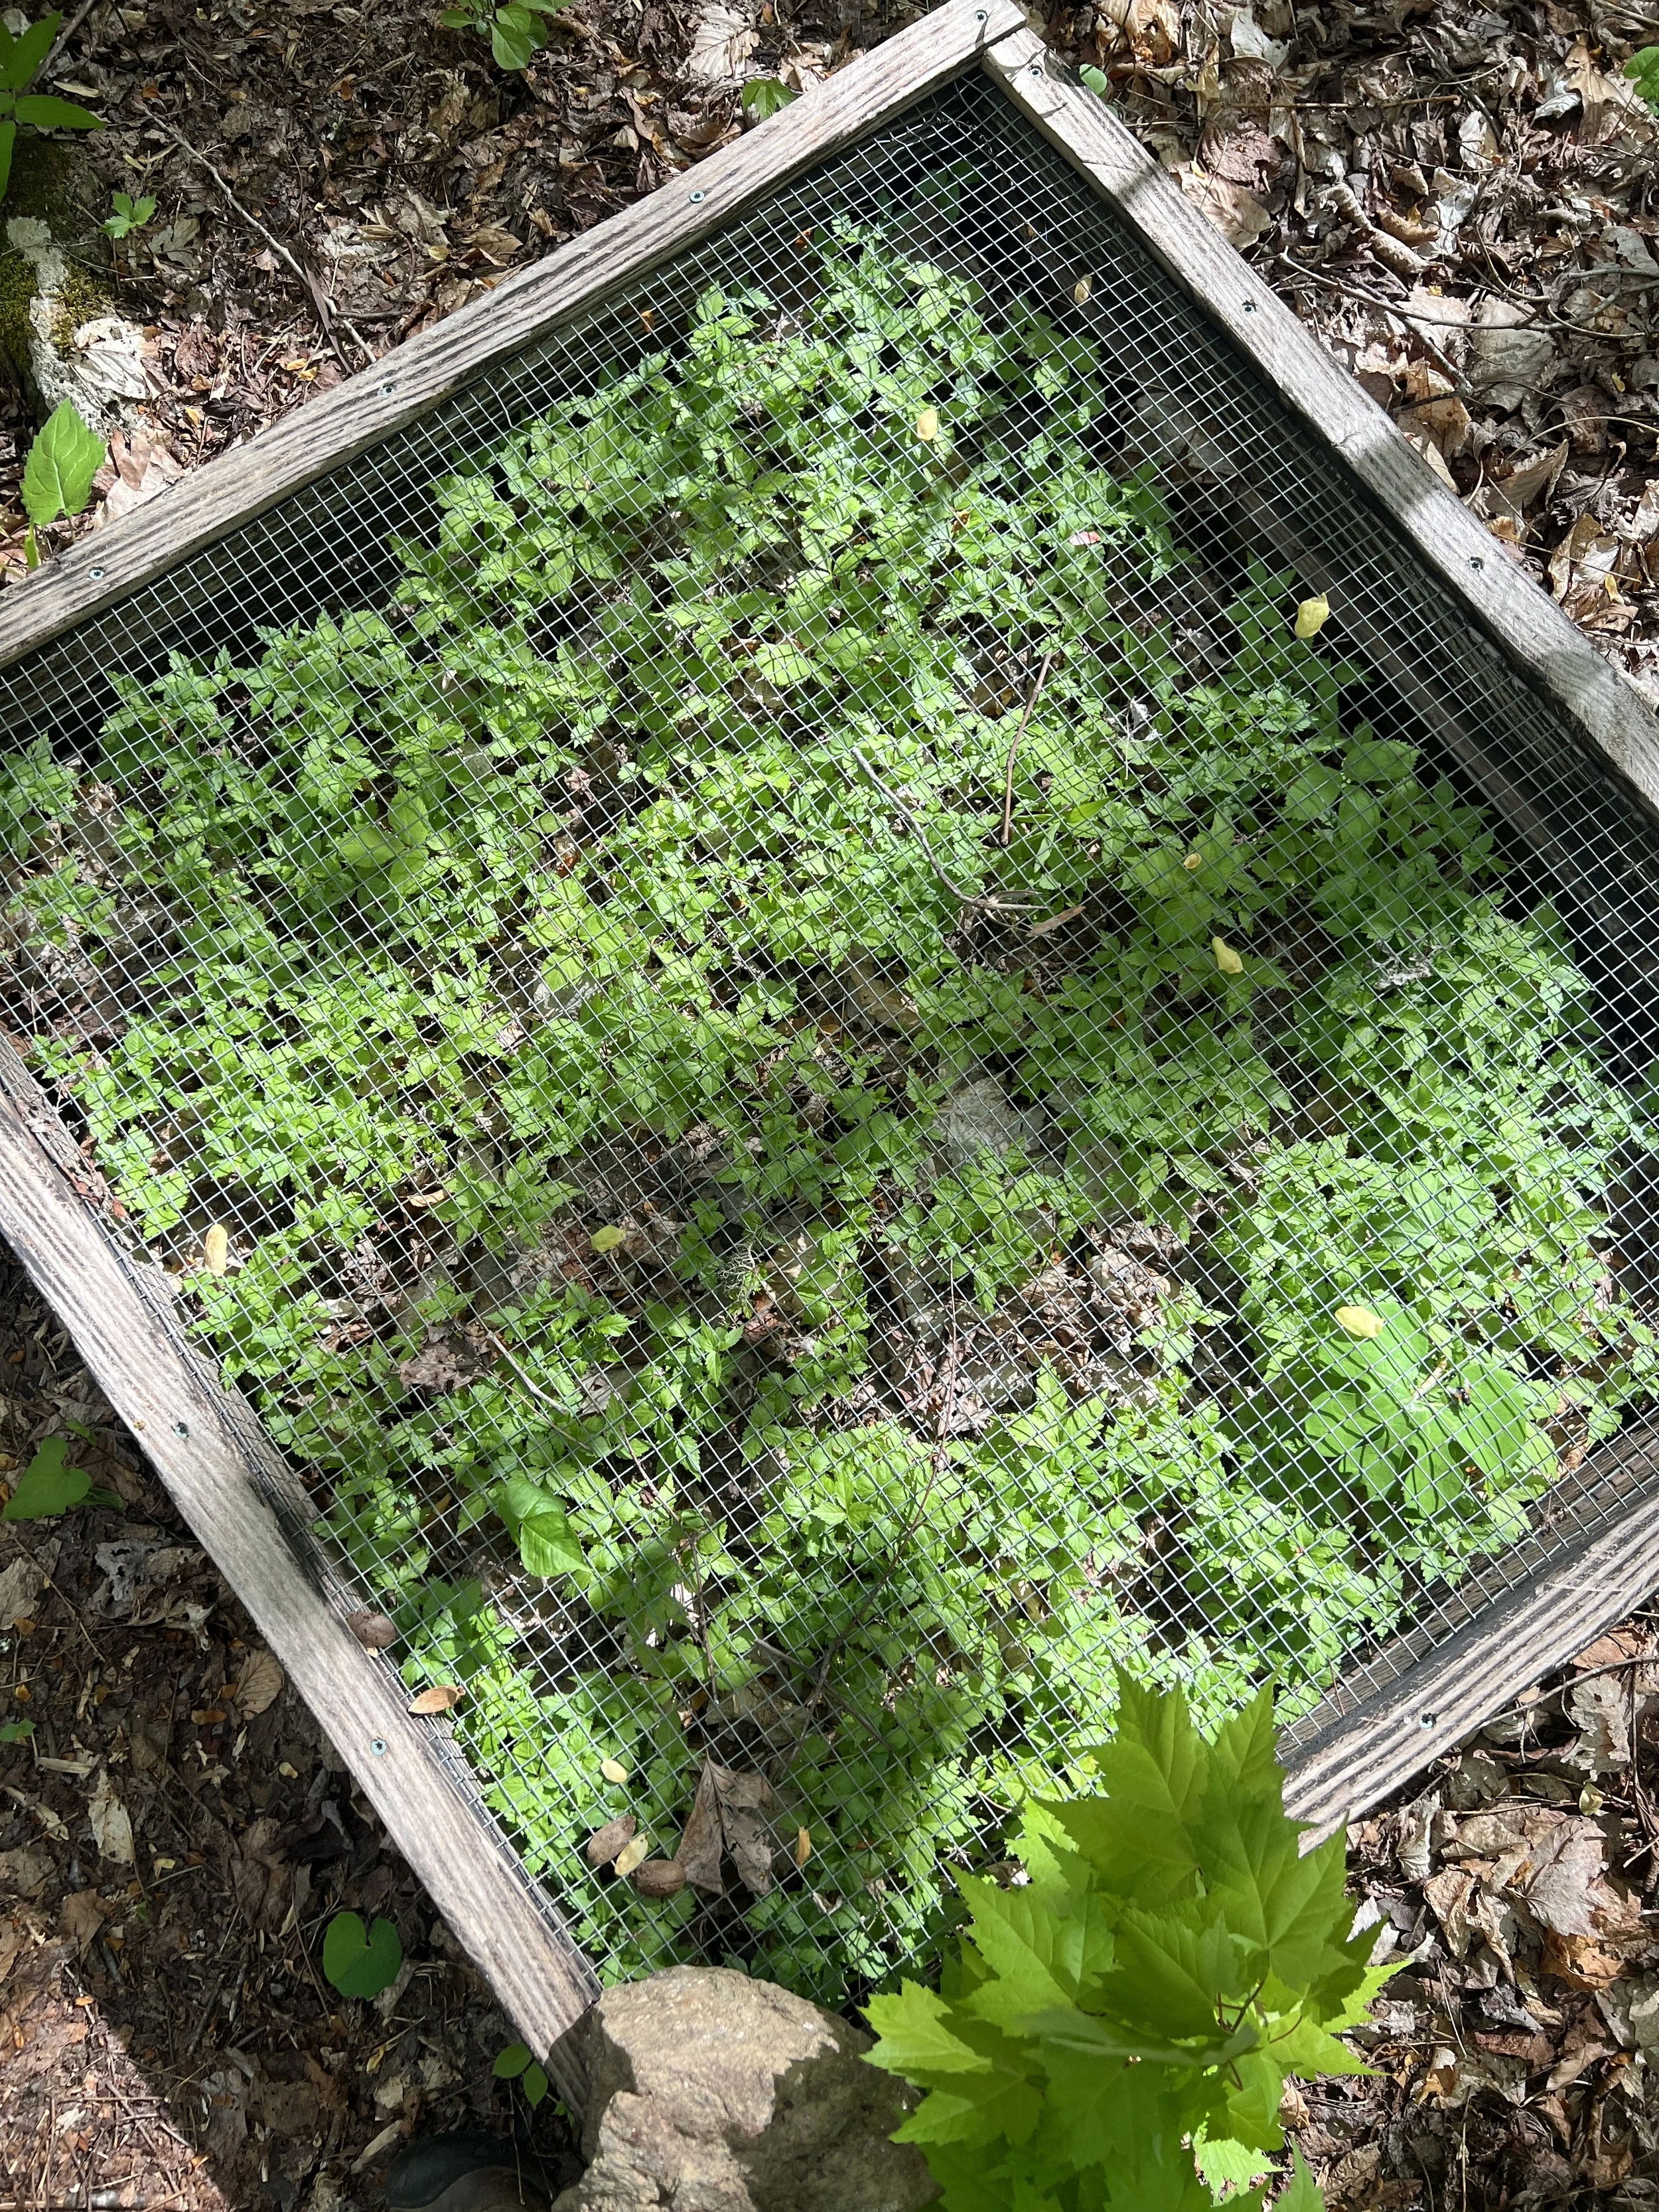
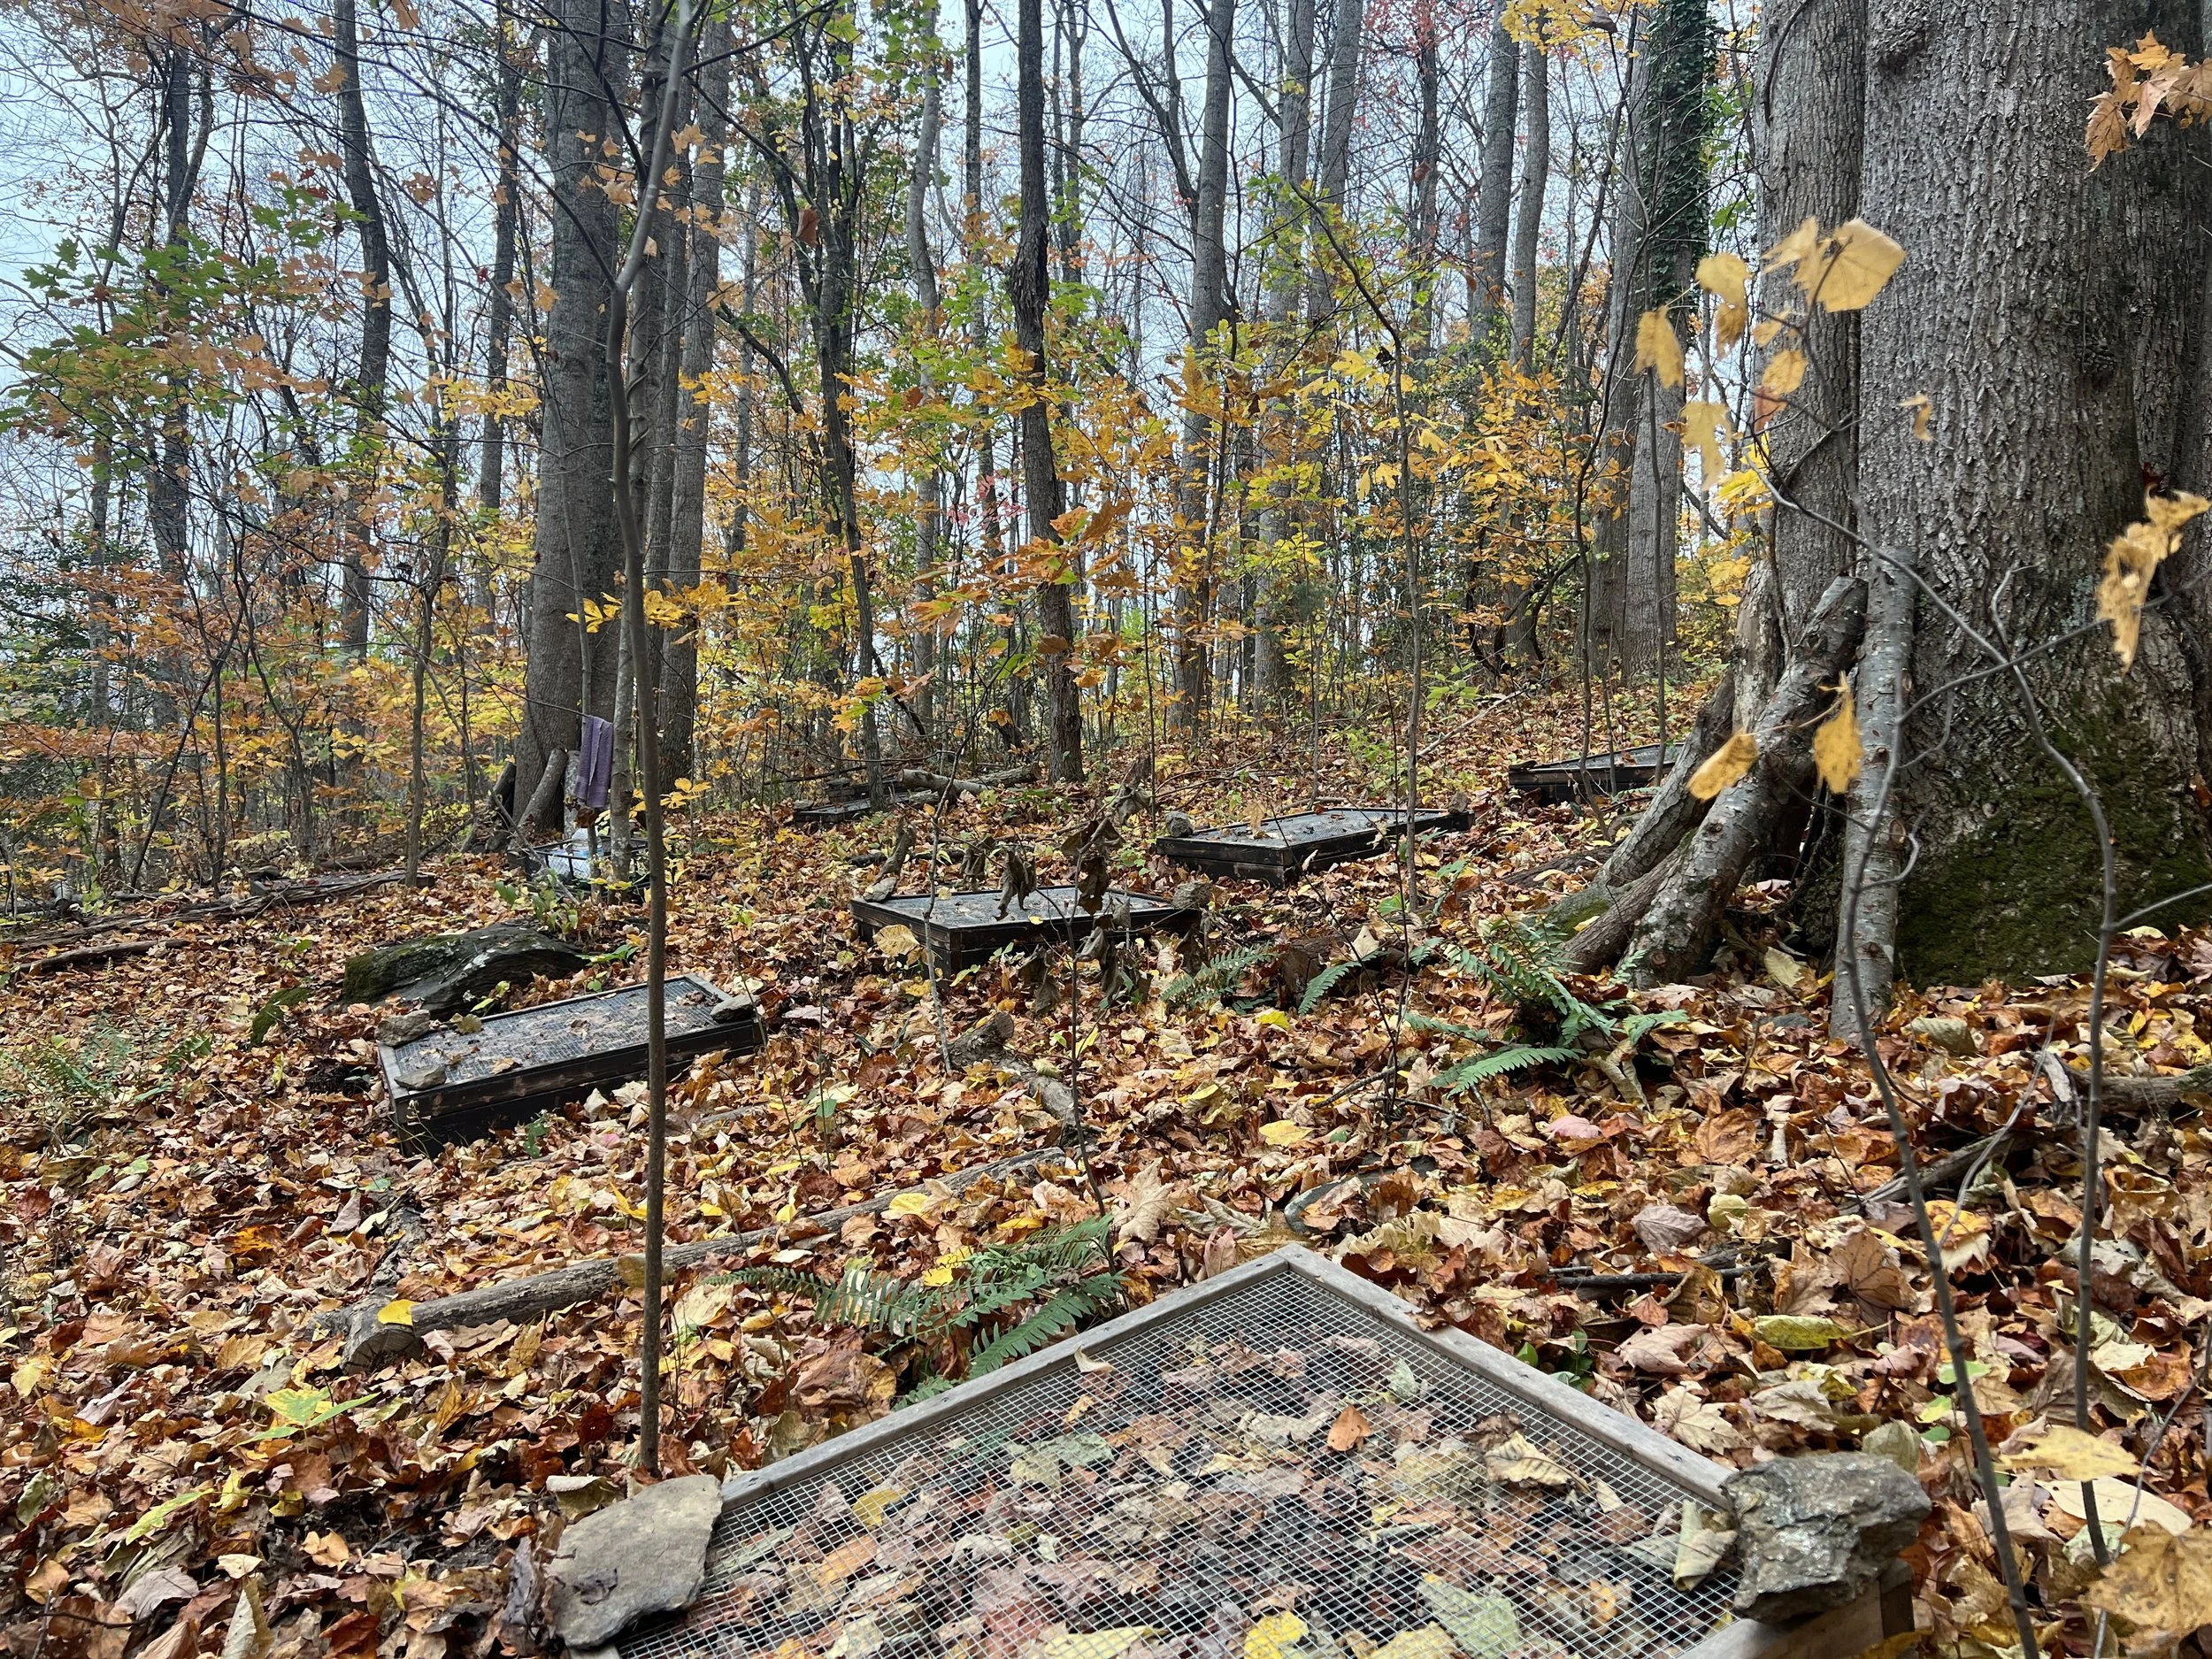
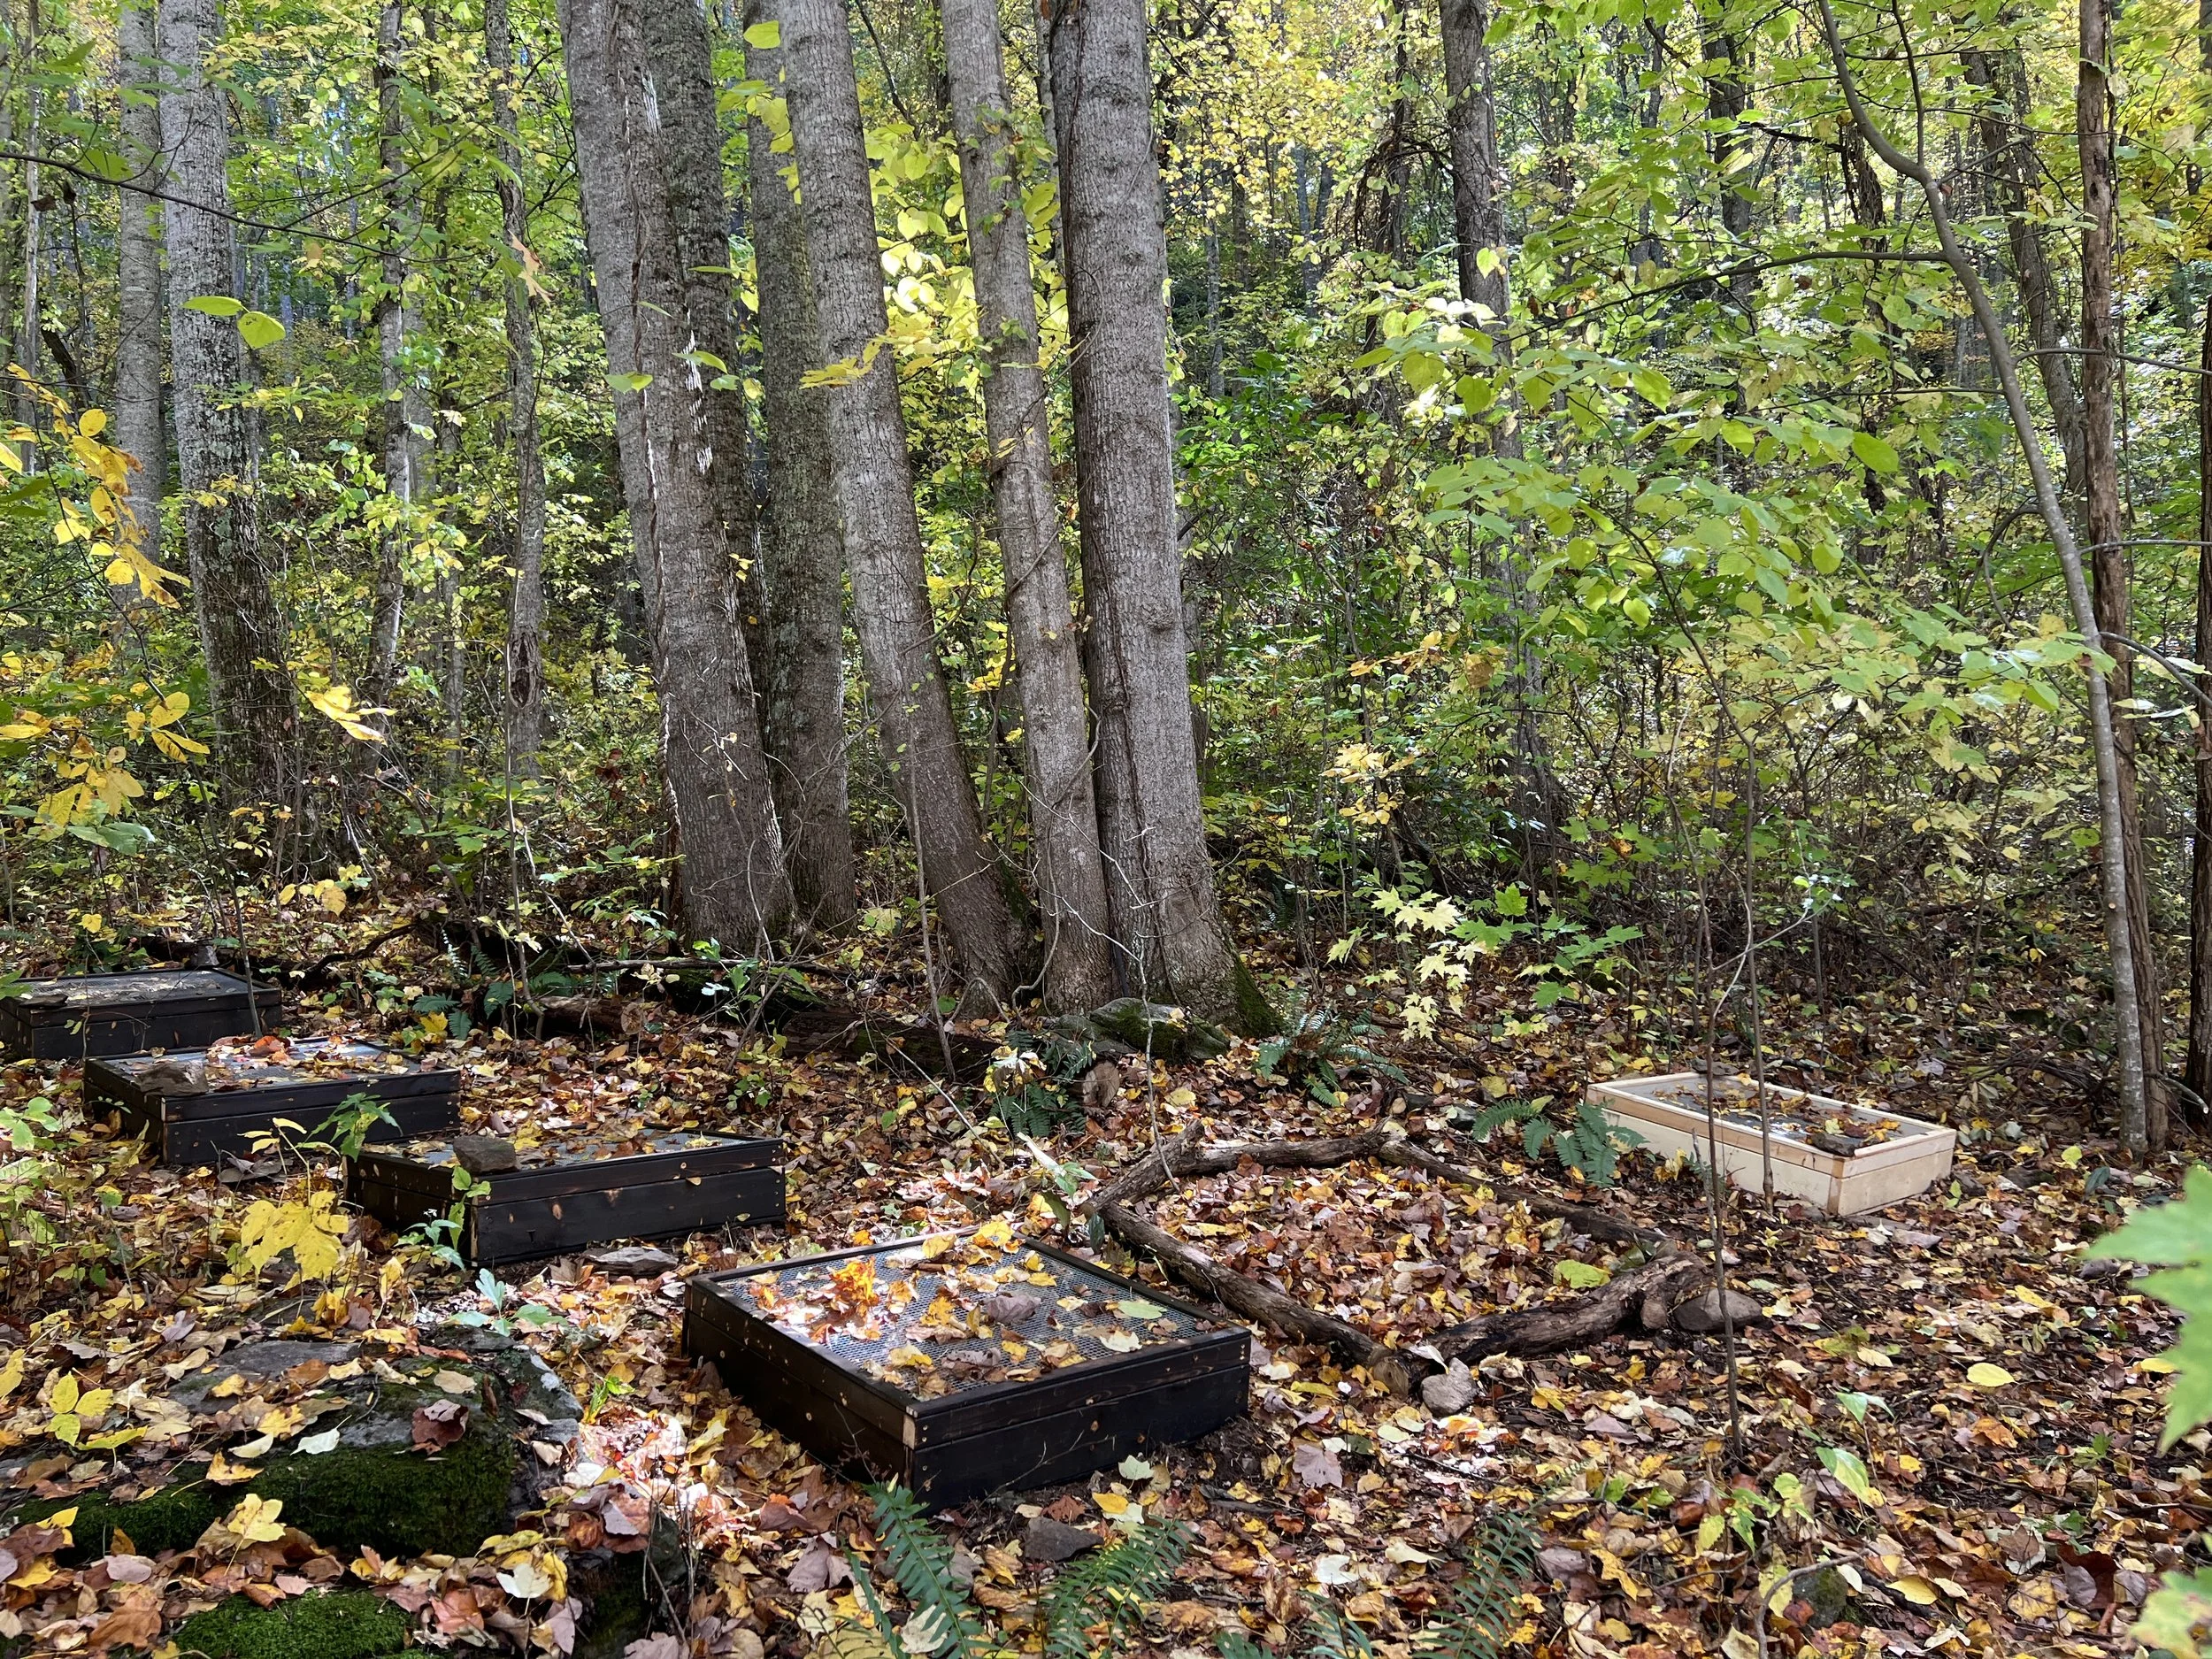
Now you’re ready to plant seeds and grow native plants in your forest or front yard.
Place the boxes in a place where the plants you’d like to grow would thrive. Just be sure to pull any plants and especially vines and briars out of the soil where you’ll be placing your boxes, since some plants might remain in the nursery boxes for months or even a year or longer depending on the species. The fewer ‘weeds’ you start with, the better, for the seedlings.
Happy Growing!